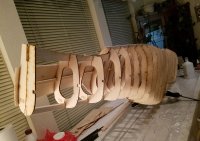
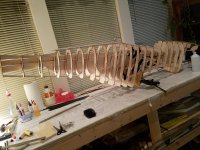
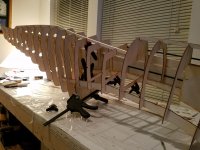
A new barrage of photos fellas. I just can't seem to leave well enough alone. I had so much to do Saturday and along with that, I wanted to make a little headway with the Velox and the Mighty Stang. Here lately it seems I do four things on a regular basis. Work, feed the Rat Dog, grab an hour or two of sleep and most importantly...Build flying machines. LOL. Not a bad thing I guess. But have to be honest, I'm looking forward to having the two projects on the tables done. Just really relieved winter is here and I can focus on building. I would hate the thought of trying to add in getting a few flights in with the rest of the daily rigors. Hee hee
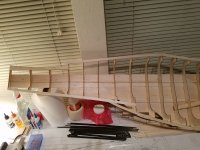
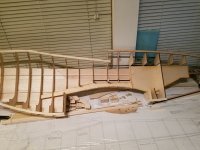
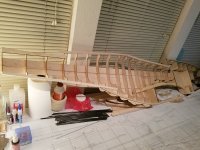
So here is the headway I made with the DS Mustang. I mentioned using the carbon fiber rods for strengthening the forward portion of the fuselage. I have been a bit concerned with the weight of the Kolm 150 up front and really didn't feel comfortable hanging all that weight up there and relying on just the balsa sheeting and glue to support the weight. So when going through my "new" scrap wood box looking for something I ran across the extra carbon fiber rods that were left over from the Jtec Pitts build. Those wings are brute strong. Soooo, why not see if I can implement them into the forward section of the Mustang fuse? And that is just what I did. I first thought about drilling holes through each former to slide the rods into. However three problems existed. First, the left side formers are already glued in and that would make it very difficult to get a straight line from the "F4" former to the "F9" former. Which consequently is problem number two. Problem number three is: I have no drill bit 20" long in the correct diameter of the rods. Yeah, not even going to look for one. Besides, if I had one, I would probably drill the holes at an angle. LOL. So what to do? "Notch" the fuse formers to lay the rods in there just below the surface. This way they will still add just about as much strength as if they were centered through their own holes in the formers. And they would allow another "side" load support for the 1/8" balsa sheeting. Using the IC2000 CA worked so well on the Jtec Pitts, I figured I would use it for this application as well. And thus, this is what I came up with today. First I had to figure out a way to make those 3/4 moon grooves in the formers to accept the cf rods. The Dremel and a rasp bit was the call for this. I just needed an extra hand to hold the Dremel. Yeah, I tried to get Pop-Top to do it. He just wanted to sleep. So next best thing? "T" pins and a rubber band. LOL. Hey, it worked slick as heck.
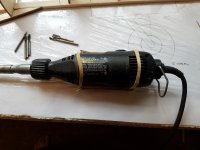
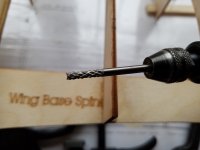
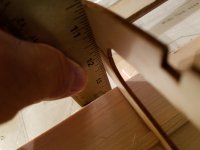
Once I had the Dremel secured, I went to grinding my holes for the carbon fiber rods. I basically just "routed" out a small diameter of the sized hole I needed then finished the holes off to the correct diameter with a piece of sand paper wrapped around a control rod tube. Hey, who knew those old nitro plane control rods would come in handy? LOL
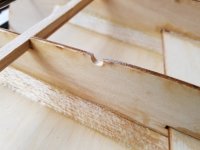
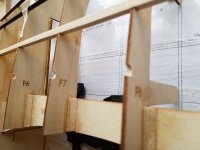
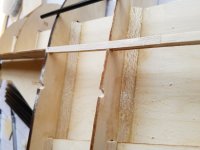
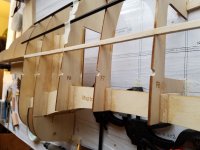
Once I had all my holes routed out, I test fit each rod in their perspective resting cradle. Yup, I like this....this will be juuuust fiiiine!!
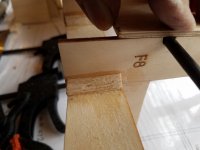
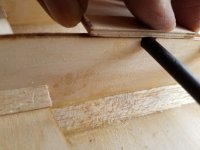
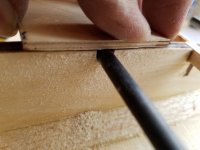
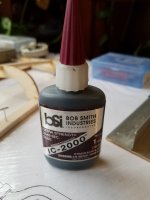
Once satisfied I dug out the IC2000 extra strength CA and started gluing in the rods.
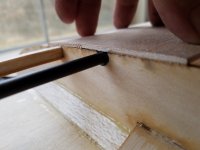
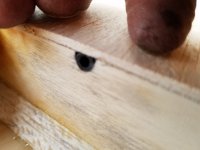
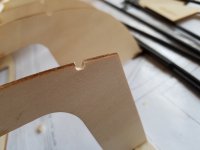
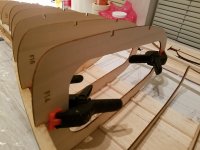
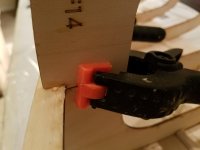
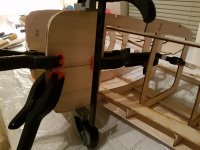
I had to use some small clamps on a couple of the formers to get the rods to lay down flat while the glue cured. With the natural tension of the rods, I expect this is going to have a "lifting" effect on the front of the fuse. Along with really strengthening the formers side to side load, they should really add a lot of support to the front of the fuse for that Beast Kolm motor.
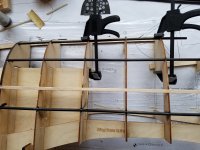
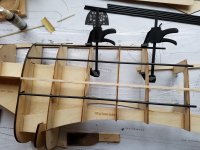
Once the CA was cured, I used a cut off wheel to terminate the cf rods.
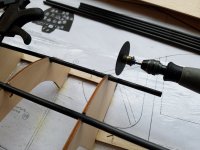
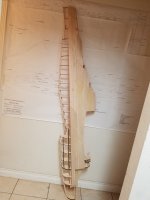
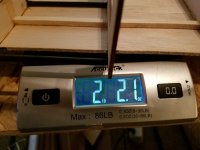
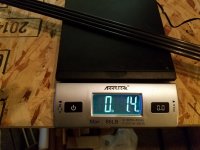
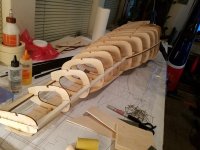
And wa-laa...fini… What do you think fellas? Personally, I think this was the best alternative to adding some "stout" to the front of the fuse without adding a noticeable amount of weight with extra wood and epoxy. The total increase of weight of all 7 rods to be used is an acceptable 3 ounces. I can handle that. I figure if the front of this plane suffers from any heavy loads on landing or what ever, the fuse will break before the nose does. LOL. An added advantage...? The rods extend "past" the point (or near to) where the main landing gear will support the wing saddle and the rest of the nose!! I have been trying to engineer this thing to be light but very strong. The Kolm will be resting just a mere few inches forward of the main wing leading edge. So to get as much weight transitioned to the rear of the plane and still keep it strong and light has been a real mind boggling endeavour.
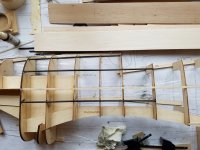
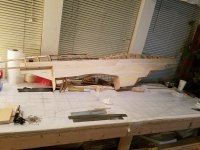
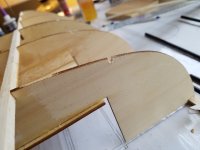
With the front of the fuse now stronger than my KW work truck... It was time to start laying down some 1/8" fuse sheeting. First the full length sheet right in the middle of the fuse along the datum line.
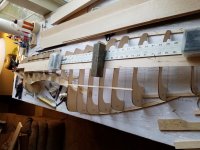
Then a partial lower piece and continuing on...
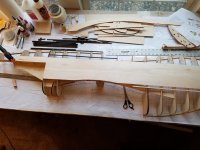
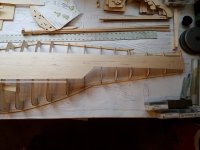
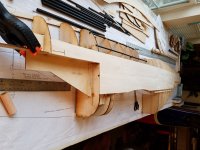
I am very pleased with how the fuse is laying perfectly still while I "finesse" the molding and shaping of these sticks and sheets of balsa.
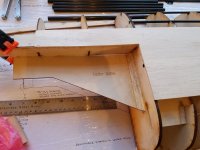
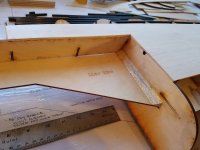
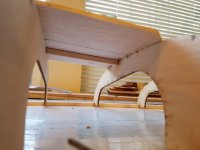
Even the underside (inside) of the fuse is solid and tight. Each sheet laying flat down on the skeletal structure.
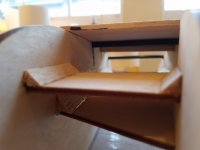
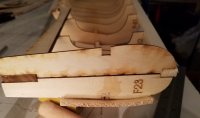
I added one more shorter section of sheeting to the "radiator" belly of the fuse and dampened it with water and strapped it into place with tape to hold its shape while drying.
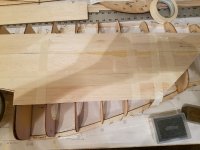
And this is where I stop for the night....
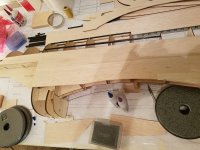
I really need to get some bags of buckshot to lay over the sheeting while the glue cures. The Barbell weights are working fine, but I know when it comes time to sheet the stabs/elevators, fin and main wings and ailerons, it will be a real "B*&%$ without them. The Velox has been way super easy as the foam core wings have their perspective "shells" to distribute the weight evenly. These build up structure sheeted builds are a p.i.t.a.!!!
I can now remove the left side fuse section from the building surface and flip it over. I have not yet decided what I will use to support the fuse section on so I can start building the right fuse half. However I did leave enough sheeting off so that I can access and utilize the "build crutches" to support the fuse half while building the right half of the fuse over the now framed left half.
Through this entire beginning of the Mustang build, I have really watched myself carefully and tried to meticulously fabricate this thing together. I really expected to have some issues. With the "short" comings of the kit, most everything has been pretty much straight forward with no "hitches". Except one. Former "F11" twisted on me while sheeting. Right where the "rest" point meets the building crutch. I expect I must have had too much weight on it while sheeting it. No worries though. There is not much of a glue surface "yet" to be broken free and realigned. Glad I caught it now rather than later. It is kind of a crucial area as that former supports the rear of the wing and the dowels that hold the wing on. I will simply "pop" free the glue point...put a twist back where it belongs and re-glue it. Then add the "F11" former from the right side. Easy peasy.
And more to come fellas..... stay tuned.


