Snoopy1
640cc Uber Pimp
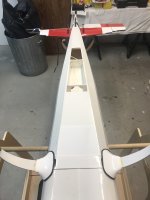
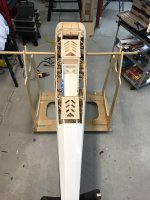
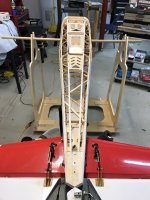
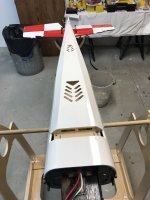
Need more details on the wing bolts see the picture but not enough to figure out exactly what you did.Just took some shots of the finished plane powered up and assembled for flight. The custom wing bolts I made work great and go on / off quickly and easily. Everything working and ready to run. Hope to Maiden soon
View attachment 108482 View attachment 108483 View attachment 108484 View attachment 108485 View attachment 108486 View attachment 108487 View attachment 108488 View attachment 108489 View attachment 108490 View attachment 108491 View attachment 108492
")
 . 7 flips on choke then it popped off. Then 3 flips to a running engine and erratic throttle servo
  . I decided to try the RCAME ignition that came with my first DJ72. Now I know why they decided to go with their own ignitions
  . It will soon be getting a new RcExcel AO2 ignition. Never have I had a problem with a RcExcel ignition