• If you are new to GiantScaleNews.com, please register, introduce yourself, and make yourself at home.

    We're 1st in Giant Scale RC because we've got the best membership on the internet! Take a look around and don't forget to register to get all of the benefits of GSN membership!

    Welcome!

30% Pilot Edge Repair

stangflyer

I like 'em "BIG"!
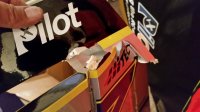
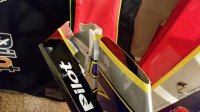
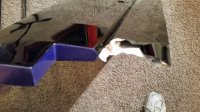
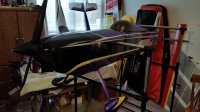
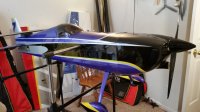
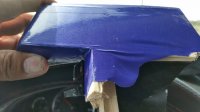
It happens to the best of us. The fact is, the odds are stacked against us. We may slide for a couple of days, weeks, months or even years. But eventually it catches up to us. Such is the case of my little 30% Pilot Edge this past Sunday. I decided to take the Sukhoi and my Pilot Edge to the field for an "ALL" day flying session. Fly the Suhkoi, Beat the tar outta the Edge. Fly the Sukhoi, beat the tar outta the Edge some more. So I was down on the deck in a perfect hover. Just an inch or two from disaster. Never know about these early Spring sudden gusts of wind. I found out rather quickly they are just not fun. One hit the Edge just as I was hovering it and just being one with the plane. I pushed out on the elevator to counter the wind gust. Ooops.... too much. Pulled back.... ooops.... Rudder grabbed the ground and cartwheeled the Edge. I was really expecting to see many of pieces shattered as I walked over to the upside down airframe. Much to my astonished amazement, it was in one piece with no parts hanging off of it. Well, until I looked a little closer. Still, I absolutely know it could have been so much worse. Outside of a disembarked Aileron balance tab, broken Rudder, and motor not looking as though it was sitting correctly, I thought it faired pretty well.

So, now we began fixing an "Ooopsie". I am beginning this thread to perhaps help some of the newer to this hobby flyers. I hope to pass on just a little to help. And to others that may be interested as well.

First the damage!!
20150412_163257.jpg 20150412_201941.jpg 20150412_201957.jpg 20150412_202017.jpg 20150412_202115.jpg 20150412_202140.jpg 20150412_202216.jpg 20150412_202233.jpg 20150412_202320.jpg 20150412_202331.jpg 20150412_202345.jpg
 
Last edited:
stangflyer

I like 'em "BIG"!
I figured starting up front was going to be a primary objective. Mainly "knowing" the damage of the front end would ultimately decide whether I repaired it, or just took a bat to it like Tim from Redwing. LOL.....

I chose to fix it....Tim can keep his bat.

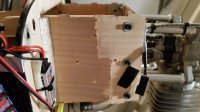
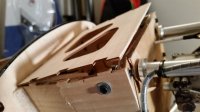
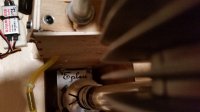
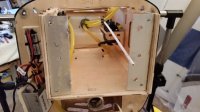
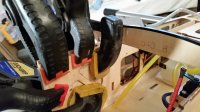
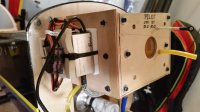
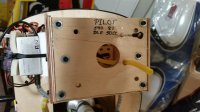
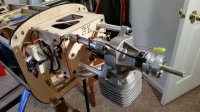
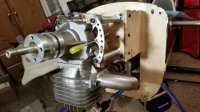
The motor box really wasn't broken too badly. Just the firewall, and the ride side motor box side. A simple removal of the firewall and duplicate it with a fresh stock should be just the ticket.

20150413_091939.jpg 20150413_131106.jpg 20150413_131215.jpg 20150413_131304.jpg 20150413_131612.jpg 20150413_131736.jpg 20150413_132015.jpg 20150413_132547.jpg 20150413_132820.jpg

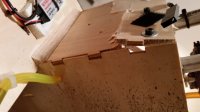
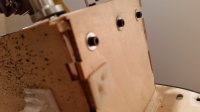
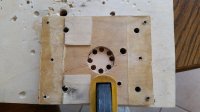
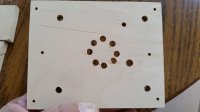
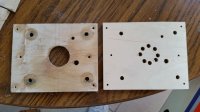
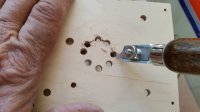
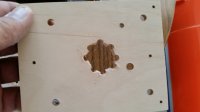
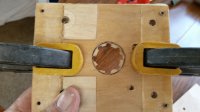
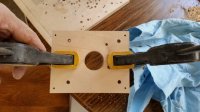
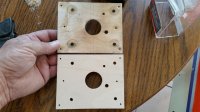
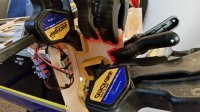
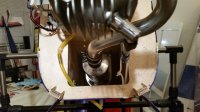
After removing the firewall and obtaining the correct thickness of stock needed, I reglued the broken firewall together just long enough to use it as a template. Laying it over the top of the new soon to be firewall, I went to work drilling my holes to match the original. When doing this, or actually any time when drilling a piece of wood, it is a good idea to use a piece of stock wood as a backer. That way the new project doesn't get "blown" out when you drill the holes. Once all my holes were drilled in perfect duplication, I finished cutting the center carb hole with my trusty 2" saw blade. Then using a dremel to clean up the circle and there we go. A new firewall ready to be placed in. Before installing it however, I wanted to address the broken motor box side. I figured that since it was a clean "snap", I didn't want to cut it out completely. The best option is to "laminate" a new doubler over the fracture. It won't add any real weight and it will make that side much stronger than it originally was.

20150413_164932.jpg 20150413_164945.jpg

Now with the doubler glued in, I was ready to place the firewall into position.

20150413_221009.jpg 20150413_221030.jpg

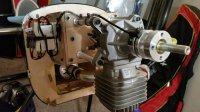
Aaah!!! The hard work is done. Now it's time to put the motor and all the components back into place to see how she looks.

20150413_234157.jpg 20150413_234214.jpg 20150413_234237.jpg 20150414_110350.jpg

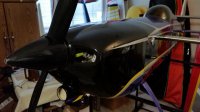
Everything looks and aligned pretty nicely, so time to finish putting on the cowl, prop and spinner.

20150414_120113.jpg 20150414_120141.jpg 20150414_120225.jpg

I did notice a bit of damage on the right side of the cowl next to the spinner, so I will probably order a new cowl. I want to see how she flies first. This was enough for one day. Next up, Rudder repair.
 
Last edited:
stangflyer

I like 'em "BIG"!
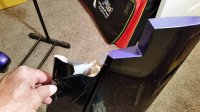
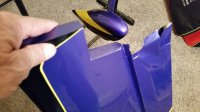
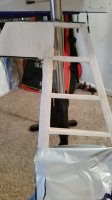
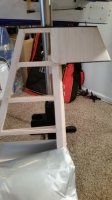
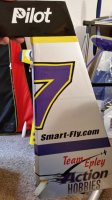
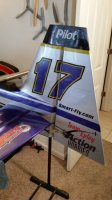
Between errands and other obligations, I did get time to repair the rudder. Having a removable rudder sure made this task a lot easier. After removing the rudder, I started by pealing back just enough of the covering to expose the damaged framework. After re-attaching and gluing the broken pieces back together, I was able to start strengthening the broken structure.

20150414_142034.jpg 20150414_142101.jpg

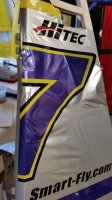
I also wanted to try to save the graphics and numbers, so by using my heat gun to "loosen" the graphics, I pealed them off and set them aside for replacing later.

20150414_143837.jpg 20150414_143843.jpg

Once the final repairs were done and a little balsa filler to smooth out any divots or scars, I was ready to start covering the rudder.

20150414_153409.jpg 20150414_153422.jpg

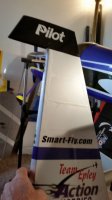
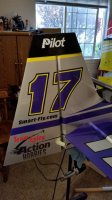
Ok, now that the fresh covering is in place, it is time to re-attach the graphics and numbers. Then replace the rudder to the airframe.

20150414_155555.jpg 20150414_155608.jpg 20150414_165539.jpg 20150414_165554.jpg

All in all, It turned out pretty good. Not 100% perfect, but I can live with it. Tomorrow....I will start on the Aileron balance tab. That is going to be a bit more of a challenge I am afraid.
 

ChickenBalls

"Cool Guy"
OUCH!

Sorry for the mishap! Your shop skills will have it good as new I'm sure! Cant believe you got the motor box done already!

Hell.....If it where me I would still be starring at it!:lol2:
Same here, stare at it for a bit, sip a beer, stare at it some more, then start calling @emtp275 . Hell depending on how many sips or full bottles of beer I had while starring, I may have called Rob, ask him to come help fix.
 

stangflyer

I like 'em "BIG"!
Great work Rob! Looks like nothing ever happened :)
Thanks Mark. That's what I was aiming for. And hopefully it will still fly as good. (Or better) Straight out of the box it had a tendency to pull slightly left on straight uplines. It wasn't enough to bother me as it was not severe enough to worry about. Plus, it's my little hucker, was not overly concerned with dead on accuracy. When I repaired the motor box, I figured now is a good time to change it up. intentionally add .5° more right thrust. Hoping to take it out this weekend for some trial runs.
 
Top