Aerobeez
70cc twin V2
Yak-54 Profile Build Log
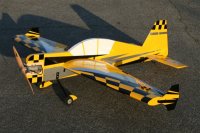
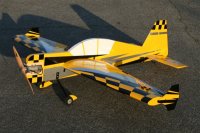
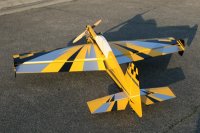
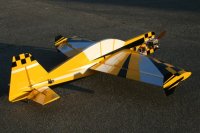
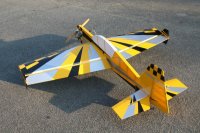
Hello 3DRC Forum and Aerobeez pilots and builders and welcome to our 2015 65" Yak 54 20cc Profile build log! This exciting YAK-54 Profile will be built around the DLE-20 engine. Please take note that the build steps are that of our pro pilot Pete. When building a profile ARF, there are several variations that can be taken. Such as your engine choice, side to mount your ignition/fuel tank. There is no real set method. Use your best judgment to see how the fuel tank and ignition placement will fit best for your engine configuration. Also with profile builds, the covering on the fuselage will need to be cut away in several areas to route wires, etc. Do not start cutting all the covering away at the same time. Cut the covering for the area you are working on then move on to the next step. We suggest doing this so that you do not cut away an area that was not needed to be cut. Now let's start the build!
TIP: DUBRO Super Strength Servo Arms are the best match for the Aerobeez Profile ARF's.
Depending on your engine of choice, determine what side your fuel tank and ignition will be located. Once you have decided the location of both, use a bright flashlight to expose the slots you will use.
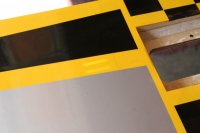
Then, with a sharp hobby knife, cut away the covering for your ignition location.
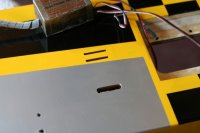
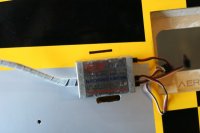
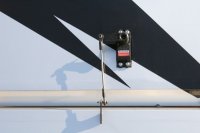
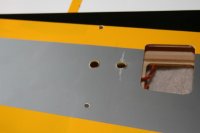
On the right side of the fuselage, cut away the first area in front of the main wing tube, the throttle servo slot and the two holes directly below the throttle servo for the carbon fiber landing gear mount.
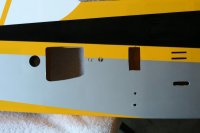
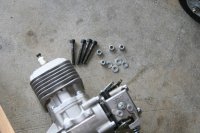
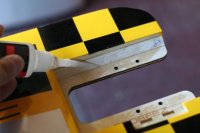
While you are working on other areas of the build, Pete always recommends using thin CA on the engine mount area, this is known as "wicking" for those unfamiliar with this process. Letting the thin CA absorb into the engine mount will help strengthen the already strong mount.
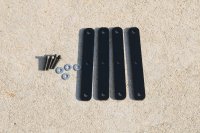
Now, locate the components to build your landing gear so that we can get this Yak on her wheels!
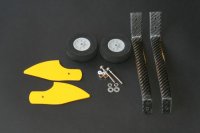
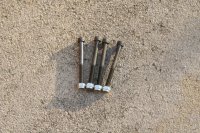
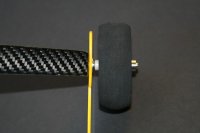
Use the larger washer on the threaded side of the wheel axle and attach the axle, and wheel spat to the carbon fiber landing gear.
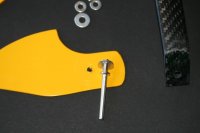
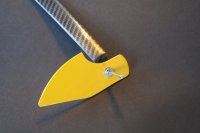
Use a small amount of blue thread lock on the set screw for the wheel collars. This will keep the set screw from coming loose.
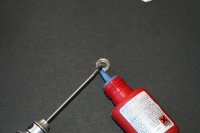
Notice the plastic spacer is on the inside of the wheel. The wheel collar on the outside of the wheel.
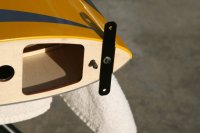
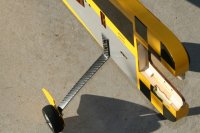
Now install the carbon gear halves to the fuselage.
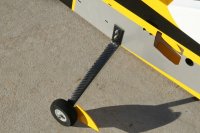
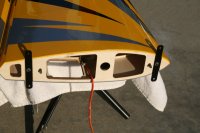
The perforated area on the wood in the horizontal stabilizer area will need to be removed.
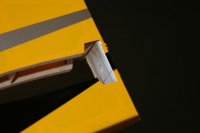
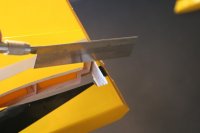
Use a hand saw and remove the small block section. Note: Be sure not to throw the block away. This block will be glued back to place once the horizontal stabilizer has been glued in.
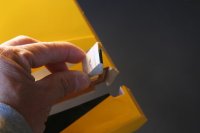
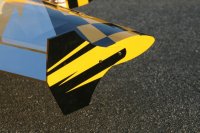
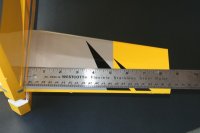
There are a few methods to center your horizontal stabilizer. We are using a simple ruler. Insert the horizontal stabilizer and measure both sides from root to tip. When you are satisfied with the position, use a marker along the side of the fuselage on the stabilizer. Both top and bottom sides. (Important Note* Take notice the color of the horizontal stabilizer on the top and the bottom. Due to this stabilizer being a fully symmetrical surface and the covering's similarity, you might glue the stabilizer in with the wrong color showing on the top side. This is what occurred in our build. The silver area is the bottom side. If you do make this mistake, your Yak will fly no different at all. Even having the silver side up looks just fine!
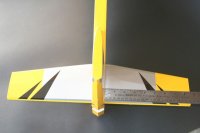
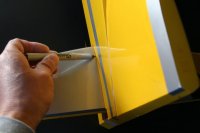
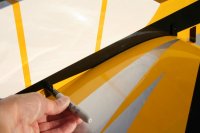
Once you have marked both side, remove the stabilizer and carefully cut away and peel off the covering on both the top and the bottom.
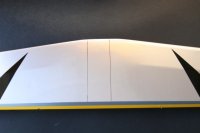
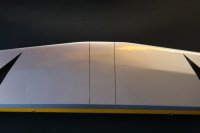
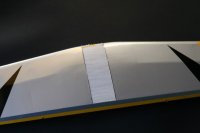
Insert the stabilizer into the fuselage and measure once more to make sure the stabilizer is centered. When you are read with the location, use thin CA along the stabilizer. This will "wick" the CA into the stabilizer and the fuselage. You will need to repeat these steps a few times with the thin CA. When the top and bottom thin CA has cured, use medium CA and go over the area once again with one thin bead. Allow to cure completely.
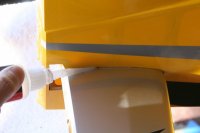
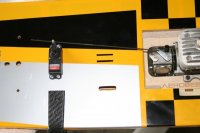
Remove the covering on the control surface arm slots from the rudder and elevator. Pete chose to mount the rudder servo on the right side and the elevator servo on the left side of the fuselage. Be sure to remove the covering on the correct sides of the control surfaces.
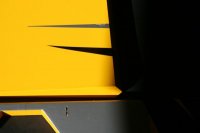
There are a few ways to install the control surface arms. It is always best to use a rotary tool or 800 grit sandpaper and lightly scuff the arms on the side where they will be glued to the surface. Pete uses 5 minute Epoxy as his adhesive of choice. However, CA has been used by various pilots.
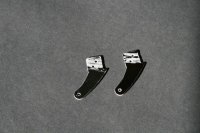
Glue the control surface arms to the elevator and rudder.
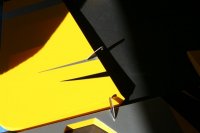
Use a drop of household oil on the pivot area of the hinges to prevent the epoxy from adhering to the pivot area.
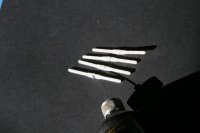
Now, using Epoxy, glue the hinges into the control surface.
Note: Glue only one side of the hinge at a time. Trying to epoxy both sides may result in hinges not in the correct locations causing binding.
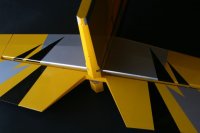
Once the elevator has been installed, glue the hinges for the rudder.
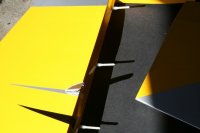
Notice the block is now glued back into position. This step will take a bit of cutting depending on your elevator position. You may have to cut this block more thin to be able to fit in the location. Check the elevator for clear movement and glue the block into position. When the block adhesive is cured, glue the rudder to the vertical stabilizer.
Note: the bottom pivot hinge may need to be clipped shorter to be sure there is no contact with the elevator.
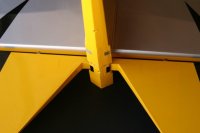
Now, locate and install the tail wheel assembly.
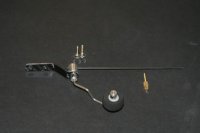
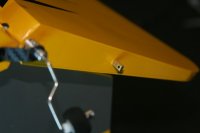
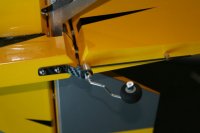
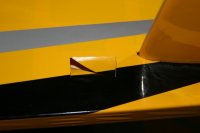
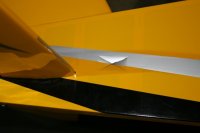
Once the tail wheel has been installed, cut the covering for elevator and rudder servo bays. For this step we like to use this slit method. This allows the covering to be folded over to the inside of the fuselage when the servo is installed.
Now let's build the fuel tank!
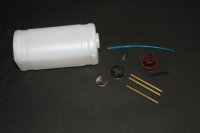
It is always good to write on the tank the fuel line locations.
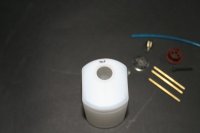
Using a screwdriver about the interior diameter of the fuel tank stopper, pop open the three fuel line holes by pushing the screwdriver through.
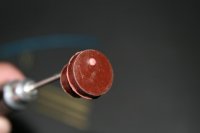
Insert the fuel tubing in this configuration.
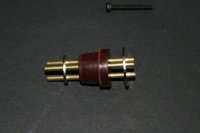
Bend the left brass tube towards the top as this will be the fuel overflow line.
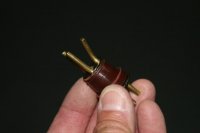
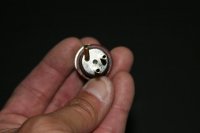
Now install the fuel clunk and line to the bottom brass tubing.
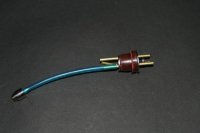
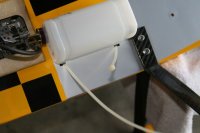
Once you insert the assembly into the fuel tank and tighten down on the screw in front, mark the tank so you know which tube is for what line.
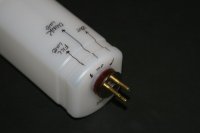
There are two sections on each side of the fuselage that can be removed for running the wires for your avionics. Pete prefers to only remove one section, however you can choose to remove both sections depending on your own preference.
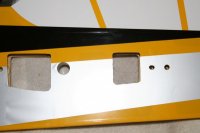
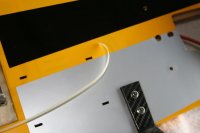
Running the elevator and rudder servos wires will be easiest if you have a long wire or fishing line. Run the wire from the front opening to the rear servo bay opening.
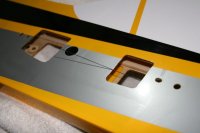
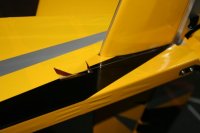
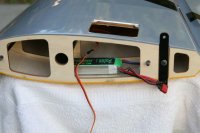
Attach the servo extension ends to the wire or line and pull through to the front opening where your receiver will be located.
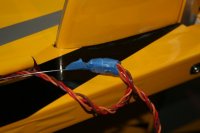
Install your elevator and rudder servos/pushrods.
Note: One side of the pushrod is reverse threads. This makes adjusting the pushrod while on the aircraft easy and quick.
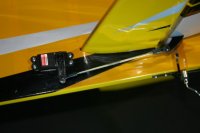
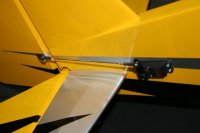
Cut the slot for the aileron surface arm and install the aileron hinges.
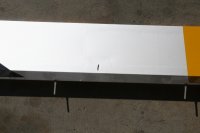
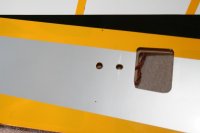
Install the aileron to the main wing and remove the covering for the aileron servo and battery hatch. There is one hatch per wing.
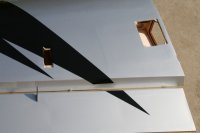
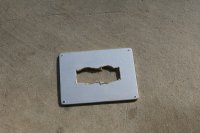
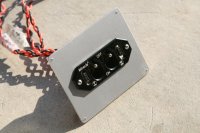
This is your battery hatch and option for a switch to be mounted on the hatch. Your receiver and ignition battery will be mounted on the wing beneath the hatch. One battery per side.
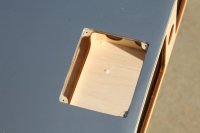
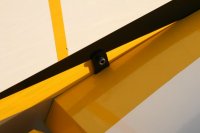
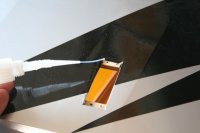
After drilling the holes for the aileron servo screws, use thin CA to coat the servo mounts. This will yield in a stronger servo bay.

Hello 3DRC Forum and Aerobeez pilots and builders and welcome to our 2015 65" Yak 54 20cc Profile build log! This exciting YAK-54 Profile will be built around the DLE-20 engine. Please take note that the build steps are that of our pro pilot Pete. When building a profile ARF, there are several variations that can be taken. Such as your engine choice, side to mount your ignition/fuel tank. There is no real set method. Use your best judgment to see how the fuel tank and ignition placement will fit best for your engine configuration. Also with profile builds, the covering on the fuselage will need to be cut away in several areas to route wires, etc. Do not start cutting all the covering away at the same time. Cut the covering for the area you are working on then move on to the next step. We suggest doing this so that you do not cut away an area that was not needed to be cut. Now let's start the build!
TIP: DUBRO Super Strength Servo Arms are the best match for the Aerobeez Profile ARF's.
Depending on your engine of choice, determine what side your fuel tank and ignition will be located. Once you have decided the location of both, use a bright flashlight to expose the slots you will use.

Then, with a sharp hobby knife, cut away the covering for your ignition location.


On the right side of the fuselage, cut away the first area in front of the main wing tube, the throttle servo slot and the two holes directly below the throttle servo for the carbon fiber landing gear mount.

While you are working on other areas of the build, Pete always recommends using thin CA on the engine mount area, this is known as "wicking" for those unfamiliar with this process. Letting the thin CA absorb into the engine mount will help strengthen the already strong mount.

Now, locate the components to build your landing gear so that we can get this Yak on her wheels!

Use the larger washer on the threaded side of the wheel axle and attach the axle, and wheel spat to the carbon fiber landing gear.


Use a small amount of blue thread lock on the set screw for the wheel collars. This will keep the set screw from coming loose.

Notice the plastic spacer is on the inside of the wheel. The wheel collar on the outside of the wheel.

Now install the carbon gear halves to the fuselage.


The perforated area on the wood in the horizontal stabilizer area will need to be removed.

Use a hand saw and remove the small block section. Note: Be sure not to throw the block away. This block will be glued back to place once the horizontal stabilizer has been glued in.


There are a few methods to center your horizontal stabilizer. We are using a simple ruler. Insert the horizontal stabilizer and measure both sides from root to tip. When you are satisfied with the position, use a marker along the side of the fuselage on the stabilizer. Both top and bottom sides. (Important Note* Take notice the color of the horizontal stabilizer on the top and the bottom. Due to this stabilizer being a fully symmetrical surface and the covering's similarity, you might glue the stabilizer in with the wrong color showing on the top side. This is what occurred in our build. The silver area is the bottom side. If you do make this mistake, your Yak will fly no different at all. Even having the silver side up looks just fine!


Once you have marked both side, remove the stabilizer and carefully cut away and peel off the covering on both the top and the bottom.


Insert the stabilizer into the fuselage and measure once more to make sure the stabilizer is centered. When you are read with the location, use thin CA along the stabilizer. This will "wick" the CA into the stabilizer and the fuselage. You will need to repeat these steps a few times with the thin CA. When the top and bottom thin CA has cured, use medium CA and go over the area once again with one thin bead. Allow to cure completely.

Remove the covering on the control surface arm slots from the rudder and elevator. Pete chose to mount the rudder servo on the right side and the elevator servo on the left side of the fuselage. Be sure to remove the covering on the correct sides of the control surfaces.

There are a few ways to install the control surface arms. It is always best to use a rotary tool or 800 grit sandpaper and lightly scuff the arms on the side where they will be glued to the surface. Pete uses 5 minute Epoxy as his adhesive of choice. However, CA has been used by various pilots.

Glue the control surface arms to the elevator and rudder.

Use a drop of household oil on the pivot area of the hinges to prevent the epoxy from adhering to the pivot area.

Now, using Epoxy, glue the hinges into the control surface.
Note: Glue only one side of the hinge at a time. Trying to epoxy both sides may result in hinges not in the correct locations causing binding.

Once the elevator has been installed, glue the hinges for the rudder.

Notice the block is now glued back into position. This step will take a bit of cutting depending on your elevator position. You may have to cut this block more thin to be able to fit in the location. Check the elevator for clear movement and glue the block into position. When the block adhesive is cured, glue the rudder to the vertical stabilizer.
Note: the bottom pivot hinge may need to be clipped shorter to be sure there is no contact with the elevator.

Now, locate and install the tail wheel assembly.


Once the tail wheel has been installed, cut the covering for elevator and rudder servo bays. For this step we like to use this slit method. This allows the covering to be folded over to the inside of the fuselage when the servo is installed.


Now let's build the fuel tank!

It is always good to write on the tank the fuel line locations.

Using a screwdriver about the interior diameter of the fuel tank stopper, pop open the three fuel line holes by pushing the screwdriver through.

Insert the fuel tubing in this configuration.

Bend the left brass tube towards the top as this will be the fuel overflow line.


Now install the fuel clunk and line to the bottom brass tubing.

Once you insert the assembly into the fuel tank and tighten down on the screw in front, mark the tank so you know which tube is for what line.

There are two sections on each side of the fuselage that can be removed for running the wires for your avionics. Pete prefers to only remove one section, however you can choose to remove both sections depending on your own preference.

Running the elevator and rudder servos wires will be easiest if you have a long wire or fishing line. Run the wire from the front opening to the rear servo bay opening.


Attach the servo extension ends to the wire or line and pull through to the front opening where your receiver will be located.

Install your elevator and rudder servos/pushrods.
Note: One side of the pushrod is reverse threads. This makes adjusting the pushrod while on the aircraft easy and quick.


Cut the slot for the aileron surface arm and install the aileron hinges.

Install the aileron to the main wing and remove the covering for the aileron servo and battery hatch. There is one hatch per wing.

This is your battery hatch and option for a switch to be mounted on the hatch. Your receiver and ignition battery will be mounted on the wing beneath the hatch. One battery per side.

After drilling the holes for the aileron servo screws, use thin CA to coat the servo mounts. This will yield in a stronger servo bay.


