• If you are new to GiantScaleNews.com, please register, introduce yourself, and make yourself at home.

    We're 1st in Giant Scale RC because we've got the best membership on the internet! Take a look around and don't forget to register to get all of the benefits of GSN membership!

    Welcome!
  • Unless you are a paid advertiser NO more posting advertisement in the individual vendor forums. You may post in the Manufacturer's Announcements section only but only ONCE a month unless your a paid advertiser.

HobbyKing Piaget EPP build log

cam4569

70cc twin V2
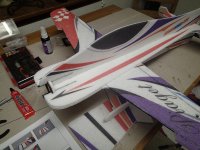
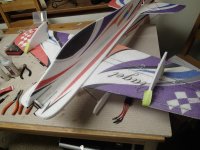
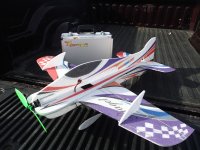
Ok so as I was looking for another (backup) indoor flier I came across this Hobbyking EPP plane. for 41 dollars I figured it was a decent deal and worth a shot. Total with all the extras needed this plane can be built for under 75 dollars, not bad when the last EPP plane I built cost double that.

P2120027.JPG

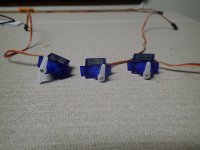
I already had the RX and the ESC that was listed as needed on the website so that brought my cost down. I did order a couple packages of props and 4 servos (one extra because I have seen some of the cheaper ones not work out of the box).

That being said here are the specs as listed online
Spec.
Fuselage length: 900mm
WingSpan: 820mm
ARF Weight: 210 - 240g

Included ;
Motor : 1500kV Brushless outrunner
Airscrew : 9050 slow flyer

Required ;
Battery : 2S~3S 800mah 15C
Servo : 3 x 9g
ESC : 18A

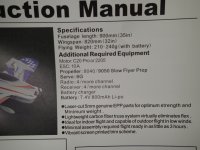
The manual doesn't match up:
P2110026.JPG

The manual calls for a 10A ESC also the motor in the box has no markings on it so I wonder if what was included in the box is what was advertised online or what the manual states. I have an 18A ESC on hand so we will see if the motor will turn the 9" prop once installed.

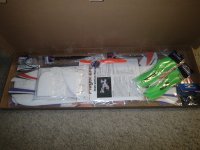
The box arrived within 3 days of placing the order, I was surprised however that the one box had my entire order just tossed on top of the plane
P2110019.JPG
The plane itself was tapped down (a lot) when un-boxing you will need a sharp knife to cut through all the clear packaging tape that is holding every piece to the box. I should say each piece is also wrapped and sealed in plastic.
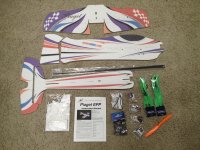
P2110020.JPG
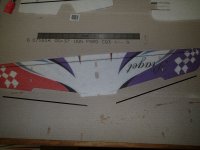
The plane looked to be cut well, all the pieces have clear indents where you need to cut to attach everything together. The elevators and ailerons are attached to their respective wings/stabilizer you will need to cut these off to attach the hinges but like I said they are pre cut so will be easy to remove. The foam is 3mm thick so I expect this will be a fairly light plane once built, I am curious if it will hold up as well as my other higher priced brand EPP planes.

A note about this plane: if you have not built an EPP or a plane before this doesn't appear to be a good one to start on. there are a lot of small parts and the manual is not great. lining everything up and making it square may be a challenge at best. After perusing through the manual there are a few things that don't make sense to me on the build so I will use it more as a "guide" than an step by step manual. The first thing is that it recommends CA for everything, I will be using Welders for most of this build as I have had good luck in the past with it on EPP.

I will come back and update this thread as I work on the plane, it is not a priority at this point but should be done in about a week or two. If you have any questions I would be glad to attempt to answer...
 
Last edited by a moderator:

cam4569

70cc twin V2
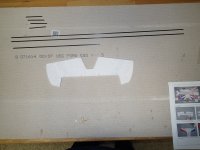
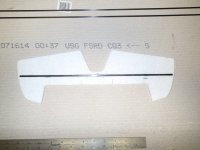
Ok I could not resist and started the build today. First step was to attach a carbon rod to the elevator. The manual doesn't say which rod to use only to cut one to 385mm. I went through the rest of the manual and laid out the other parts and determined that the shorter rod was the one to cut.

P2120030.JPG

there are no guidelines or directions as to where exactly this is supposed to attach to I estimated and marked it

P2120032.JPG

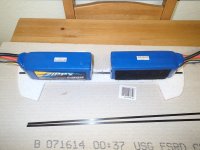
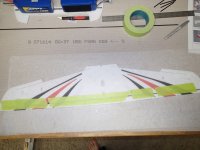
Using Welders adhesive I tacked it down and used some batteries to hold it flat while it dries
P2120033.JPG

From here the manual wants you to attach the hinges and the elevator to the stabilizer. I chose to let this dry and work on attaching the carbon rods to the wings and fuselage.

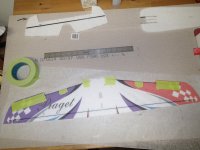
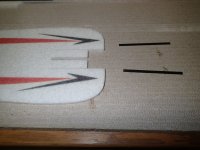
The ailerons need to be cut from the wings
P2120036.JPG

And the slot opened up for the carbon rod
P2120035.JPG

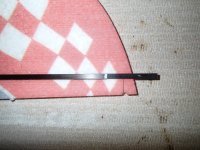
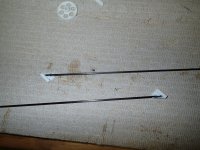
Measure and cut the rod to length
P2120039.JPG

I added Welder to the slot and smeared it together to get both sides nice and tacky
P2120041.JPG

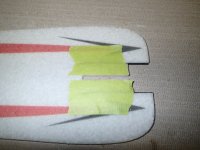
Fit the rod and used some painters tape to pull it together while it dries. I used some wax paper under the wing in hopes the glue wouldn't sick to the work surface
P2120043.JPG

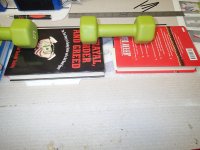
Fold the wax paper over and pile some weight on it
P2120045.JPG

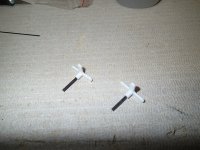
In the nose area of the fuselage there are short carbon rods to be inserted
P2120047.JPG

Same process, tack both surfaces then tape it together
P2120048.JPG

now repeat for the vertical 1/2
P2120050.JPG

I set them aside with some weight on them to dry
P2120051.JPG

That is it for today, Now the honey due list
 
Last edited by a moderator:

cam4569

70cc twin V2
Had some time to work on the plane again. It has come along quicker than I anticipated.

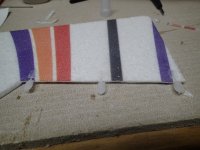
First thing today was to attach more carbon to the front of the wing, measure and cut to length
P2140052.JPG


P2140053.JPG

I used Welders and tapped the carbon down so the foam and carbon could bond straight
P2140054.JPG

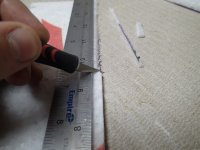
Next step was to bevel the lower leading edge of the ailerons
P2140056.JPG

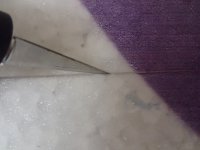
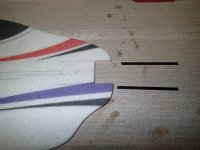
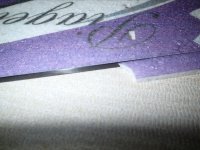
A note on this make sure you use a sharp knife, you can see below where my knife was dull and then when I put a new blade on
P2140057.JPG

The hinges are a cheap version of pin hinges sort of
P2140058.JPG

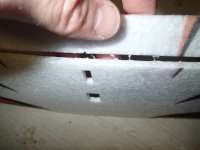
The pre-cut slots for the hinges lined up on all the surfaces, I used CA here and was careful to only put a drop on the rear edge of each slot to keep the CA out of the pivot point
P2140059.JPGP2140060.JPG

P2140061.JPGP2140062.JPG

I turned the wing over and added a drop of CA to the back of each slot to help lock everything in place

Then follow the same procedure for the elevator
P2140063.JPG

Moving to the front of the airplane add the "fuselage double" to the underside of the fuselage
P2140066.JPG

I used wax paper and weight to hold it all together while it dried
P2140068.JPG

Once dried attach the wing to to bottom of the fuselage
P2140069.JPG

Make sure the wing is square and the "alignment" hole is lined up. I used Welders for this joint as well
P2140071.JPG

Time to separate the upper and lower halves of the fuselage
P2140072.JPG

I then added the landing gear supports to each side
P2140075.JPG

Using Welders I attached the lower fuselage to the horizontal ensuring it sat at 90 degrees
P2140077.JPG

The manual says that now I needed to cut 2 313mm rods and 2 297mm rods .... hmm decisions decisions
P2140078.JPG

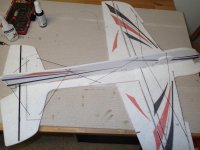
I chose to cut the 4 middle size rods, then attached them to the lower fuselage as shown in the manual
P2140081.JPG

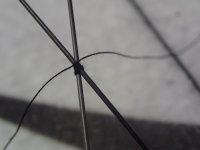
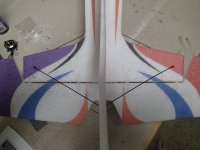
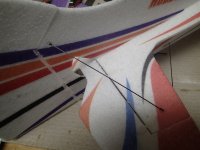
According to the manual use "thin" string (none provided) to tie the rods together where they cross. I used sewing thread and tied a knot on top of the X then on the bottom then again on the top and repeated until I had 3 knots on each side. I then added a drop of thin CA to the thread
P2140082.JPG

From there I cut and installed the remaining lower carbon rods
P2140083.JPG

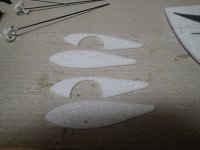
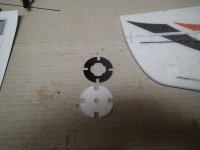
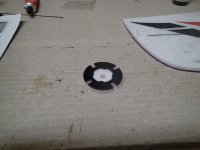
I moved on to the landing gear, the manual had no good directions on how to assemble these, just one picture of the parts laid out on a table and then assembled
P2140084.JPGP2140087.JPGP2140088.JPGP2140092.JPG

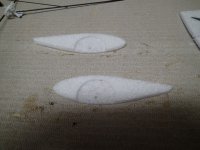
Then using welders I put the wheel pants together
P2140093.JPGP2140094.JPG

Glue the pants to the wheels
P2140095.JPG

Finally attach the landing gear to the plane.
P2140098.JPG

That is about all the adhesive i can smell for one night.. more to come soon
 
Last edited by a moderator:

cam4569

70cc twin V2
Ok I had a chance to finish this build over the last couple days, so back to where I left off:

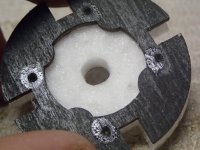
The "firewall" needs to be attached to a piece of foam, I used welders for this
P2140099.JPGP2140100.JPG

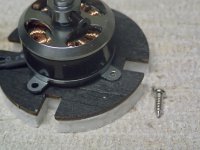
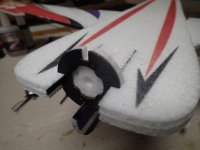
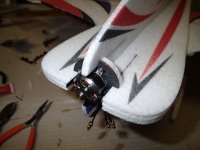
then I lined up the motor and pre drilled and threaded the mounting screws, followed by a drop of thin CA in each hole
P2150102.JPGP2150103.JPG

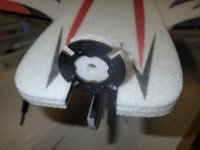
This part was a pain and I think should have been done prior to joining the lower vertical fuse or prior to adding the additional foam to the front end. Trying to cram 3 sides of the firewall into position I am surprised I didn't break the foam.
P2150104.JPGP2150106.JPGP2150107.JPG
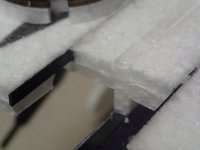
I managed to get it in by compressing the "extra" foam that thickens the front of the fuselage and inching it back until it went into place

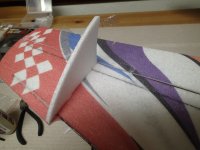
Attaching the rudder is the same as the other surfaces, just bevel the edges attach hinges and glue into place
P2150109.JPGP2150110.JPGP2150112.JPG

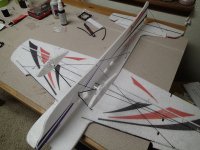
The plane is starting to take shape, Joining the upper fuse was as easy as putting the tabs into the slots I use welders for this
P2150111.JPG

Add a few more carbon rods to the upper stabilizer
P2150113.JPGP2150114.JPG

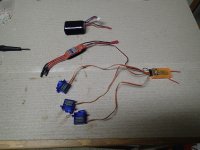
now for the electronics, I put power to the receiver and bound it to the transmitter so I could zero the servos and install the control horns
P2150116.JPGP2150117.JPG

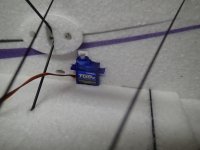
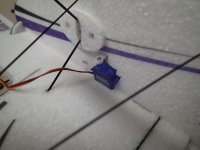
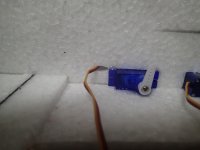
Again the directions call for cramming parts together that would have been much easier to place earlier in the build process, the aileron servo for instance. I also had to cut the hole bigger so that it would fit, then I had to take the arm off, cram the servo in and install the arm while it was 3/4 installed.
P2150118.JPGP2150119.JPG


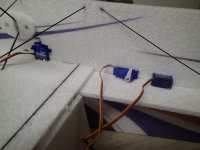
The rudder and elevator servo holes had to be enlarged slightly but these were a much easier fit, I should mention that having a plan on where your receiver is going to be located by this point is a good idea for running wires
P2150120.JPGP2150121.JPG

mounting the control horns was as easy as snapping the two pieces together through the pre drilled holes. I added a dab of CA to help hold them tight
P2150122.JPGP2150123.JPG

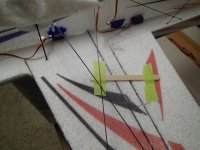
I use Popsicle sticks and masking tape to hold the control surfaces flat while preparing the rods
P2150127.JPG

I cut the steel rod to equal size lengths
P2150128.JPG

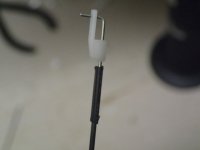
bend them to 90 degrees and dry fit the carbon to the steel with the (I'm not sure the technical term for them) keepers
P2150129.JPG

Once your happy with the fit, use the supplied shrink tub to hold the carbon rod to the steel rod, then use thin CA "wick" a drop into the joint *hint gravity helps in this case*
P2150130.JPG

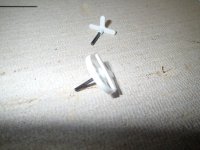
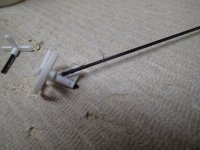
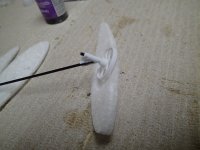
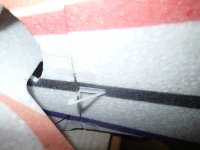
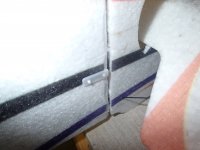
Included are two little rod supports, I glued the two parts together and slid them on the rods for final fitment later
P2150134.JPGP2150137.JPG

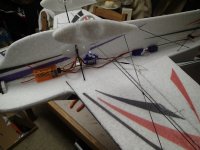
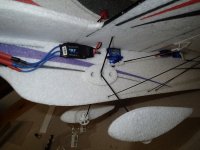
once all the rods are installed the build was fairly straight forward, install the motor, electronics and a few little pieces here and there
P2150139.JPGP2150141.JPGP2150142.JPGP2150144.JPGP2150146.JPG

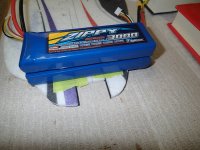
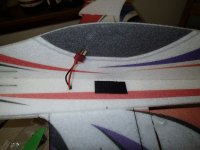
I measured and marked the CG, then using my 3S 850 battery for weight I made sure it was correct and attached the velcro
P2150145.JPG

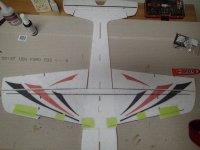
Now the hard part, wait for all the adhesive to cure before flying, I decided to try the plane without the optional air brakes installed to see how it goes
P2160148.JPG
 
Last edited by a moderator:

cam4569

70cc twin V2
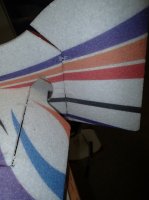
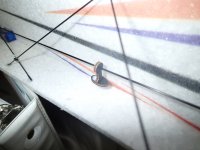
Okay so first flight impressions,... not great outdoors, at all.. I mean don't try it with any breeze or wind. The slightest breeze would throw the plane around making trimming almost impossible. Flight was unstable at best. I could see the fuselage flex and bend in the breeze that was barley enough to move my hair. I noticed that the ailerons were also bending, I think this could have been avoided by moving the control horn out to the middle of the control surfaces instead of on the inner corners.
P2150132.JPG
I also noticed that the throw on the ailerons was only about 1/2 up what they are going down, but this didn't seem to effect it much.

I attached the air brakes and flew it in the gym. Wow what a difference that made. It did not feel like the same plane at all. the plane flew low speed, knife edge, rolls, and hovered easily which was surprising considering how heavy the plane is and how flexible the thin foam is. That being said remember this is a 40 dollar plane and it is not going to be a 3D monster, but for indoor fun flying and learning some basic techniques, for 40 dollars I can crash it a lot and replace it twice before moving on to a more advanced 3d air frame, and with the benefit of having more stick time by then.
 
Last edited by a moderator:
Actually pretty well. Been kind of hard on it but had gone real light on all the electronics. T-motor 2402, 3 little graupner servos, a super light lemon receiver. The only thing that was a few grams extra was I used a castle 15 amp ESC because of the BEC current output. Broke the motor mounts areA with a direct hit to a b-ball backboard. Been enjoying it so far.
 

Yuedh

New to GSN!
Need some help. I followed this thread and completed the build. I am having a problem. The prop will not stay on. I am using the motor that came with it and got a 8040 prop for it. I used the proper insert that comes with the prop and fit the metal piece into that, place it on the motor and used the o-ring to retain it. Twice it came off with little throttle. Are you supposed to use both of the O-rings or am I just doing something terribly dumb?

FYI this is my first plane that does not have a shaft for the prop. I assumed it wouldn't be too hard.
 
Top