OK Guys here we go.......
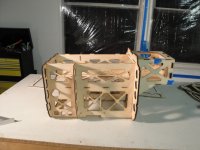
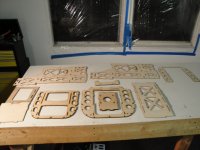
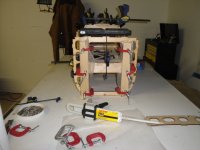
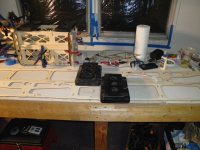
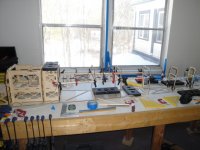
I gathered up all of the motor box parts and dry fit them together first to check the fit before gluing. All of the parts fit perfectly and tight. The motor box is self aligning so no jigs are needed for the assembly. Before final glue up of the motor box make sure the left motor box side is on the left and the right is on the right......if not you will have left engine thrust, which is not a good thing !
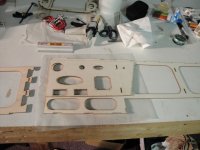
The 1/4 and 1/8 inch firewall plates need to be laminated together before starting final assembly of the motor box.
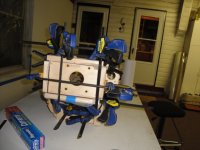
After letting the firewall setup for a short period the motor box was then assembled using Hysol 9462, it was then clamped together and put aside to cure.
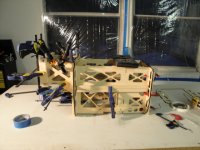
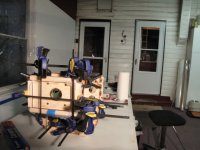
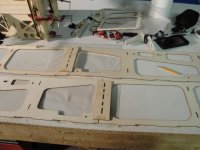
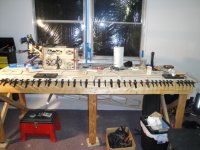
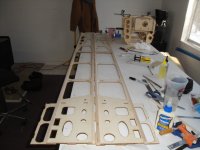
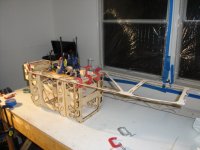
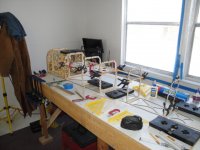
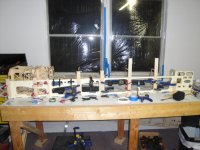
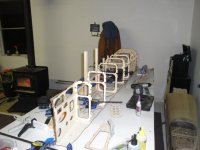
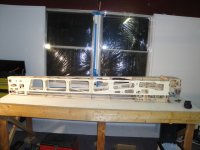
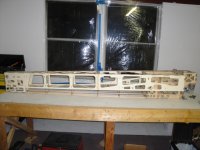
Next the fuse sides where joined together, there is a doubler that is added where the two fuse sides join, you can use F5 to align the doubler to the sides. Also there is a doubler that is added to the fuse sides at the tail. Two 3/8 x 3/8 pieces of balsa stock need to be spliced together to make up a top and bottom longeron. After making up the fuse sides I then glued the fuse top to the top of the motor box, again the fuse top is tabbed to align with the motor box so its all self aligning. The motor box and fuse top is then turned upside down on the build table for the rest of the assembly. Next I used servo screws to secure the fuse top and motor box to the build table. The remaining formers and servo trays are then glued to fuse top. The fuse sides are then dry fit to make sure there are no problems before final assembly to the motor box and fuse top. After encountering no issues with the fit of the fuse sides it was time to gather up a lot of clamps and the Hysol EHP20. The fuse sides are then assembled and left to cure , then tail post and 1/4 bottom stringers are glued on.