• If you are new to GiantScaleNews.com, please register, introduce yourself, and make yourself at home.

    We're 1st in Giant Scale RC because we've got the best membership on the internet! Take a look around and don't forget to register to get all of the benefits of GSN membership!

    Welcome!

Scale 20cc DHC-2 "Beaver" Kit Build from Moustache Model Works

AKNick

640cc Uber Pimp
Summer is over. My poor DHC-2 has been neglected!!

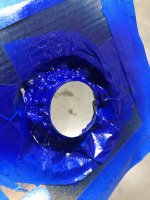
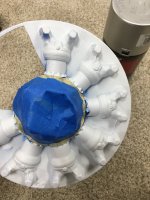
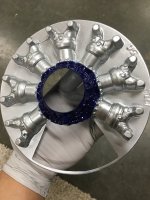
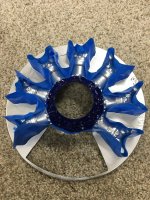
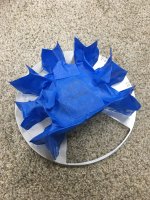
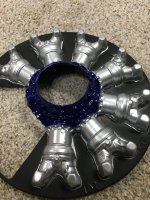
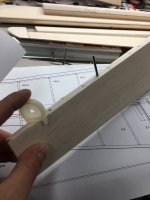
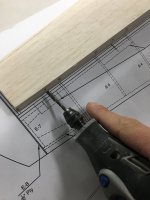
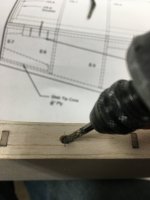
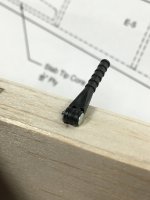
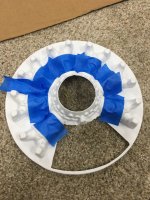
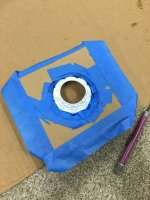
Recently cut the opening for the engine cooling through the dummy radial.

painted it via rattle can and masking tape. The more I look at it, the more it needs pushrods. Who knows, maybe ignition leads...
F00AE8BD-B66B-44C0-857C-7B4BC86F29D2.jpeg 77A65D73-9E03-4ACA-8F27-7F9FB28D580C.jpeg FD1201D9-9F25-47E6-99C3-5A04946A7C3D.jpeg 19E084D5-A11D-47BC-8685-147A1280EFF4.jpeg F6BD7946-DDF6-4701-A2EA-EC8B9D54B29B.jpeg 37B47E28-C8B9-486E-86AB-B4A009D9076F.jpeg 1CE7610F-54DC-4278-A5FC-AC24BE78C1A4.jpeg 49BE76BC-F328-445F-892E-758459D85686.jpeg

I still have to finish my super otter floats, but that's just a pre-courser to me making a set for this airframe. Still on the back burner, but it's getting close to being tackled on the work bench again.
 

AKNick

640cc Uber Pimp
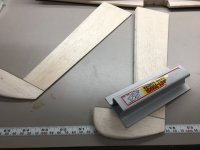
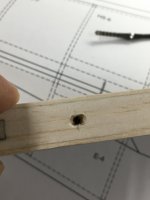
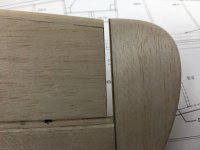
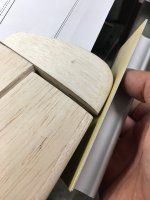
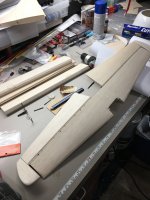
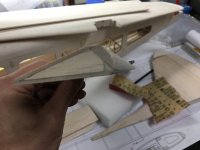
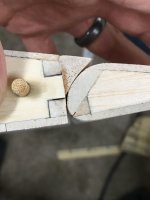
Starting to tie up some loose ends. Sanded the leading edge of the horizontal, fitted the elevators in place, drilled hinge holes, fitted, and then sanded to make the counterbalances match the leading edge of the horizontal. Note there is a bit of a gap for the sea fins to be installed. There sure was a lot of sanding to get the counter balances to look uniform and follow the outline like it should. But worth the effort. Next I need to utilize the elevator joiner or make my own. Slight debacle but I’ll explain that later.
FE41310E-5452-4F42-B2A3-D857C4221327.jpeg 49E8ADE1-52BB-4043-8244-376C98B48A90.jpeg B45B6B2C-899E-4AE3-8E31-0E7EC5F58F27.jpeg 866E5820-6C55-46D8-854D-ECE29E6FB94E.jpeg 6CC8275B-07A5-44A9-BCD2-26BA11FCB72C.jpeg D7B09DC8-6395-4661-8211-6B6C6BA1A000.jpeg CC99F012-D403-46C0-A782-0EB2E86D6C3F.jpeg 3CA472A5-87BE-4079-B188-FA899562A23A.jpeg 69E8845C-2FD1-4404-AF5E-4743FAE25A98.jpeg 73DD1AAD-0F00-4213-9088-92ECE8712191.jpeg 0BB3D967-617C-4E58-892A-0B6F0CDEF07F.jpeg C024625E-357A-4E7F-9439-5F86E9E49DC6.jpeg A9822FD5-01C4-4C82-AE0C-E5A8535B50ED.jpeg
 

AKNick

640cc Uber Pimp
Ok @AKNick what has happened you sold it ?

Nope! I kept running into road blocks that prevented me from completing tasks - so I was finishing parts about 80% of the way and ordering parts or improving things up to my standard so to speak. I don't trust my supplied elevator joiner so I need to make another. Rudder control arm seems hokey to me, and the factory did a lousy job threading the metal rods. So I just kept getting stuck and instead of powering through it, I moved on. Now I'm dealing with these problematic pieces to complete the airframe. Quite a bit of finish sanding to do as well. I guess my biggest issue has been keeping momentum... and whilst I have lots of other projects (89Laser and the Otter mainly) consuming my time.
 

AKNick

640cc Uber Pimp
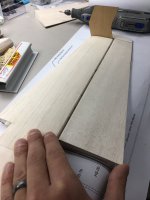
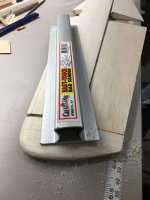
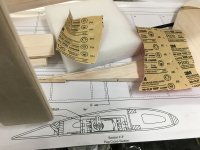
Got around to finish sanding the ailerons and flaps. Used the plans to get the contour right. 120 grit made quick work, followed by 220.
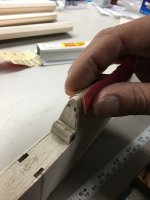
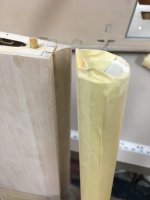
Decided I wanted to concave the tri-stock where the flaps rest with a PVC tube and some sticky 220 grit. This is not per the plans but made a little better fit in my opinion.
E4E073D8-5B02-443F-8A32-FE4A49FBB0B9.jpeg A07B6438-1775-4F64-9575-C6A0D1B1954A.jpeg 6F77C045-506E-46AA-9985-0FD706D46584.jpeg D4293476-AC8A-4ADC-93D7-28AF49F492BD.jpeg 3CD9879A-A55E-4BCE-8341-D124A4D7E3CA.jpeg BF0BBFE6-0F9B-46F2-9D82-F95B7CA5CA3F.jpeg
 

AKNick

640cc Uber Pimp
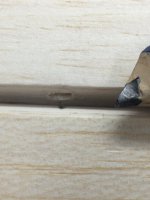
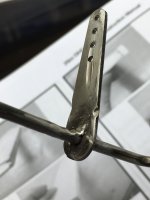
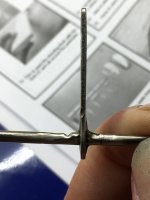
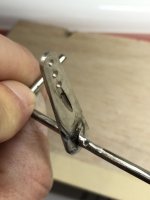
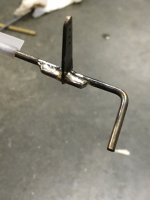
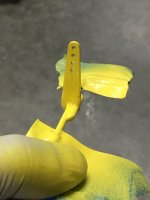
Finally figured out a way to make me trust the elevator joiner. The one I received should have never made it into the box. Steel is strong, but hmmmm this was a piece of tack welded junk that a grinding disc violated.
0C37760E-B5BA-4816-8CAC-5FA868EBF638.jpeg 53E752A8-C830-4C0F-8BAA-603476C874C5.jpeg 14E05A2A-9504-4818-BDCA-B876BBF86D28.jpeg

So after wishing to get a Tig Welder with no luck... I made a plan. Took a grinder to the aft side and made a slot to fit a piece of music wire snugly up against the damaged portions. Silver soldered them together, cleaned up, and painted yellow. It’s a pretty important piece, and I believe I can trust it now.
5553B77D-6C08-4F7D-9B19-5A2A0B8F832D.jpeg 9940F1BA-F52E-487D-AF89-BE7AC46554B0.jpeg
 
Top