GSNadmin
Staff member
One of the most important tasks to do with any giant scale airplane you build is to install the hinges correctly. This article shows how I did it with my Balsa USA Fokker Triplane, and with this giant scale 33% WW 1 fighter, I wanted everything just right. Let’s check out these hinges and how to install them.
Hinging Made Easy.
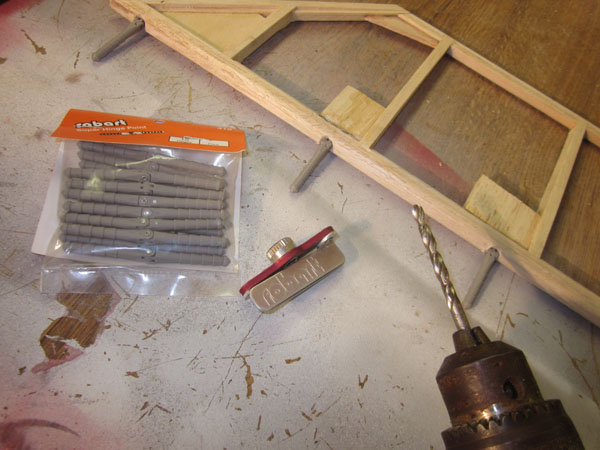
I think the easiest hinges to install in a built up airplane like the Triplane are the Robart HingePoints. All you need is the Robart drill guide and a sharp 3/16-inch drill bit. (for the big hinges). Also to give something for the glue to stick to, you need to install some hinge pocket blocks. I make these slightly thinner that the thickness of the control surface so they don’t show through the covering.

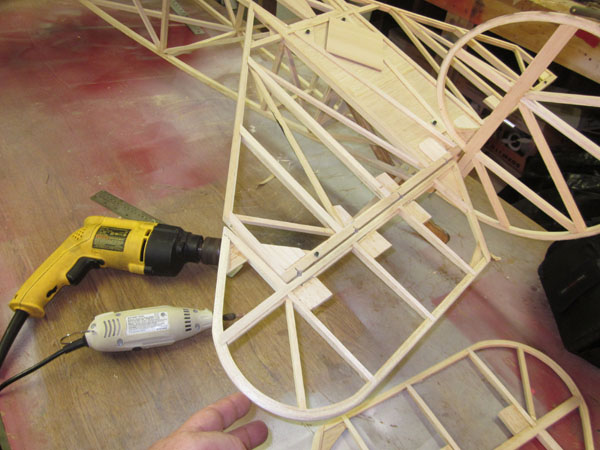
I mark the hinge locations with the surfaces held together so they line up properly. You place the self-centering guide over the mark and drill with the 3/16 inch drill keeping the bit square to the control surface edge. Once all the hinge holes are drilled, I fit the HingePoints into place and check the alignment. if all is OK I then use a round file or a round bit in a Moto-Tool to form half-round pockets to clear the hinge knuckles. This keeps the hinge line gap to a minimum.

As you can see, the elevator edge has been rounded and the HingePoint sets nicely in the half-round space.

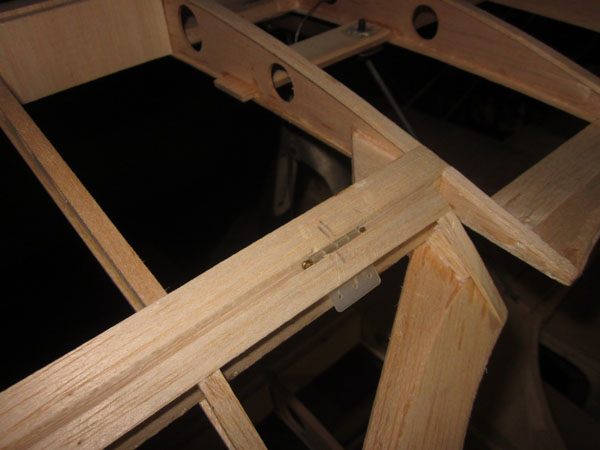
Here you see the pocket blocks added to capture the HingePoints. I used 1/4-inch thick balsa and they are all installed so the hinges go into the end-grain. This increases the wood’s grip when it swells as the glue dries.
Once the HingPoints are all in place, you can check the movement and make sure there is no binding and the surface moves smoothly.

When the hinge is too long for the surface, you can easily cut it to length. Here I have not yet cut the hinge to length. The covering will seal the hole in the elevator trailing edge.
Aileron Hinges
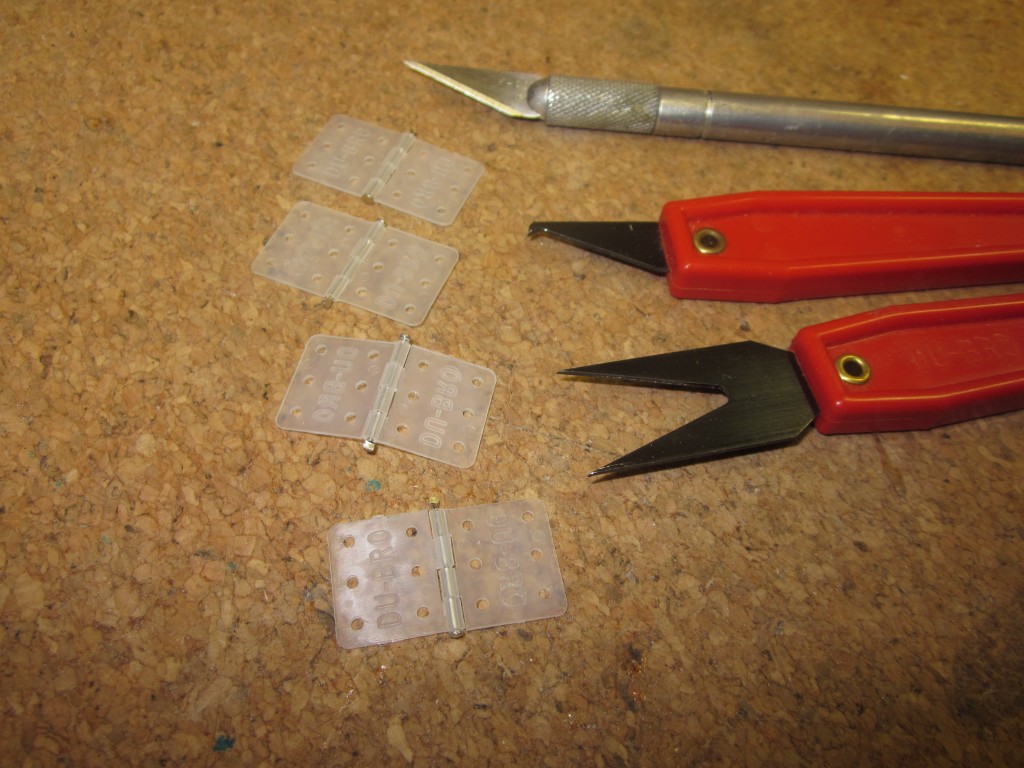
For Flat Hinges like those from DuBro and I use the Hinging Slot cutting tool set from DuBro as well. They are easy to use and they make the job quick to complete.
Here is the inner end of the aileron with the DuBro flat hinge installed. I like to install all the hinges in the movable control surface and then transfer their locations to the trailing edge of the wing.
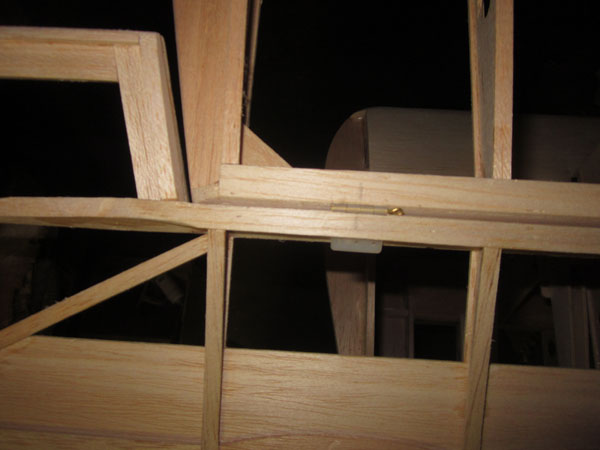
You can use the brass cotter pins that come with the hinges (quarter scale) or you can replace them with a length of music wire that is long enough to go through all the hinges.
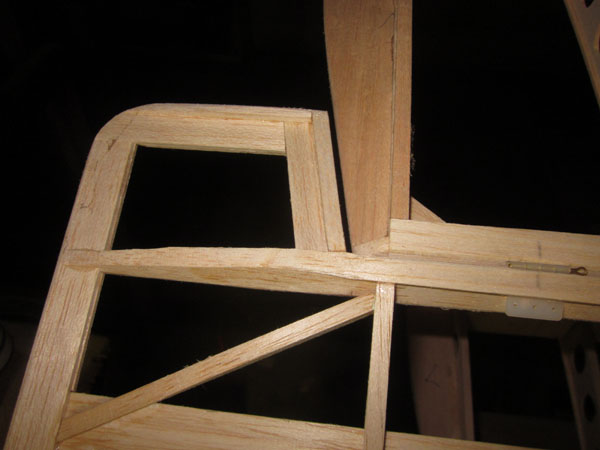
It is important to keep the clearances between the wingtip and the aileron counter-balances. 3/32-inch is about right for cloth covering.

Depending on the thickness of your trailing edge, you can simply glue the hinges in place after covering, or you may need to glue in pocket blocks like was done on the elevators before covering.

You should also have your control horns and servo ready so you can establish the linkage location to position the control horns. (to keep the linkages straight.)
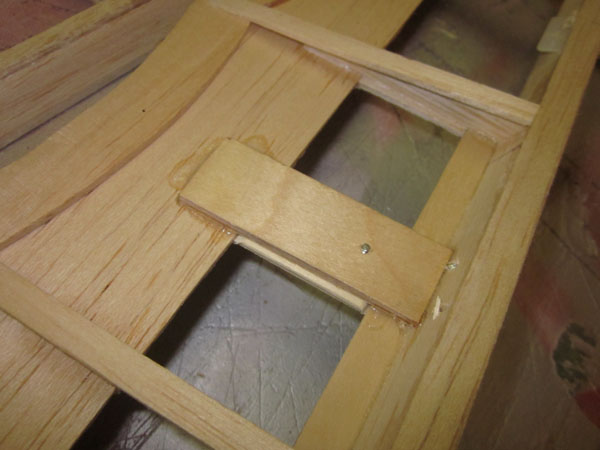
I added a plywood internal brace for the aileron control horns to add regidity and minimize flex of the control surface.
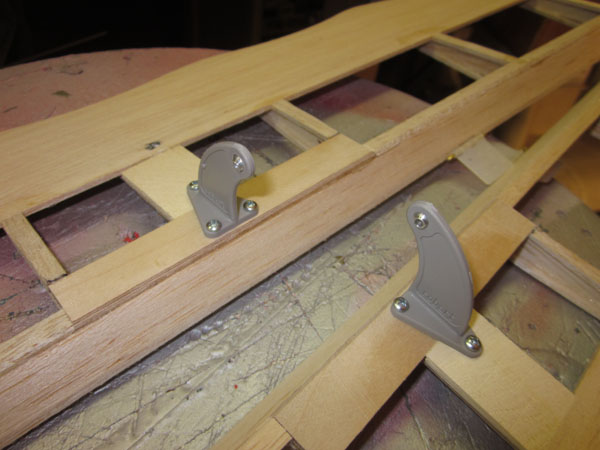
Here are the control horns screwed into place.
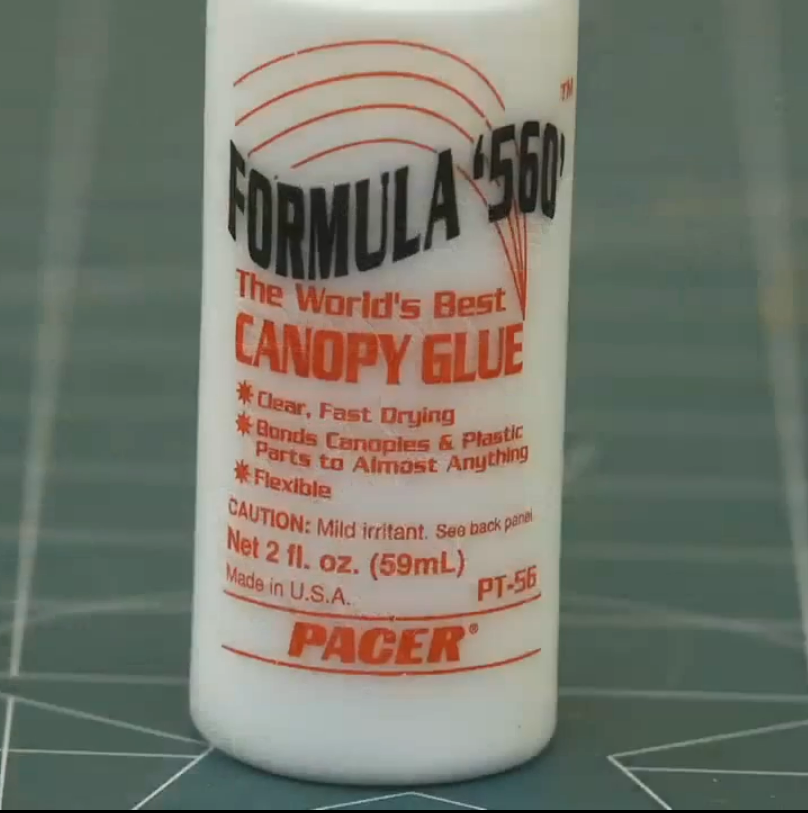
Tip: For years I have used Pacer’s Hinge Glue for all my model airplanes. Unfortunately, this glue is no longer available but a great substitute is the Formula 560 Canopy Glue from Pacer. It is basically the same formula but it is not tinted to match the color of balsa, and it dries clear. Just like when you use it with canopies, the glue sticks great to the smooth plastic of the hinges and being water based, it when you apply it to the inside of the hinge slots, it swells the wood around the hinges while it cures. This increases the mechanical bond around the hinge and really grips it and holds it in place. In the end, I think the results are a lot better than using thick 2-part epoxy! And, if you get any glue in the hinge pivot pin, or it oozes out of the slot, you can simply wipe it away with some water to clean it up!
If you have any questions, let me know by leaving you comments below.
Cheers
GY
 http://www.modelairplanenews.com/wp-content/uploads/2016/02/MAN_Button_newsletter_WEB.jpg
Model Airplane News - The #1 resource for RC plane and helicopter enthusiasts featuring news, videos, product releases and tech tips.
Continue reading...
Hinging Made Easy.
I think the easiest hinges to install in a built up airplane like the Triplane are the Robart HingePoints. All you need is the Robart drill guide and a sharp 3/16-inch drill bit. (for the big hinges). Also to give something for the glue to stick to, you need to install some hinge pocket blocks. I make these slightly thinner that the thickness of the control surface so they don’t show through the covering.
I mark the hinge locations with the surfaces held together so they line up properly. You place the self-centering guide over the mark and drill with the 3/16 inch drill keeping the bit square to the control surface edge. Once all the hinge holes are drilled, I fit the HingePoints into place and check the alignment. if all is OK I then use a round file or a round bit in a Moto-Tool to form half-round pockets to clear the hinge knuckles. This keeps the hinge line gap to a minimum.
As you can see, the elevator edge has been rounded and the HingePoint sets nicely in the half-round space.
Here you see the pocket blocks added to capture the HingePoints. I used 1/4-inch thick balsa and they are all installed so the hinges go into the end-grain. This increases the wood’s grip when it swells as the glue dries.
Once the HingPoints are all in place, you can check the movement and make sure there is no binding and the surface moves smoothly.
When the hinge is too long for the surface, you can easily cut it to length. Here I have not yet cut the hinge to length. The covering will seal the hole in the elevator trailing edge.
Aileron Hinges
For Flat Hinges like those from DuBro and I use the Hinging Slot cutting tool set from DuBro as well. They are easy to use and they make the job quick to complete.
Here is the inner end of the aileron with the DuBro flat hinge installed. I like to install all the hinges in the movable control surface and then transfer their locations to the trailing edge of the wing.
You can use the brass cotter pins that come with the hinges (quarter scale) or you can replace them with a length of music wire that is long enough to go through all the hinges.
It is important to keep the clearances between the wingtip and the aileron counter-balances. 3/32-inch is about right for cloth covering.
Depending on the thickness of your trailing edge, you can simply glue the hinges in place after covering, or you may need to glue in pocket blocks like was done on the elevators before covering.
You should also have your control horns and servo ready so you can establish the linkage location to position the control horns. (to keep the linkages straight.)
I added a plywood internal brace for the aileron control horns to add regidity and minimize flex of the control surface.
Here are the control horns screwed into place.
Tip: For years I have used Pacer’s Hinge Glue for all my model airplanes. Unfortunately, this glue is no longer available but a great substitute is the Formula 560 Canopy Glue from Pacer. It is basically the same formula but it is not tinted to match the color of balsa, and it dries clear. Just like when you use it with canopies, the glue sticks great to the smooth plastic of the hinges and being water based, it when you apply it to the inside of the hinge slots, it swells the wood around the hinges while it cures. This increases the mechanical bond around the hinge and really grips it and holds it in place. In the end, I think the results are a lot better than using thick 2-part epoxy! And, if you get any glue in the hinge pivot pin, or it oozes out of the slot, you can simply wipe it away with some water to clean it up!
If you have any questions, let me know by leaving you comments below.
Cheers
GY
http://www.modelairplanenews.com/wp-content/uploads/2016/02/MAN_Button_newsletter_WEB.jpgModel Airplane News - The #1 resource for RC plane and helicopter enthusiasts featuring news, videos, product releases and tech tips.
Continue reading...