• If you are new to GiantScaleNews.com, please register, introduce yourself, and make yourself at home.

    We're 1st in Giant Scale RC because we've got the best membership on the internet! Take a look around and don't forget to register to get all of the benefits of GSN membership!

    Welcome!

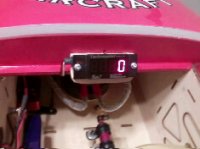
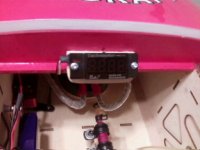
DA 120 with onboard Tach.

49dimes

Damn I'm hungry
"Muttdog" from over yonder did a nice piece on adding telemetry to a Stock DA 120 and ignition.

I had added an onboard tachometer a while before he did his really nice "how to".

Any body interested on how to add an on board tachometer???

1) Aids tuning. 2) Reliable RPM data. 3) Cheap to do. 4) No risk to on board electronics.

Best of all it will take only ONE hell ya! for me to do it. Plane clothes language will be used through out!
 
Last edited:

Alky6

150cc
"Muttdog" from over yonder did a nice piece on adding telemetry to a Stock DA 120 and ignition.

I had added an onboard tachometer a wile before he did his really nice "how to".

Any body interested on how to add an on board tachometer???

1) Aids tuning. 2) Reliable RPM data. 3) Cheap to do. 4) No risk to on board electronics.

Best of all it will take only ONE hell ya! for me to do it. Plane clothes language will be used through out!
Hell Yeah! Will have a DA 100L coming down the pike to stick in a soon to begin building JTEC 2.7m Extra. Will need RPM data. Do I say hell yeah or hell ya? Let's see it! Thanks!!
 

49dimes

Damn I'm hungry
Hell ya!

It's on then. I got a few pic's to take and my 104 / 120 is in
Photo207.jpg
my shop waiting for me to get started
 

49dimes

Damn I'm hungry
Here is what you will need:

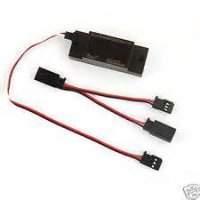
1) Rcexl Tachometer (either version will work).
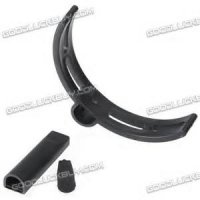
2) Sensor mounting bracket (I recommend the adjustable shown)
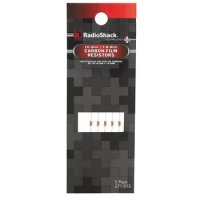
3) 1/8 watt 10k ohm resistor.
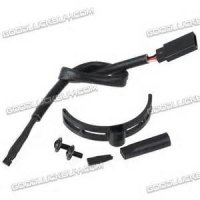
4) Sensor pick up (semiconductor type).
5) Suitable power supply (ignition battery / IBEC etc..).
6) Y harness (such as Futaba / JR etc...).
The cost of these materials can range from free to 50$ depending how your procurement skills are.
 

Attachments

  • tach 3.jpg
    tach 3.jpg
    6.1 KB · Views: 516
  • sensor bracket.jpg
    sensor bracket.jpg
    8.3 KB · Views: 541
  • 02710013_00.jpg
    02710013_00.jpg
    11.7 KB · Views: 525
  • pick up sensor.jpg
    pick up sensor.jpg
    9.5 KB · Views: 489
  • y harness.jpg
    y harness.jpg
    1.9 KB · Views: 473
Last edited:

49dimes

Damn I'm hungry
Hooking everything up is simple...

Plug tachometer and sensor into the female ends of Y harness. Plug the male end of the Y harness into one of the female connectors on the Y "adaptor" that comes with the tachometer. Plug the power supply into the other female connector of the Y "adaptor". You will then have a male connector from the adaptor free so voltage can be checked or to input a telemetry module that is separate from the receiver. Do not plug this in to telemetry ready receivers that are being used to power the flight system. If you want to use a telemetry receiver as a stand alone telemetry module (Futaba??? looking in to it) that is fine as long as no flight controls (servos) get plugged to it. I say this for safety / possible interference reasons with the sensitive digital IC's that are built into our modern 2.4 ghz receivers.


Now....What the hell is that resister for you ask!?!?!?

Keeping it simple it is needed to keep things operating correctly. It gets installed at the sensor between the red positive wire and white signal wire. (orange signal red positive JR style.) It basically reduces "noise" on the circuit so the tach reads correctly.
 
Last edited:

Alky6

150cc
Nice. So, how do you time that thing? LOL. just kidding. On yours, did you Y into the power supply going to the DA ignition or separate standalone batt? This would be fantastic to add to my Spektrum telemetry module. Have you done that as well - not sure which radio system you are using? The resistor shunt is a great idea - how did you figure that one out? Have most of the parts already so this is a minimal cost. Thanks!
 

Alky6

150cc
One other question, did you have drill and tap two new holes on the DA to mount the sensor?
 

49dimes

Damn I'm hungry
Ah!! Have a bit of electronic experience do we? Shunt's the word! Good on you!

The DA 100 Like the 120 has pre drilled and tapped holes for 4-40x.25" screws so mounting is a non issue.

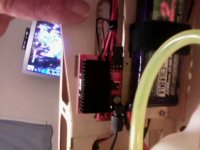
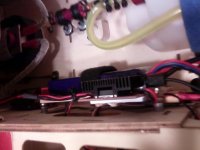
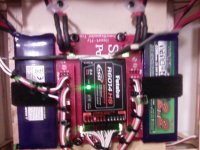
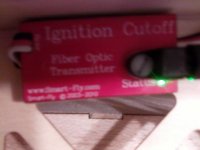
I have been lazy and will post some pics of my set up. I run a 2s 2200mah li-po in to a Smart fly dual output ignition regulator/opto cut off. One output powers the ignition the other the tachometer and or telemetry module.

Also when you install the resistor it is ok to do it at the male connector at the end of the sensor lead. That way you do not risk heat damage to the semiconductor in the sensor when soldering it in. Will get you some pics as soon as I get my nap over!lol

I use Futaba and I am trying to find out if the R7008SB receiver can be used as a stand alone telemetry module in conjunction with the R6014HS receiver which makes you put the 14 sg transmitter in multichannel mode.
 

Attachments

  • Photo216.jpg
    Photo216.jpg
    19.4 KB · Views: 579
  • Photo217.jpg
    Photo217.jpg
    38.4 KB · Views: 535
  • Photo218.jpg
    Photo218.jpg
    73 KB · Views: 555
  • Photo219.jpg
    Photo219.jpg
    59.5 KB · Views: 505
  • Photo220.jpg
    Photo220.jpg
    86.5 KB · Views: 522
  • Photo222.jpg
    Photo222.jpg
    48.7 KB · Views: 509
Last edited:

49dimes

Damn I'm hungry
@Judge just informed me that it's no go using a R7008SB as a telemetry module stand alone.
Futaba made this a Super Bust. After market module ground display here I come!
 

Alky6

150cc
Thanks Dimes! Appreiate the feedback and look forward to the photos. Might look into a winter project to add this process to my VVRC 40 and integrate into my telemetry module. If interested, will post back with info on that process, though, don't expect it to be too soon. Will be splitting time between that and the new Jtec Extra build. Maybe while the glue dries....Enjoy your nap!
 
Top