JimD
50cc
When we first got into giant scale aero towing, our tow plane of choice was the 3.3M Pilatus Porter from TopModel. With a DA-85 up front, we were able to tow sailplanes up to and including the Bill Hempel 7.5M half-scale KA-6. The only problem was that the DA-85 had a loud growl that was rather out of place amid all of those beautifully quiet sailplanes!
Seemed that adding a canister muffler was in order, but the Porter did not come with a canister tunnel or any provision for adding a canister. An external canister mount was possible, but no stock header was available to make the connection.
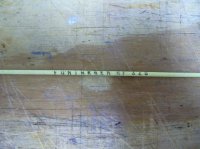
Even though there is not a lot of information about this on their website, Desert Aircraft has everything you need to make a custom header. They have the stub that attaches to the engine and various pieces of pipe, both straight and curved, that complete the header from the stub to the canister. They also sell sticks of Fontargen 320 silver solder needed to weld the parts together.
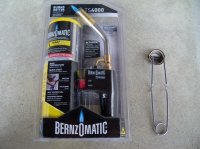
It is not all that difficult! A simple Bernz-O-matic torch will provide plenty of heat. (BTW, the torch show does not need the scratcher to light, it has a self lighting feature) The way this works is the engine and canister are mounted to the plane and the header parts are cut to length and assembled dry. We used a Dremel tool with a carbide cutoff wheel to cut the pipe. With everything assembled dry, alignment marks were made with a Sharpie marker.
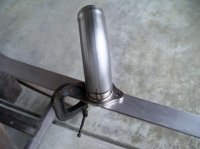
Starting with the exhaust stub and first piece of pipe, the joint is heated with the torch, the stick of silver solder is then gently wiped over the joint so the hard coating of the sliver solder stick (which is a type of flux) melts into the joint area. Then using more heat, the solid silver solder core is melted into the joint and should flow into the joint just like soldering copper plumbing pipes together.
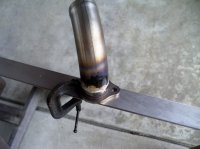
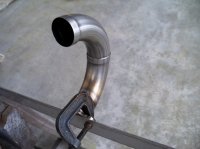
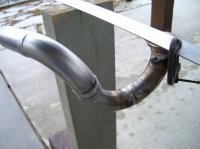
The joint will be a black and nasty looking mess! Not to worry...I will explain in a moment. Keep going until all parts are assembled. If you have marked each joint with your Sharpie, simply clamp the parts being solder together using the marks to get proper orientation of each piece. We like to have the joint facing upward so the solder can flow nicely around the joint.
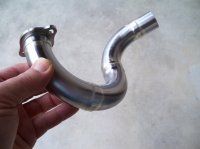
When the soldering is all done, and the parts cooled enough to handle, use either an S.O.S. or Brillo steel wool soap pad to clean the nasty black stuff off of the pipe. We hold the parts under a stream of warm water, wrap the pad around the joint and twist the pipe to scrub. Amazingly, the pipe will clean up and shine!
We did a pair of planes using this process and the external canister was not a problem. Much quieter than the stock mufflers!
Here is a photo essay of one of our projects:



