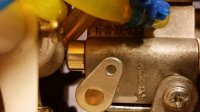
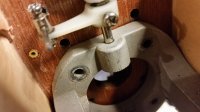
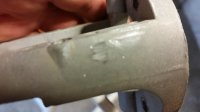
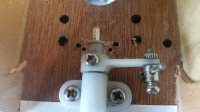
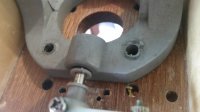
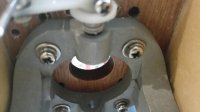
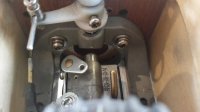
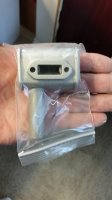
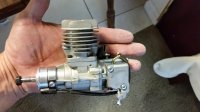
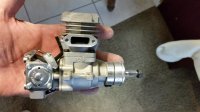
Soooo!!!! Who wants to hear the "Rest of the Story"? As mentioned earlier, I planned to basically strip everything out and start over. Daymn...!!! I feel like a novice, beginner, newby. UGH. Yes, I have a resolution. PROBLEM SOLVED. Gads!!! So I found (4) points of potential metal to metal contact with one a very definite. Needless to say, that "ONE" was an inch from the spark plug wire. Since the aluminum motor mount that came with the plane years ago was perfectly good, I seen no reason to change it. Especially since it already matched the holes in the firewall. Problem is, it was designed for glow. NOT GAS. You see, it has two steel straps that go across the top off the beams that "PINCH" the motor into the mount like a vise. Worked perfectly for the Saito 80 that I originally had on this plane. My feeling is that with the gas motor on there and having an ignition in the vicinity, there could be enough vibration between the engine and the mount to cause some metal to metal rf feedback. Ok, Not buying that one too much but definitely something to consider is what I told myself. Next thing I noticed is, when I mounted the "Star" fuel dot to the side of the fuse, I inadvertently mounted it too close to the motor mount and hence it was rubbing on the mount. (Way to go dumb ass) LOL. See the photo of where it was chaffing. A definite metal to metal contact. Next was the carb bolts on the back of the motor. So close to the mount I could just barely slide...JUST BARELY, slide a business card between the bolts and the motor mount. Perhaps vibration of the engine when it is running was causing the bolts to contact the mount? Especially since the motor was not literally bolted to the motor mount, but rather pinched in place. Hmm.... maybe. But here is the biggie. The whole burrito. The big enchilada. The nose gear is bolted to the front of the firewall at the bottom with a plastic clamp or block. What ever it is called. Anyway, The top portion of the strut is supposed to ride "inside" the predrilled hole in the motor mount for top support. In the event your landing is not so graceful and the nose gear sustains more of an impact than it should, the motor mount helps hold it in place securely. Ah Ha!!!! Definate metal to metal contact. And especially since the plug wire was passing right past the nose gear within an inch of clearance. While engine is running, nose gear is just a chattering away and vibrating inside the motor mount. What a dummy I am. I really didn't consider this. Well, what did I do about it? First, I used my dremel tool with a cut off wheel and "wacked" off at an angle a portion of that nose gear block on the motor mount. Hence making ample clearance for the carb bolts. Next, I oversize drilled out the hole for the nose gear and installed a plastic wheel collar from a set of Robart scale wheels. Remember those? Those little guys that came with the Robart scale wheels to allow you to put the wheels on a variety of different sized axles. Ok, so slide inside the larger diameter nose gear hole, it acts as an isolator and basically a bushing for the nose gear to pivot on. No metal to metal contact. Next of the four potential problem areas was easy. Relocate the fuel dot right? No problem. Top of fuse now. No where close to any metal of any kind. Lastly and certainly no least...I removed the straps from the motor mount beams that pinch the engine into location. Tossed them and drilled the motor mount. Bolted the motor good and solid with quality grade bolts, washers, lock-nuts.
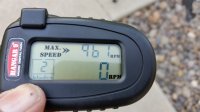
First test once the fuel tank was filled was to hook up "one" servo to the rx. and a separate battery. 3400 mah 2S Lipo dedicated to the ignition module solely. Straight in. Fired that lil guy up and man did she just purr. Oh...what's this? No glitches, no twitches, no spas'd out servo. Everything seemed just as normal as any other plane I have put together. So I started adding one by one each of the rest of the electrical components. Servo after servo, Opto-kill, regulator, then the biggie... directing the 2S Lipo to both the ignition and the rx. via the regulator. Holy heck, that fuse was a spaghetti mess of wires and components and everything just scattered through the fuse. Nothing in permanent location as of yet. Not a single twitch or rf feedback noise. I ran almost a full tank through that little gasser with no issue what so ever. As for that little 10cc gas motor...I am highly impressed. It draws fuel immediately, starts very easily and has plenty of git up and go for that little 71" trainer. My Saito 80 was turning the very same prop, (APC 12x8) at around 8200 rpm. The plane flew well and I enjoyed it a lot. The RCGF 10cc gasser is spinning that prop very easily at a constant 9560 to 9610 rpm. The plane weighs basically the same now as it did with the Saito. With an extra 1300 to 1400 rpm, that little guy should "huck" just fine. LOL. Not sure my student pilots or my grandsons are ready for hucking yet. But hey, I can right?
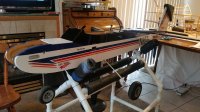
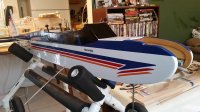
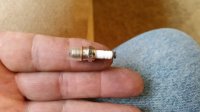
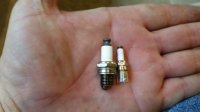
I am posting a few photos of what I feel was the potential problem areas. In the long run what I "feel" was the biggest culprit was the nose gear chattering inside the motor mount with the ignition lead passing so close by. No rf feedback noise now and that motor just hums right along with a perfectly solid, quiet and stable interference free radio system. YES!!!
I needed to add one comment to this. As a friend pointed out and I failed to remember, no matter what our experience level is, we can all take for granted our knowledge and over look some of the most common indicators and errors. Not to mention the biggest rules of thumb we all should try to keep in mind. As sound and robust as our rc equipment has become, they are still not impervious to certain factors.



 .
.