You are using an out of date browser. It may not display this or other websites correctly.
You should upgrade or use an alternative browser.
You should upgrade or use an alternative browser.
Build: EF 88" Edge 540T
- Thread starter Notorious B.E.N.
- Start date
Notorious B.E.N.
100cc
Well, I managed to get glue into some of the hinges for the rudder. I didn't work on it tonight, but I'll Dremel the hinge point knuckles and then remove most of the points with a soldering iron and then drill out the remaining to clean out the holes for all new hinges.
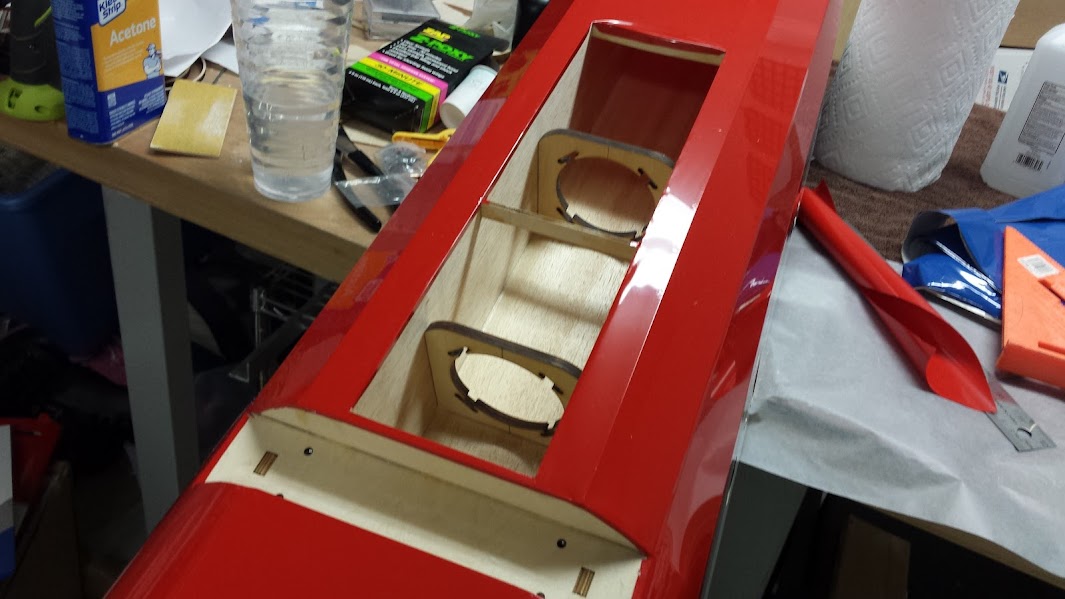
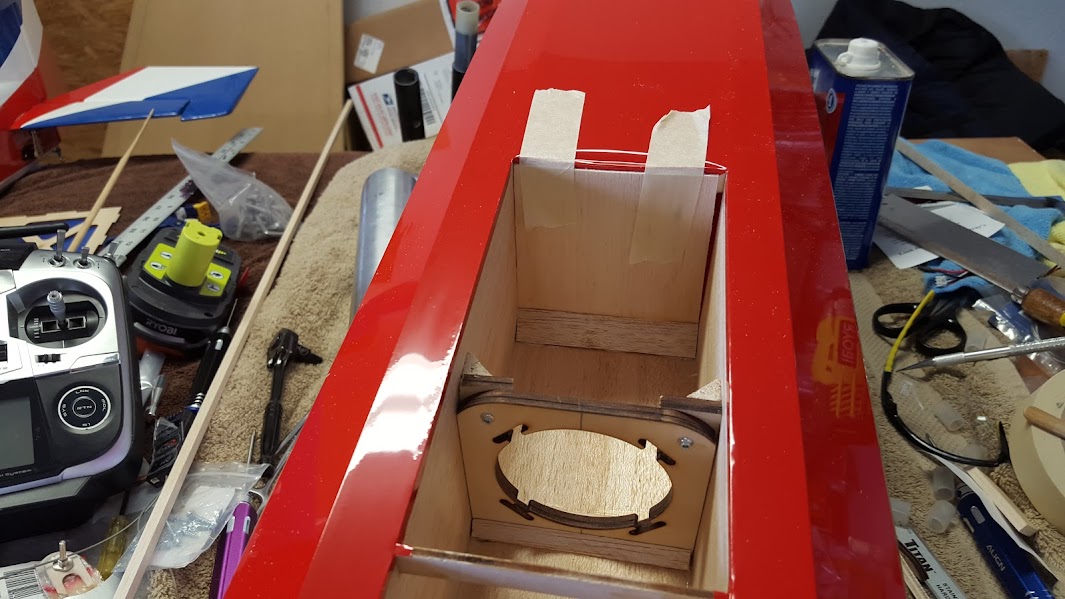
Tonight I worked on prepping the tunnel for a canister. I of course had to open on the covering and iron down the covering around it. I don't need it to go all the way down so I found the nearest brace and I'm going to start there. I also had to cut down the canister mounts to fit into the tunnel and to work with the opening in the firewall. They're not glued in yet but I'm getting an idea of where to put them in and I'm thinking about how I'm going to secure them so that hopefully they will be removable.


Tonight I worked on prepping the tunnel for a canister. I of course had to open on the covering and iron down the covering around it. I don't need it to go all the way down so I found the nearest brace and I'm going to start there. I also had to cut down the canister mounts to fit into the tunnel and to work with the opening in the firewall. They're not glued in yet but I'm getting an idea of where to put them in and I'm thinking about how I'm going to secure them so that hopefully they will be removable.
TnAeroNut
50cc
I have a suggestion - maybe everyone already knows this, but I didn't. I have the same plane, with DA60 and ProFlow cannister. After a couple dozen flights the covering lifted (and tore) around the opening for the cannister. First on the rear section, fixed that with new UltraCote, then tore on the sides, same fix again. My suggestion is paint some thinned epoxy over the edge of the covering where it wraps down into the opening.
The cut-out area collects a surprising amount of oily residue even with zero leakage at the header joint. Probably due to swirling air over the opening especially during hover and high alpha. The oily mess is a real test for the UltraCote glue. This may be a good reason to cover the cut-out with some kind of grill, to protect the edge of the covering.
The cut-out area collects a surprising amount of oily residue even with zero leakage at the header joint. Probably due to swirling air over the opening especially during hover and high alpha. The oily mess is a real test for the UltraCote glue. This may be a good reason to cover the cut-out with some kind of grill, to protect the edge of the covering.
Notorious B.E.N.
100cc
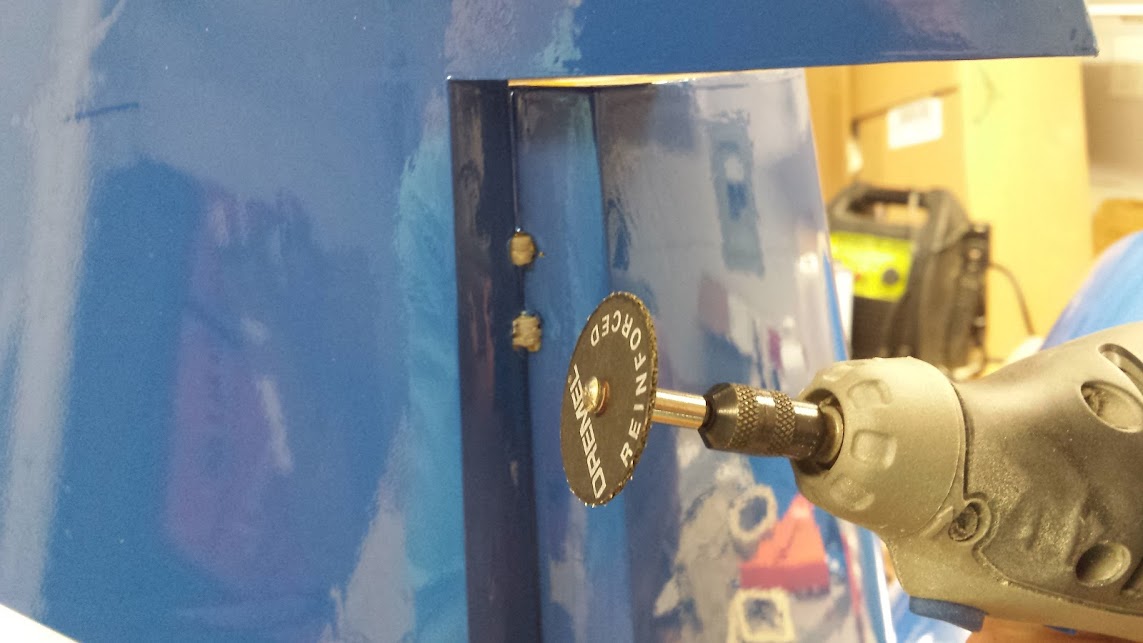
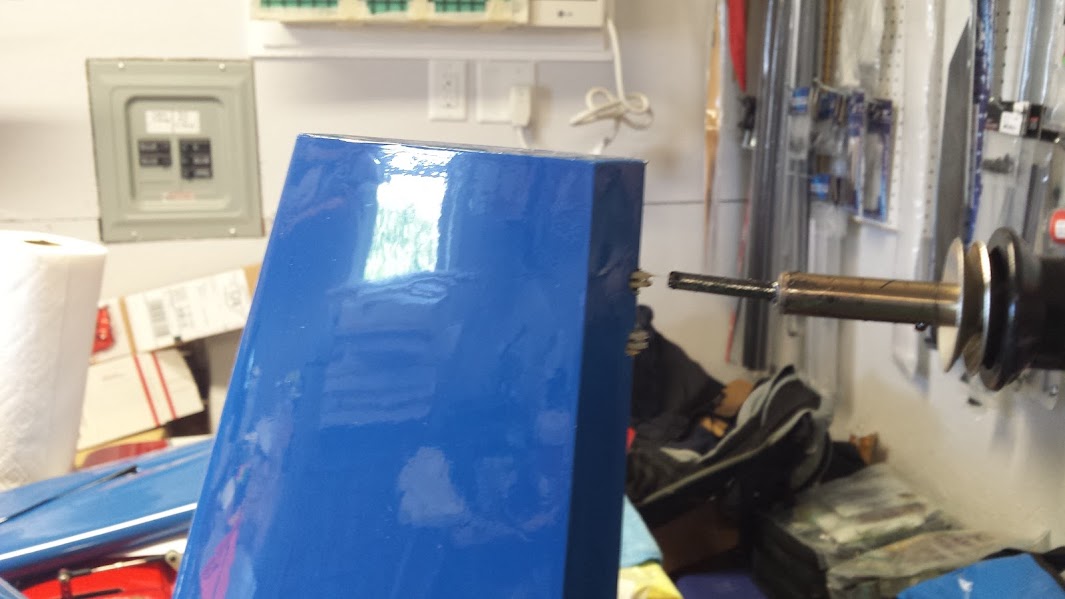
I started last night by cutting the knuckles of the hinges with a cut off wheel. After carefully doing this, the rudder was pretty easy to remove. I didn't feel like smelling burning plastic so I haven't taken a soldering iron to the points yet.
I then went to work on setting up the elevator controls. I got the servos installed in both horizontal stabs but I only had time to get the left elevator set up before calling it a night.
I'm hoping to get the right one done tonight and work on removing the points of the hinges but it's supposed to be pretty hot here today and so I don't know if I will be up for working outside.
Notorious B.E.N.
100cc
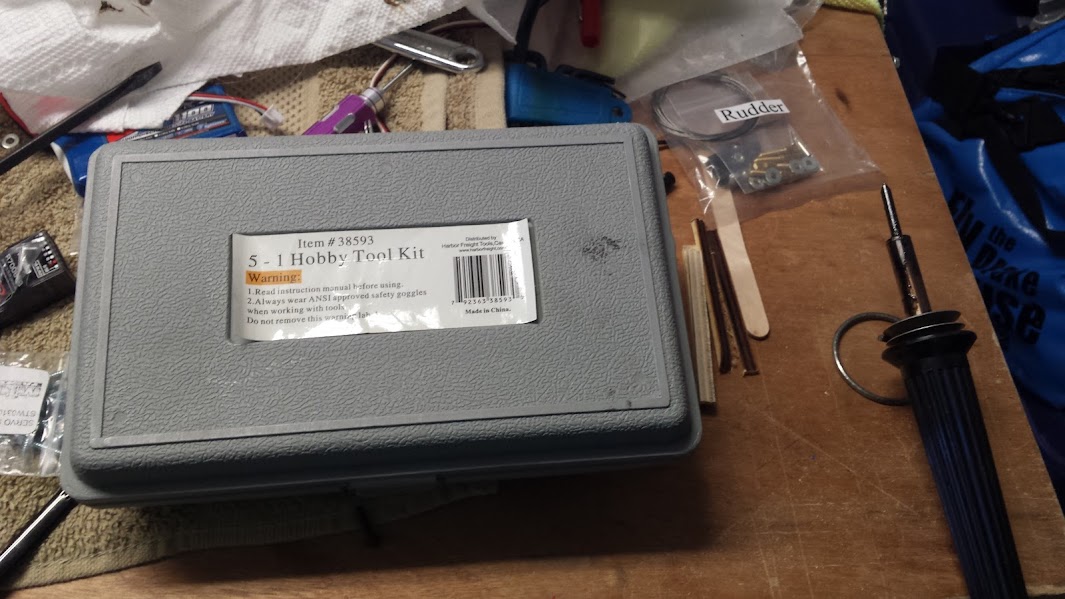
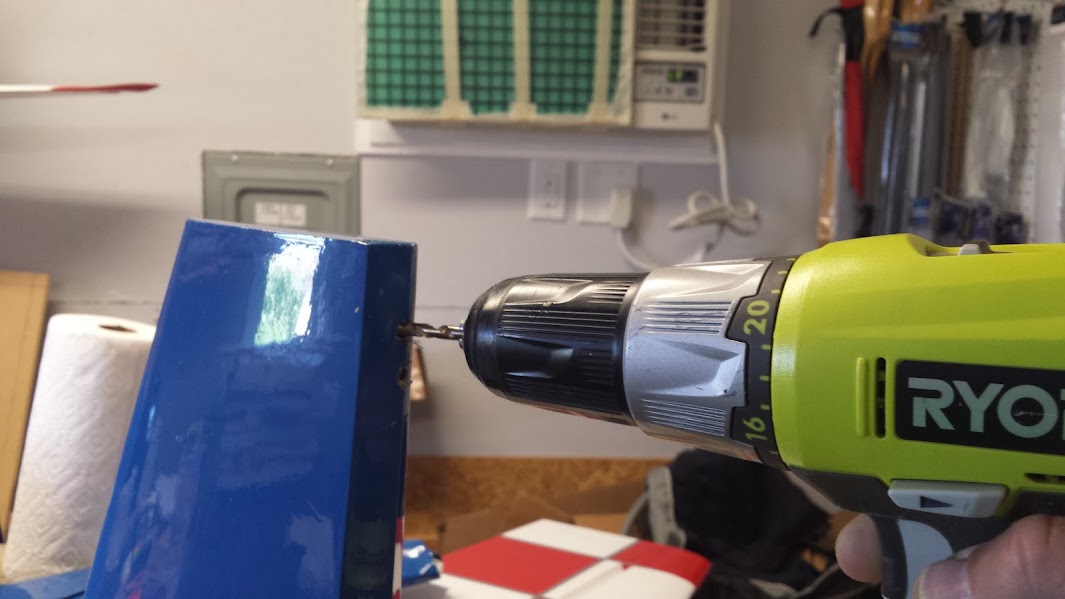
I finished getting the old hinges out yesterday and put in the new hinges. To finish removing the old hinges, I melt them down using a cheap "hobby iron" from Harbor Freight. I use a ball of 4-6 paper towels to wipe off the tip of the iron to get rid of the excess plastic. Once done, I then smooth the hole back out by drilling it with an appropriate sized drill bit.
Last edited:
Notorious B.E.N.
100cc
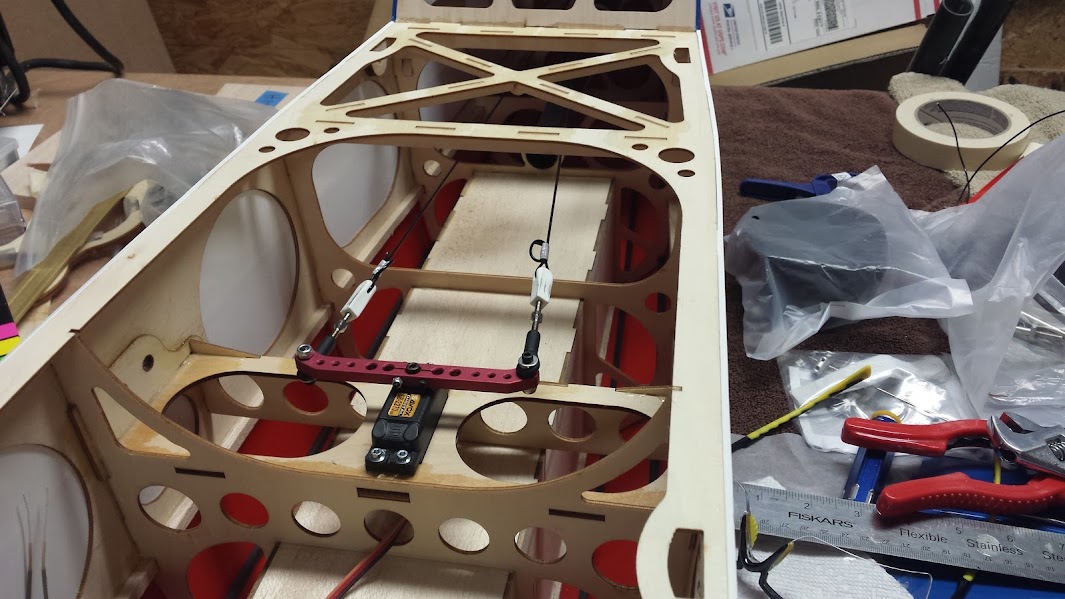
I didn't get as much done this weekend as I had hoped, but I managed to get the right elevator linkage set up and the pull-pull cable.
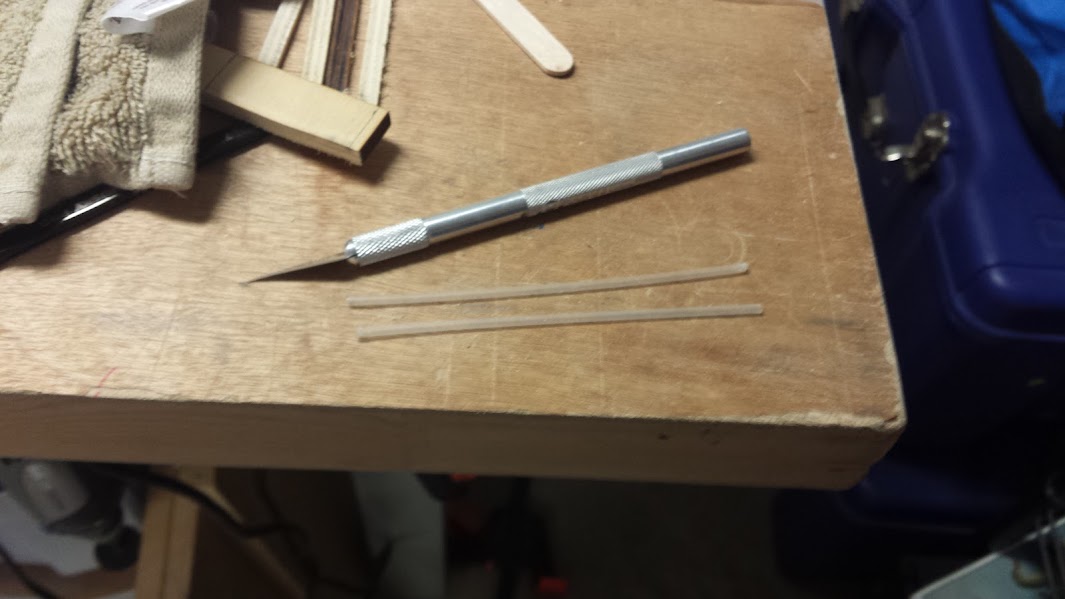
On the right elevator, I haven't centered the servo because I will do that in the radio programming. For the pull-pull, I am using a Kevlar cable from Don's Hobby Shop. I swapped the 3mm ball links for 4-40 ones that came with pull-pull kit. I also cut some antennae tubing to cover the cable where it enters the fuselage. There's not much difference in the size of a 3mm bolt and 4-40 bolt so for this application, it should be OK. I didn't want to risk the 4-40 eyebolt coming out of the 3mm ball link though.
I had to trim the servo a little bit to get the rudder to line up with the vertical fin and I can adjust the throws when I do the radio setup.
Once I had everything set up how I wanted it, I glued the antennae tube in place using canopy glue.
Notorious B.E.N.
100cc
Unfortunately I've been really busy at work but somehow managed to get the aileron linkages set up and I just need to double check the lengths of the turnbuckles. Tonight, I worked on getting the can mounts installed but keep them removable. I cut down the remaining pieces of plywood from the can mounts and used those with some screws to make mounting tabs. I will reinforce with some triangle stock and coat everything with thinned epoxy later.

Notorious B.E.N.
100cc
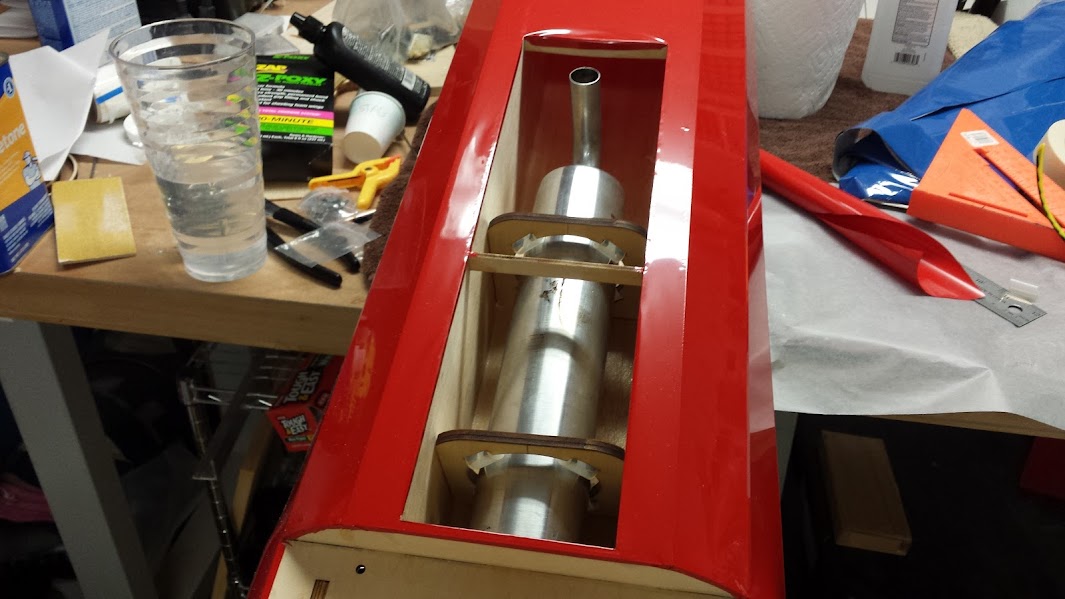
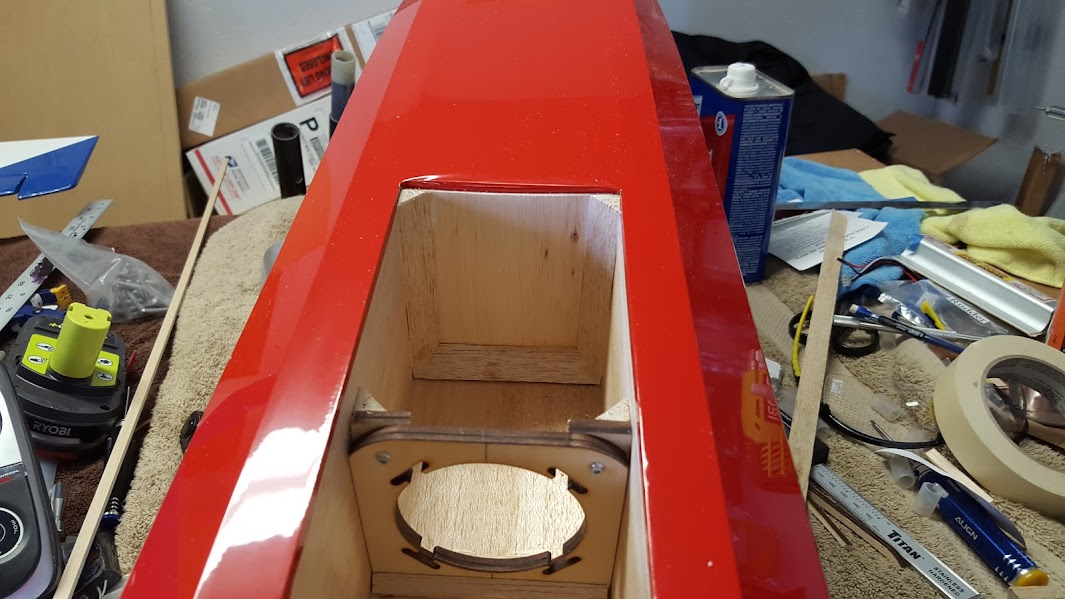
Little bit of progress over the day getting the Edge together. I wanted to block off part of the pipe tunnel for the can. Using some triangle stock and a piece of balsa, I made an air dam for it. I used wood glue to make sure I have bonds that last. To finish it off, I coated all of the new wood to the pipe tunnel with thinned epoxy.


Notorious B.E.N.
100cc
I've been having to deal with some stuff at work and really busy in general. This hobby is meant to be fun and it becomes work when you're not having fun or having to push yourself.
I'm trying to get back into the swing of things but I had a project to work on for my job tonight. But I did manage to get the main gear on tonight.

I'm hoping to start on the motor install tomorrow.
I'm trying to get back into the swing of things but I had a project to work on for my job tonight. But I did manage to get the main gear on tonight.
I'm hoping to start on the motor install tomorrow.
Notorious B.E.N.
100cc
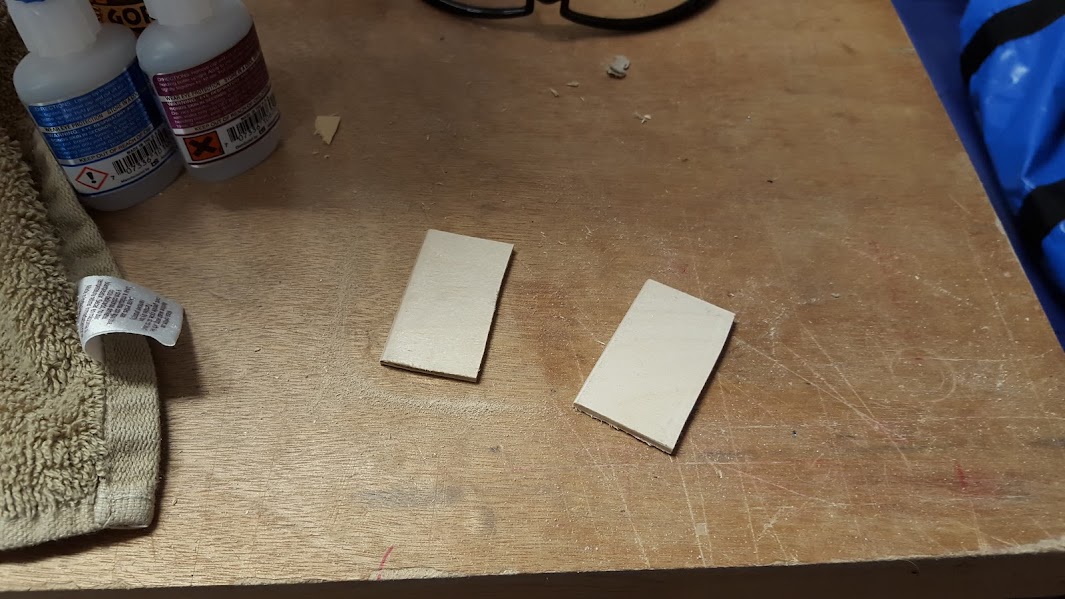
Well, I didn't get to the motor tonight but I did work on getting the wheel pants ready to mount. I had good luck with the system that 3DHS uses but I still prefer this method over anything. I use Wheel Pant mounts from SIG and I will use one on either side of the wheel pant. For the outside surface, it needs a flat area to mount to which is usually present on the inner surface. I had to dig around to find a piece of lite ply that was the appropriate thickness and found one I didn't realize I had. I cut a couple pieces of the ply and sanded one edge in a curve to fit the curve of the wheel pant. I then glued them in with epoxy and milled fiberglass.