ThePledge
50cc
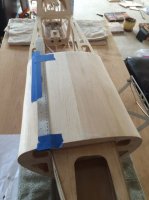
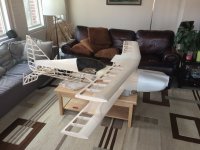
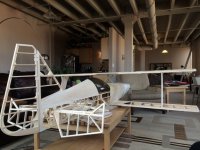
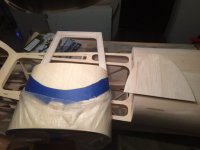
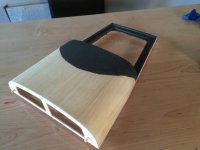
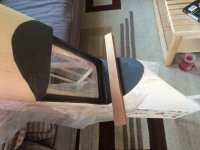
Did much of the finishing work on the hatch and mounted the canopy.
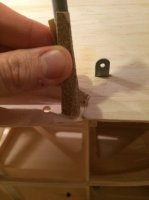
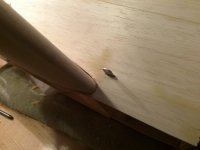
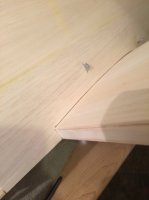
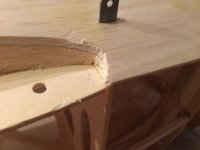
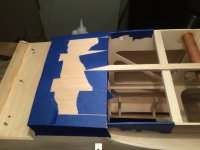
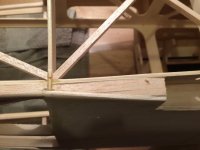
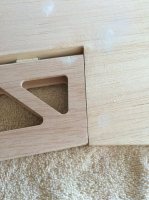
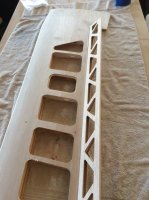
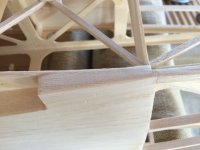
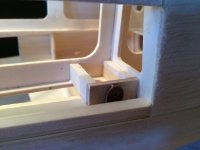
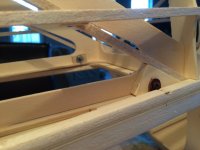
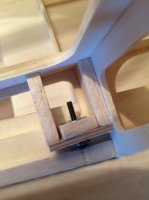
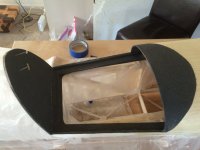
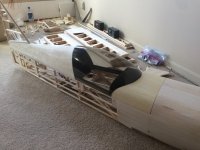
First installed the mounting points for the blind nuts and supports for the phenolic tabs attached to the hatch. Built these with the hatch in place so the supports would be right up against the tabs so when the bolts tighten down the tabs won't bend. Put outer balsa plates in to provide an area to cover around the access holes for the bolts.
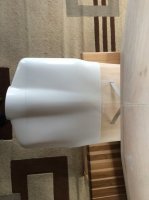
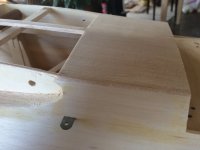
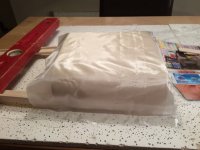
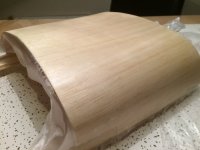
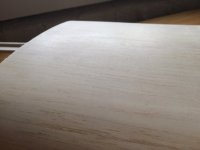
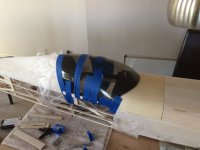
Then glassed the hatch with Zpoxy and 3/4 cloth. Enjoyed this step. I've been looking around and threatening to glass things ever since
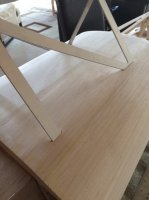
Missed a small spot on an edge and had to patch it. Looks perfect after blending it back in. Did two light coats following the directions in the glassing/painting threads. Thanks Jetpainter and everyone that contributed.
Painted the interior with textured Rustoleum paint. Not sure I'd use that again, appeared to be a fairly heavy option, but not sure what I expected with the texture. Looks cool though.
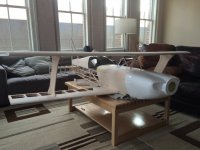
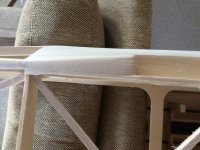
The canopy was difficult. I guess I didn't spend enough time dry fitting and had a bunch of trouble trying to get it to fit once the glue was applied. It actually looks a lot better than I expected once the tape came off even if the position is slightly off. Need to do a little sanding of the lexon edges and clean up the seam between the canopy and the top of the hatch and it should be ready for a glaze and paint!!
First installed the mounting points for the blind nuts and supports for the phenolic tabs attached to the hatch. Built these with the hatch in place so the supports would be right up against the tabs so when the bolts tighten down the tabs won't bend. Put outer balsa plates in to provide an area to cover around the access holes for the bolts.
Then glassed the hatch with Zpoxy and 3/4 cloth. Enjoyed this step. I've been looking around and threatening to glass things ever since
Missed a small spot on an edge and had to patch it. Looks perfect after blending it back in. Did two light coats following the directions in the glassing/painting threads. Thanks Jetpainter and everyone that contributed.
Painted the interior with textured Rustoleum paint. Not sure I'd use that again, appeared to be a fairly heavy option, but not sure what I expected with the texture. Looks cool though.
The canopy was difficult. I guess I didn't spend enough time dry fitting and had a bunch of trouble trying to get it to fit once the glue was applied. It actually looks a lot better than I expected once the tape came off even if the position is slightly off. Need to do a little sanding of the lexon edges and clean up the seam between the canopy and the top of the hatch and it should be ready for a glaze and paint!!
Attachments
-
 IMG_1122.JPG57.2 KB · Views: 543
 -
 IMG_1123.JPG67 KB · Views: 586
 -
 IMG_1124.JPG36 KB · Views: 582
 -
 IMG_1127.JPG77.9 KB · Views: 516
 -
 IMG_1128.JPG64.9 KB · Views: 536
 -
 IMG_1132.JPG48.9 KB · Views: 502
 -
 IMG_1137.JPG58.2 KB · Views: 544
 -
 IMG_1142.JPG62.9 KB · Views: 565
 -
 IMG_1144.JPG79.8 KB · Views: 531
 -
 IMG_1145.JPG72.6 KB · Views: 515
 -
 IMG_1146.JPG74.2 KB · Views: 557
 -
 IMG_1149.JPG94.3 KB · Views: 543

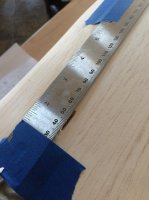
 otherwise this would have been tough to measure.