stangflyer
I like 'em "BIG"!
Thank you Earle. Coming from you as well as so many others, it really means a lot to me.Beautiful as usual!
I made a little more headway on the Pitts today. I was from one end to the other of that bird changing things, re-arranging things and getting other things taken care of. First off, I have ultimately decided in order to get my balance better without adding weight, I am going to do something I really don't want to do. I had forgotten the lower longerons in the fuse are very stout ply. So, I will be building a plate to epoxy in just behind the cockpit beginning at the turtle deck. By setting the flight packs in this location I am very certain I can get the balance better than it was. Probably right were I need it. I will just need to lengthen the leads from the packs to the Smart Fly.
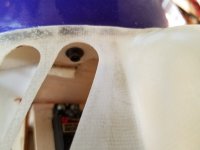
Next I re-arranged the front firewall area. I wanted to block off the last few openings in that area to keep hot engine air out of the fuse. So I used a couple of small pieces of 3/32" balsa cut to fit and ca'd into place. Re-ran my fuel line and vent line from the front of the "dub" carb. I also removed the filter from the vent line. I decided it really was not needed.
Since the majority of the fuse work is done, I bolted the center section of the top wing back in place. Using some blue loc-tite on the bolts, it is now in place and should not have to be removed again. Ran the servo leads and "zip" tied them into place on the cabane struts.
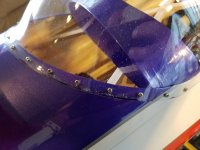
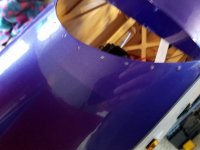
I decided to go head and add a few more screws around the front windscreen area to make it look more uniform. Once I had the holes drilled and was satisfied with the fit, I removed the canopy and cleaned out the debris from the drilled holes and cleaned the hatch really well. Scuffed the inside of the canopy where I would be laying a small bead of RC 56 canopy glue and placed the canopy back into position to allow the glue to cure. Oh yeah, I almost forgot. By adding the extra screws around the front curvature of the windscreen, I realized that the screws were probably not going to hold very well. After all, they are just going through the canopy and the 3/32" balsa sheeting of the hatch. So, I decided to add washers and nuts to the inside of the canopy/hatch on those forward bolts. I really believe that canopy is not coming off..."EVER". LOL
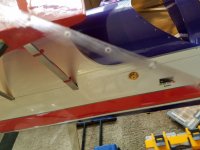
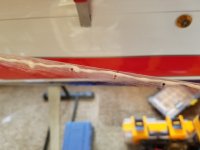
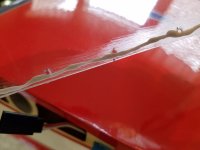
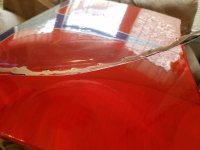
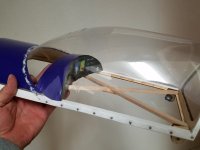
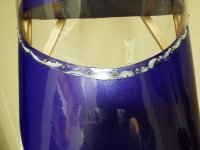
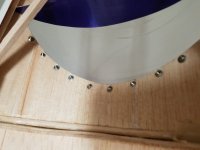
With the canopy set aside to cure, I wanted to take care of a little annoyance I had not taken care of. In the process of putting the flying wires on the tail surfaces, I noticed the left stab was not sitting straight and level. I guess I didn't get the tension on the two cables correct. The top of the stab to the fin was too tight/short and the bottom of the stab to the bottom of the fuse was too loose/long. So I removed the anchoring bolt and reset the two cables. Ah! Just right. Looks great and measures perfect with the right stab.
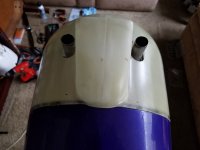
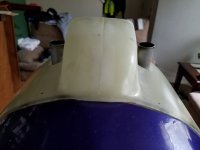
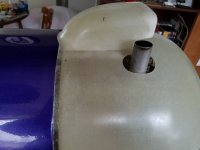
Now since I have the baffle plates in the front of the cowl all set and in place, I decided I needed to figure out how I am going to put the other retaining bolts for the cowl in. You see, the top two are easily accessible. From the inside of the fuse at the F1 former going into the cowl. The bottom two are going to be just as easy. Going from the cowl into the fuse. But unless I misunderstood the instructions and the plans on the build, the middle bolts were designed to go from the cowl into the fuse as well, however I don't want to "hack" up the cowl and make big gaping holes to get the bolts in. Soooo....I reversed the procedure. I removed the blind nuts from the inside of the fuse, installed them into the cowl and now the middle bolts will go from the inside of the fuse into the cowl as the top two. Yes, a little tight getting into them, but not too bad. A long shank ball driver gets to them just fine. Sure beats putting two holes in the side of the cowl.
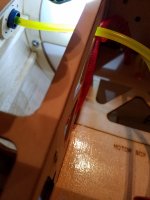
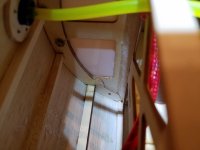
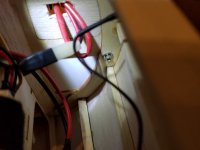
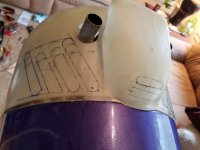
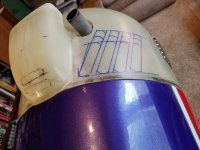
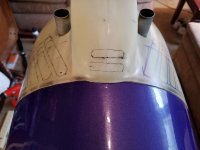
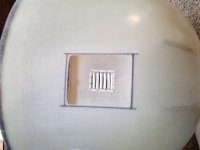
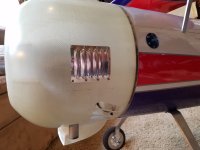
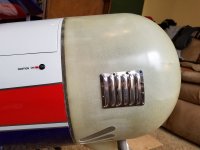
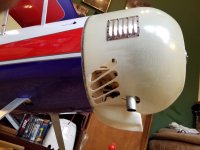
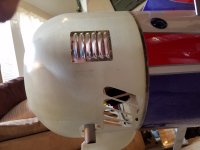
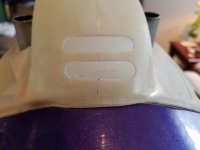
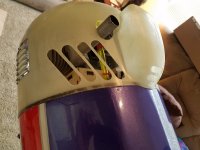
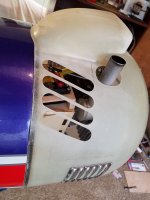
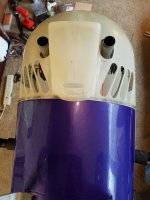
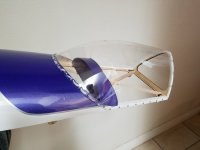
Back to cowl, I have been looking at that darn cowl and scratching my head on how I am going to get a 3:1 or 4:1 air flow ratio without hacking up the cowl too badly. The only thing I can come up with to assist in the cooling is adding some louvered vents to the sides of the cowl just barely "aft" of each cylinder head. The air should enter through the front, (obviously...LOL), pass over the cylinders and then hopefully some of the hot air will escape through the vents. Now as for the bottom of the cowl? I just do not have an alternative. I am going to have to remove some of the bottom of the cowl to get enough air flow through to make the cooling of the engine more efficient. Normally, I would pass that hot air down the tunnel and exit out the bottom of the belly of the fuse. But since this fuse is built very light there are so many openings in it that all that hot air would enter the fuse and bake everything inside. Anyway, I marked out my vent hole lines, cut the section out of the fuse and added the louver vent to the side. It looks alright I guess. My thought is, I will leave the vents in place when I paint the cowl. I think it would look much better this way. What do you guys think?
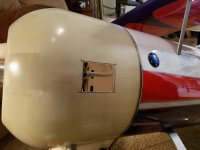
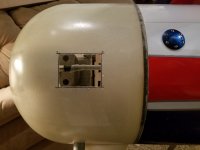
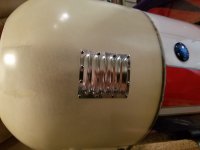
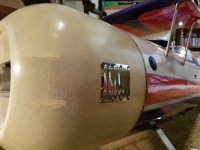
I am going to get the vent put on the right side of the cowl tomorrow. Along with opening up some cooling holes in the bottom of the cowl. Other than balancing once more with the batteries moved to their new location, this should just about finish this girl up other than painting the cowl, canopy and wheel pants.
I will post more info and photos tomorrow. Hey guys...I really would like your opinions and input on the last few pages of progress. Anyone have some hints or ideas or thoughts of improving on my work? Some of these last few steps have been very difficult on making some good decisions.
Last edited:

