• If you are new to GiantScaleNews.com, please register, introduce yourself, and make yourself at home.

    We're 1st in Giant Scale RC because we've got the best membership on the internet! Take a look around and don't forget to register to get all of the benefits of GSN membership!

    Welcome!
  • Unless you are a paid advertiser NO more posting advertisement in the individual vendor forums. You may post in the Manufacturer's Announcements section only but only ONCE a month unless your a paid advertiser.

3dhs 103" Extra 330SC

Summer 2012 I picked up a BNF 100cc aeroworks edge that had been sitting for a couple years unflown gathering dust from a friend. I get at a really good price and spend a while going through it and redoing alot of it. I flew it for a while but it was on the heavy side since it was kit built and it was more of an IMAC plane so I gutted it. Sold the servos and used that cash to help buy a new 3dhs 103" Extra 330SC at the TN huckfest. Shortly after sold the edge airframe, DSM2 receiver, and prop but I was left with the 3w-100 motor, smart fly, and spinner with hardly any cash invested. I picked up a DX18 and I'm going to use the RX that it came with, got (7) new Savox SC-2270SG servos, and new Falcon 27x10 prop.

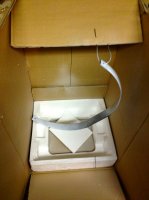
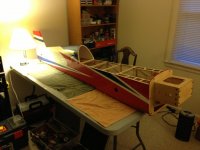
A few weeks ago I finally moved the 103 from the box to my room to start building. I've really never done a build log but going to try to keep this updated as I go along. I want to take my time and make it really nice since it will be my biggest plane and my main plane. I'm going to vinyl it up to look like the real D-EXMD to fly it a local scale contest but also use it for 3D and IMAC! One plane to rule them all, maybe :)

Goal is to maiden it sometime in March or April at the latest. :D

Feel free to post comments but don't be rude as I post the likes and dislikes during the build :)

UPDATE 1-30-13:
GREEN text is things that I'm impressed with or things I like
RED text is things that are wrong, not impressed with, defective, bad, etc
Dark RED is links auto-generated I think by the onsite wiki since whenever I type the elevator for example it does it and I can't figure out how to remove that.
IMG_0122.jpg
 
Last edited by a moderator:
Since I'm making it scale I need to paint the landing gear white to match the full scale D-EXMD.

IMG_0303.jpg

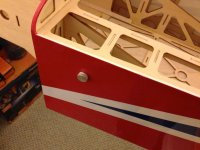
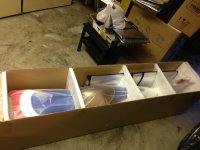
After bringing the fuse in the house I'm impressed that 2 extensions are included and ran down the fuse for the elevators.

IMG_0304.jpg

Also nice to find a fuel DOT included but it was a pain to get it apart and it looks like it uses medium size fuel tubing which doesn't make sense since 50cc and up uses large size tubing to fit the carb and tank nipples.

IMG_0305.jpg

But so far I'm liking it :)

IMG_0306.jpg
 
Last edited by a moderator:
I sprayed the firewall and where the fuel tank sits with TOPR7501 Top Flite LustreKote Spray Clear 10 oz to fuel proof the wood just in case of a spill, gas droplets, or exhaust gets sprayed on the wood.

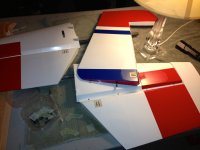
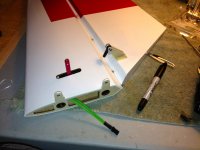
But last night cut out the holes for the elevator servos and installed the control horns on the tail feathers. Yes I know I'm not going in order as the manual. But anyways I used a soldering iron to remove the covering which came out nice and was easy.

IMG_0360.jpg

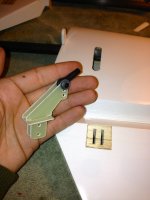
Then started first glueing in an elevator arm first. These arms are huge!

IMG_0362.jpg

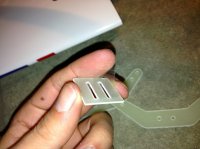
When I started on the other elevator I noticed the fiberglass squares had some film on them and I think the first elevator has the film still on but its already glued! I think it will be okay but frustrating no sign of the film in the manual. :cursing:

IMG_0363.jpg

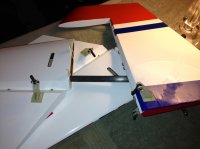
But after a while I got it all done including the rudder. Rudder is fun to push through, add glue, push the rest of the way, add glue under the squares, press them up against the rudder, then get the arms squared up meaning getting the holes in line with the hinge line and equal length of arm on both sides.

IMG_0364.jpg
 
Last edited by a moderator:

Santi8

70cc twin V2
This looks great so far. I haven't put anything in my fuse yet on my 89, I think I will take your idea of spraying the wood!
 

gyro

GSN Contributor
This looks great so far. I haven't put anything in my fuse yet on my 89, I think I will take your idea of spraying the wood!

If/when I build another giant scale, I'll be doing this as well. I might try that cool speckled paint like a few others have done in their build logs here. Not that anyone would ever see it though...
 

Diggity

70cc twin V2
I sprayed the firewall and where the fuel tank sits with TOPR7501 Top Flite LustreKote Spray Clear 10 oz to fuel proof the wood just in case of a spill, gas droplets, or exhaust gets sprayed on the wood.

But last night cut out the holes for the elevator servos and installed the control horns on the tail feathers. Yes I know I'm not going in order as the manual. But anyways I used a soldering iron to remove the covering which came out nice and was easy.

View attachment 5173

Then started first glueing in an elevator arm first. These arms are huge!

View attachment 5174

When I started on the other elevator I noticed the fiberglass squares had some film on them and I think the first elevator has the film still on but its already glued! I think it will be okay but frustrating no sign of the film in the manual. :cursing:

View attachment 5175

But after a while I got it all done including the rudder. Rudder is fun to push through, add glue, push the rest of the way, add glue under the squares, press them up against the rudder, then get the arms squared up meaning getting the holes in line with the hinge line and equal length of arm on both sides.

View attachment 5176

John, when building my 104 I would not have even thought or notice the clear film unless one of mine fell off. I thought to myself, what? then pealed the rest off.
 
Last night got the tail servos out and added some wire braiding I already had to help protect the wiring from cuts and to be cool like diggity :D

IMG_0371.jpg

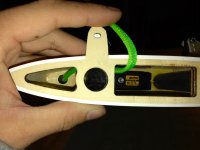
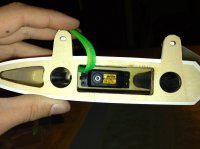
I like how the servo mounting holes are already drilled so just have to run a screw in the wood to thread it and drop CA in holes to harden the threads. I didn't like the idea of squeezing the wire through the little hole/slit they give you so ended up running the wire under the carbon fiber tube, through a hole, back under the tube, then out where the wire is supposed to exit.

IMG_0372.jpg

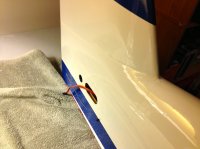
You can see the little hole/slit for the large servo wire that I didn't want to squeeze the wire through

IMG_0373.jpg

I still have plenty of wire sticking out so just need to do the other elevator and get the linkage set.

IMG_0376.jpg

Also got the arms drilled at 1.75" and tapped for 4-40. The elevator already got the sub-trim set so arm is 90 from the case. This weekend I would like to get all the tail done and start setting up the wing servos.
 
Last edited by a moderator:
Top