quadracer
100cc
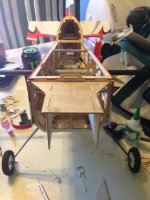
This airframe has been discontinued, and I've had this plane for about 9 months. I bought it used from a guy in Cincinnati, and have grown to like it a lot. My setup is as follows
-Motrolfly 2815-950kv
-APC 14x7E
-CC ICE 50
-Hitec HS65MG on elevator and ailerons
-Hitec HS85MG on rudder
-Glacier 3S 2200 30C LiPos
It isn't the straightest tracking plane out there, but it is a hoot to fly and get stupid with.
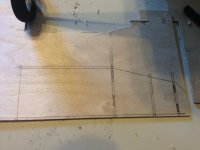
The previous owner had repaired the motor box before, and it held up fine until Knoxville FLI, where a downwind crankshaft mutilated the box and cowl in mid air. It being somewhat of a relic airframe, I couldn't find a replacement motorbox kit for it, so I started making one. I used 1/16" plywood for the sides, top, and bottom, and 3/16" plywood for the firewall.
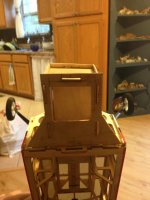
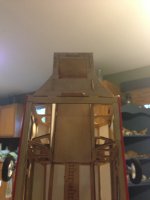
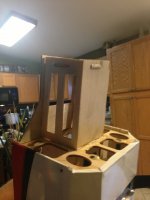
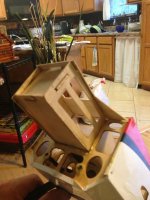
I left a small gap in the firewall interlock tabs so I could adjust the down thrust angle if need be. I wasn't sure how much was required... Once I'm happy with how it behaves, I'll stick some wedges in to lock it in place.
It took about 4 hours, since I don't have a laser cutter, I drew all the parts out and cut them with an Exacto knife. Measuring and cutting all the little notches, tabs, and making the thrust angles is an absolute PITA. I really don't see how anyone can have the patience to do a large scale kit build. LOL
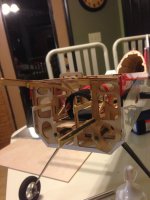
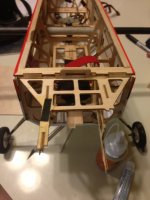
Before:
-Motrolfly 2815-950kv
-APC 14x7E
-CC ICE 50
-Hitec HS65MG on elevator and ailerons
-Hitec HS85MG on rudder
-Glacier 3S 2200 30C LiPos
It isn't the straightest tracking plane out there, but it is a hoot to fly and get stupid with.
The previous owner had repaired the motor box before, and it held up fine until Knoxville FLI, where a downwind crankshaft mutilated the box and cowl in mid air. It being somewhat of a relic airframe, I couldn't find a replacement motorbox kit for it, so I started making one. I used 1/16" plywood for the sides, top, and bottom, and 3/16" plywood for the firewall.


I left a small gap in the firewall interlock tabs so I could adjust the down thrust angle if need be. I wasn't sure how much was required... Once I'm happy with how it behaves, I'll stick some wedges in to lock it in place.
It took about 4 hours, since I don't have a laser cutter, I drew all the parts out and cut them with an Exacto knife. Measuring and cutting all the little notches, tabs, and making the thrust angles is an absolute PITA. I really don't see how anyone can have the patience to do a large scale kit build. LOL
Before:


