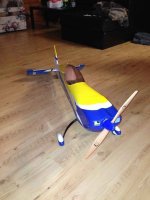
quadracer
100cc
Recently smushed my 57 into the dirt, and had to redo the motorbox and LG area.
Progress so far: All formers in and glued, battery tray and top plate dry-fitted. I want to wait until tomorrow to glue the last pieces, just in case I think of something I forgot.
I was quite impressed that the MB kit includes pretty much the entire front half of the plane, sans gear, of course.
It was really straightforward, the hardest part being getting the first former in front of the wing tube wedged into place. I ended up debonding the tube to allow the fuse sides to seperate.
Pretty much just a process of tearing out the broken stuff, taking an inventory of what needs replaced, and putting the new pieces in. (In my case, I used every piece in the kit.... )
)
Some "before" pics
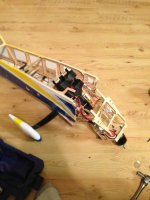
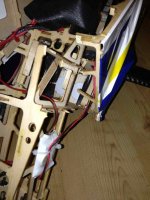
"During"
Much of the mangled pieces removed
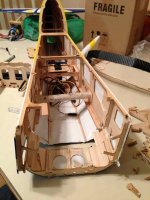
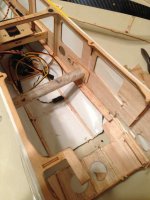
First three formers installed; An important note.... You want to install the landing gear plate before you put that third former in. (Ask me how I learned that..)
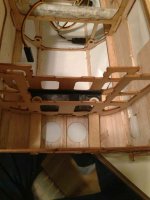
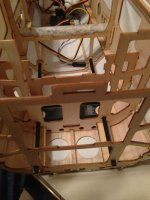
Fourth former and battery tray installed
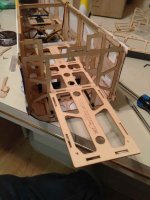
Finished mock-up before gluing it all together
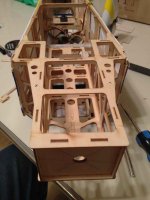
The kit includes the entire top plate and magnets, all the way to the back of the canopy. I didn't need that much of it, and didn't feel like debonding all of that, so I'm splicing it in, right behind the landing gear former.
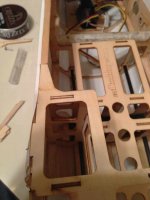
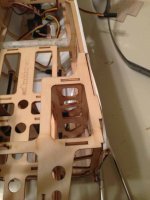
It took me roughly 1.5 hours to get this much done, so it's not too terribly time consuming. Plus, I'm starting to find repairs to be somewhat therapeutic.
This is my first MB swap, so if any one sees something that needs done/changed, or has any tips to make it easier, feel free to let me know.
Fly Low, but not quite as low as I did....
Progress so far: All formers in and glued, battery tray and top plate dry-fitted. I want to wait until tomorrow to glue the last pieces, just in case I think of something I forgot.
I was quite impressed that the MB kit includes pretty much the entire front half of the plane, sans gear, of course.
It was really straightforward, the hardest part being getting the first former in front of the wing tube wedged into place. I ended up debonding the tube to allow the fuse sides to seperate.
Pretty much just a process of tearing out the broken stuff, taking an inventory of what needs replaced, and putting the new pieces in. (In my case, I used every piece in the kit....
Some "before" pics


"During"
Much of the mangled pieces removed


First three formers installed; An important note.... You want to install the landing gear plate before you put that third former in. (Ask me how I learned that..)


Fourth former and battery tray installed

Finished mock-up before gluing it all together

The kit includes the entire top plate and magnets, all the way to the back of the canopy. I didn't need that much of it, and didn't feel like debonding all of that, so I'm splicing it in, right behind the landing gear former.


It took me roughly 1.5 hours to get this much done, so it's not too terribly time consuming. Plus, I'm starting to find repairs to be somewhat therapeutic.
This is my first MB swap, so if any one sees something that needs done/changed, or has any tips to make it easier, feel free to let me know.
Fly Low, but not quite as low as I did....

