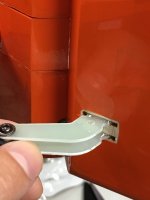
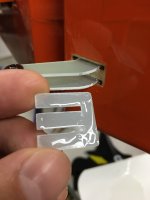
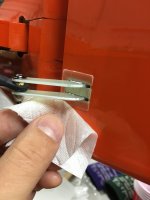
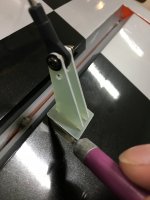
Tail Wheel Assembly.
Three wood screws, and a ball link tiller system with nothing pre-drilled for you. What I mean is this is practically a kit

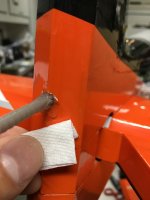
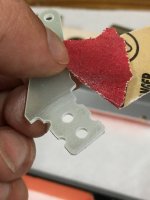
Sanded the plastic part of the ball end and made some notched grooves with my dremel for the epoxy to grab onto later. Find a drill bit the same diameter of the ball end shaft.
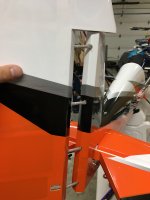
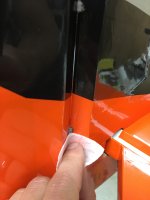
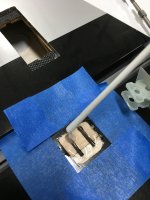
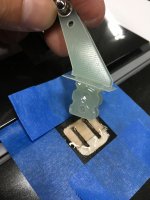
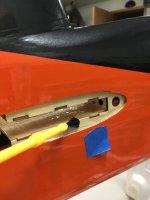
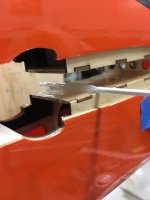
Hold the tail wheel spring into position so the steel wheel spring is exactly over the hinge line center, tape it there. Mark about 1/2" or more down the tip of the wire tiller arm onto the rudder and drill a shallow hole enough for the ball link shaft to sit in. then epoxy it in place.
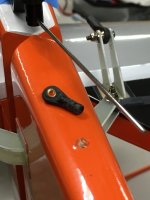
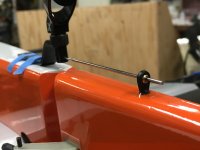
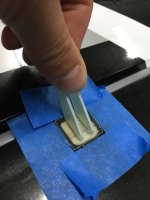
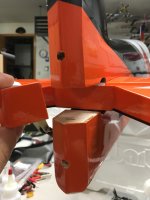
Now that is set up, I'll position the tailwheel. What I have found is while moving the tailwheel forward and aft along the center line and while moving the rudder back and forth - you'll find a happy spot where everything moves together without binding/torsion. It may be a little off center but anything to take that torsion out and eliminate the tailwheel from wanting to twist itself out of position making your screws loose, ect.
Once you find the happy spot, hold it down and mark the holes or drill a pilot hole for the screws.
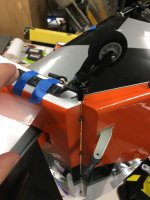
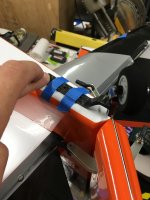
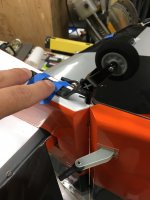
Tap the holes, add some thin CA to harden the new threads you just made.
After that cures, go ahead and put the screws in, right before you tighten them down, do a rudder movement test again to double check it's happy. Then tighten them down.
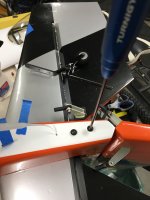
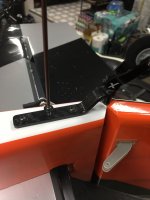
I love that they made allen head screws instead of phillips in their ARF's!!
Although the carbon and alluminum tailwheel is cool, There isn't a whole lot of give. Meaning it doesn't act like a spring and bend very well for this size aircraft which is fine, but I like more springy action personally. I think the looks compensate for springaling functionality
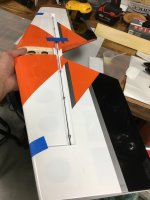
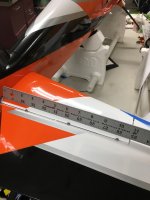
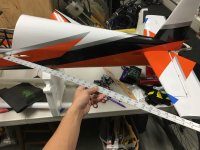
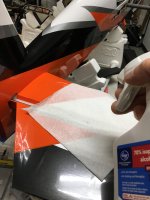
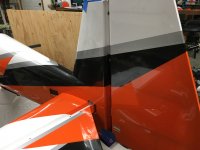
I love the color scheme.
