SnowDog
Moderator
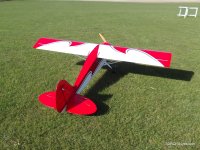
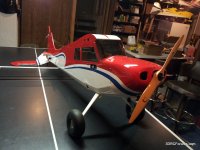
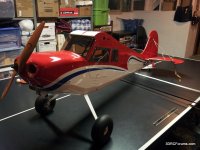
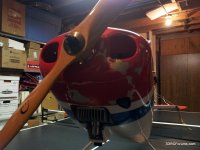
Well, I finished the build...required a few late nights last week. :|
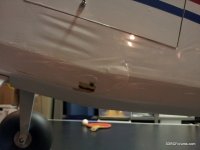
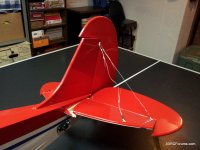
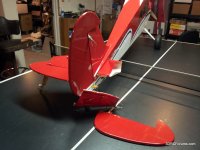
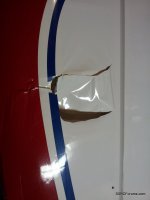
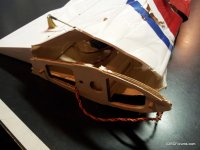
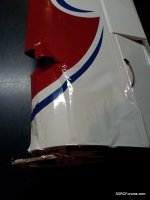
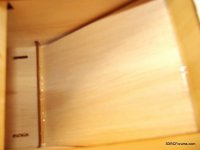
Here's the final set of build pics, including the air tunnel exit...this setup makes sense to me.
(I added the angled balsa sheet to close off the tunnel here and direct air out the bottom...the tunnel actual goes back another former or two. I think this is what Joe meant when he said use an exit in the tunnel, not behind it. Putting a hole in the lower fuselage behind the end of the tunnel won't really help airflow at all.)
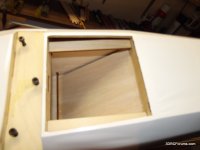
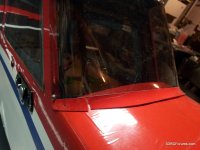
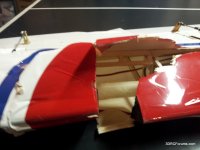
I reinforced the top hatch...without something sturdy there,
I didn't give that hatch more than three flights.
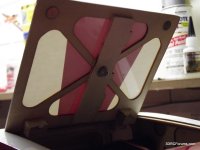
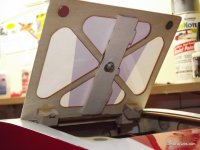
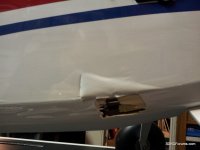
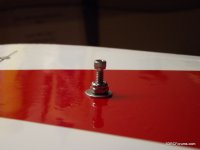
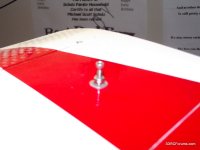
Here's my hatch latch:
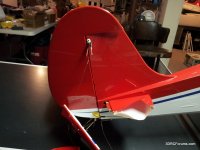
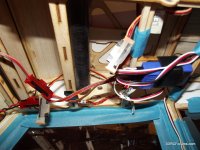
RX mounted on pull pull ruder structure:
ignition battery: switch location
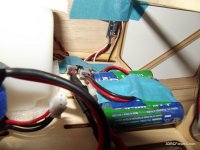
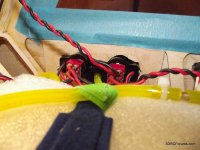
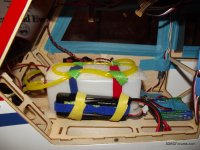
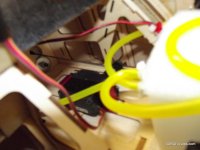
final configuration of internal components:
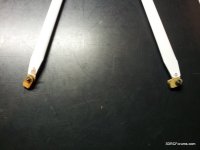
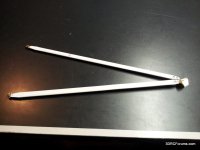
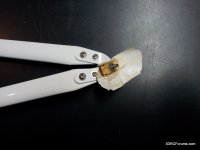
No pictures, but I assembled the wing struts as my last step.
This was a royal pain, not because of the struts, but because the blind nut holes in the fuselage WERE NOT MARKED!!!
I had to go "digging around" using the pics in the manual for the rough location. I did have to bend the tabs on the wing struts to get them to "fit" the curve of the wing, just as the manual specified...but that was not a big deal.
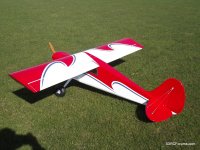
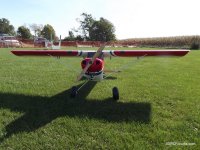
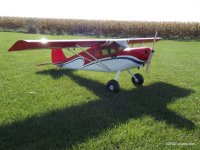
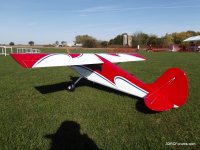
Ok it is ready to maiden!
Here's the final set of build pics, including the air tunnel exit...this setup makes sense to me.
(I added the angled balsa sheet to close off the tunnel here and direct air out the bottom...the tunnel actual goes back another former or two. I think this is what Joe meant when he said use an exit in the tunnel, not behind it. Putting a hole in the lower fuselage behind the end of the tunnel won't really help airflow at all.)


I reinforced the top hatch...without something sturdy there,
I didn't give that hatch more than three flights.


Here's my hatch latch:


RX mounted on pull pull ruder structure:

ignition battery: switch location


final configuration of internal components:


No pictures, but I assembled the wing struts as my last step.
This was a royal pain, not because of the struts, but because the blind nut holes in the fuselage WERE NOT MARKED!!!
I had to go "digging around" using the pics in the manual for the rough location. I did have to bend the tabs on the wing struts to get them to "fit" the curve of the wing, just as the manual specified...but that was not a big deal.
Ok it is ready to maiden!
Last edited by a moderator:

