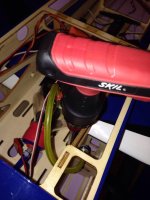
• If you are new to GiantScaleNews.com, please register, introduce yourself, and make yourself at home.

    We're 1st in Giant Scale RC because we've got the best membership on the internet! Take a look around and don't forget to register to get all of the benefits of GSN membership!

    Welcome!
  • Unless you are a paid advertiser NO more posting advertisement in the individual vendor forums. You may post in the Manufacturer's Announcements section only but only ONCE a month unless your a paid advertiser.

Aerobeez 30cc 71" Extra 330SC

gyro

GSN Contributor
Since these new control horns have a little lip that overlaps and helps them fit snugly into the slots... I figured I'd take a little extra time to make them look awesome.

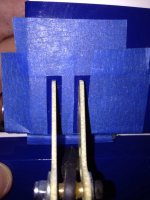
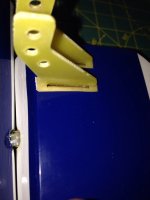
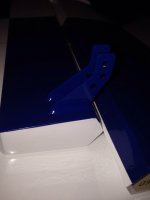
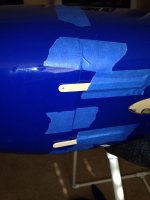
So first, I cut out the slots and masked off a little area around each horn:
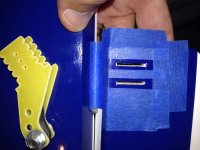
ImageUploadedByTapatalk1388809116.745695.jpg
ImageUploadedByTapatalk1388809150.462302.jpg

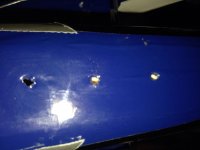
Then, I cut out the covering inside the masked area, so the epoxy will have some sturdy wood to stick to:
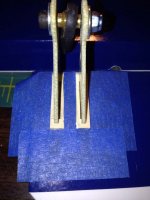
ImageUploadedByTapatalk1388809198.178996.jpg

Tomorrow, I'll glue the horns in, then paint the epoxy and horns to match the covering in that spot. (White for ailerons, blue for elevators, and black for the rudder)
 

gyro

GSN Contributor
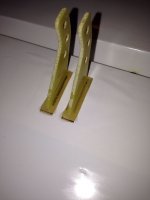
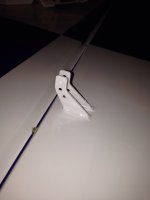
Here's how they came out:
ImageUploadedByTapatalk1388895274.419904.jpg
ImageUploadedByTapatalk1388895286.534222.jpg

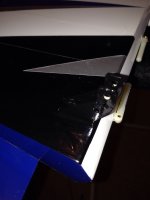
The paint is still drying, but I really, really like this added touch of detail:
ImageUploadedByTapatalk1388895317.234001.jpg
ImageUploadedByTapatalk1388895327.450690.jpg
ImageUploadedByTapatalk1388895338.100980.jpg
 

gyro

GSN Contributor
Got some more work done!

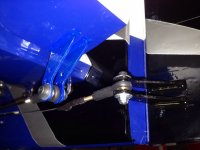
Finished horns:
ImageUploadedByTapatalk1389048343.054450.jpg

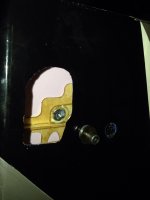
One of the blind nuts for mounting the elevator popped out, and I need vise grips to get it out, so I had to cut some covering. But I got the nut out, replaced it, and will recover shortly. Not a conspicuous place, so I'm not worried about it.
ImageUploadedByTapatalk1389048461.754266.jpg

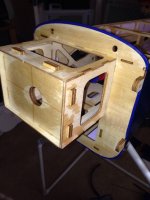
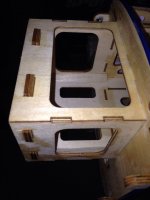
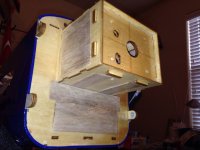
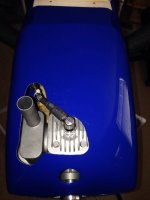
The motorbox isn't closed for gas, and since the kit didn't come with anything, I made my own. Simply took some thin balsa sheeting, made covers, and then put some finish cure epoxy over everything. It looked like the wood wasn't sealed much at all anyway.
ImageUploadedByTapatalk1389048199.553578.jpg
ImageUploadedByTapatalk1389048310.521213.jpg
ImageUploadedByTapatalk1389048320.404346.jpg

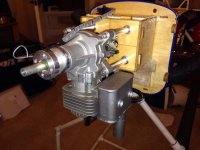
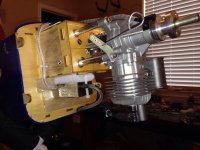
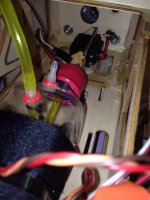
Engine mounted, throttle servo installed, & choke mounted, just need to run the fuel line to the engine and mount the cowl.
ImageUploadedByTapatalk1389048553.171343.jpg
ImageUploadedByTapatalk1389048569.221058.jpg
ImageUploadedByTapatalk1389048700.488250.jpg

Finally, installed the tail gear. Unfortunately, only the rear two screws have wood to go into, there isn't anything under the front screw. Debating merits of adding a little for it.
ImageUploadedByTapatalk1389048673.071267.jpg
 

3dNater

3DRCF Regional Ambassador
I wouldn't worry about that third tail wheel screw so long as the other two are going into some nice hardwood or a blind nut.
 

gyro

GSN Contributor
More work today.

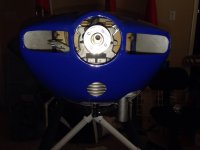
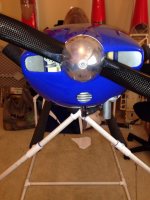
Used the Popsicle stick method to line up the cowl, it came out nicely
ImageUploadedByTapatalk1389141875.828225.jpg
ImageUploadedByTapatalk1389141916.209255.jpg
ImageUploadedByTapatalk1389141925.977595.jpg
ImageUploadedByTapatalk1389141936.278148.jpg

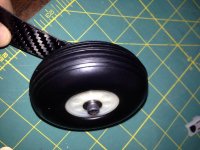
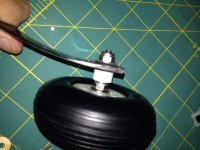
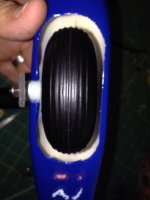
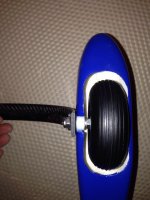
Finalized the landing gear. Rather than using the heavy duty steel shaft and wheel collar included with the kit, I did the socket cap screw method that has worked well for me lately. Used a nylon spacer to perfect the spacing in the wheel pants.
ImageUploadedByTapatalk1389142033.994558.jpg
ImageUploadedByTapatalk1389142043.693424.jpg
ImageUploadedByTapatalk1389142054.360679.jpg
ImageUploadedByTapatalk1389142071.128192.jpg

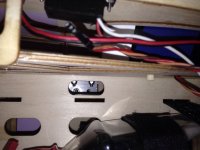
Installing the main gear onto the plane was a breeze, with easy access through the fuel tray.
ImageUploadedByTapatalk1389142113.294347.jpg
ImageUploadedByTapatalk1389142124.377713.jpg
 

3dmike

640cc Uber Pimp
Nicely documented Gyro! Looks like you're really taking your time on this build. Can't wait to see the maiden vid!
 
Got some more work done!
...
The motorbox isn't closed for gas, and since the kit didn't come with anything, I made my own. Simply took some thin balsa sheeting, made covers, and then put some finish cure epoxy over everything. It looked like the wood wasn't sealed much at all anyway....

Thanks for posting the photos Gyro. I always learn something from other guy's builds. I'm curious why you wanted to close in the motor box? Is that just to keep crap out of the fuselage?

Marc
 

gyro

GSN Contributor
Thanks for posting the photos Gyro. I always learn something from other guy's builds. I'm curious why you wanted to close in the motor box? Is that just to keep crap out of the fuselage?

Marc

Yes, partially. I don't want the oil and fuel from the engine getting into the fuse, as it causes a mess, and over time breaks down the airplane. Also, it has to do with air flow. I don't want the air going into the fuse and puffing it up with no where to get out. By closing it off, the air will move into the cowl through front, passing over the engine, and then out the bottom (where there is a gap between the cowl and the fuse.
 
Top