Aerobeez
70cc twin V2
Aerobeez 64" MXSR Build Manual
Hello 3DRC Forum, welcome to our official Step by Step build guide and manual for the 64" MXSR ARF kit. This manual will walk you through the steps to building our MXSR. Our MXSR can be flown with ether electric set ups or gas/nitro engines.
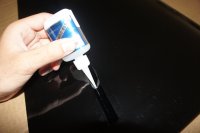
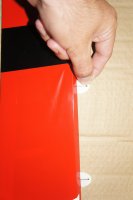
First we will start with the wing assembly. Our MXSR comes with CA hinges on every surface. Make sure when gluing the hinges to use thin CA on both sides of the hinge to get a stronger bond.

Next we will move onto installing the servos.
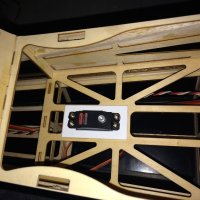
The Aerobeez 64" MXSR comes with the ability to run standard size servos or mini servos depending on the set up you choose.
If you choose to run mini servo all you have do is use the supplied mounts for the smaller servos.
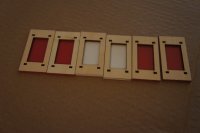
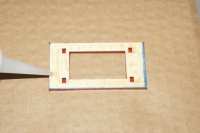
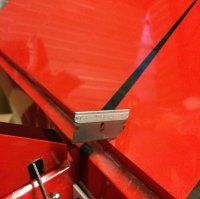
To use the servo mounts simply trace over the servo slot and cut inside the outline, these can be glued with medium CA


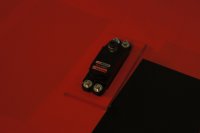
Now we can move onto installing the linkage.
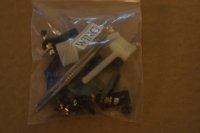
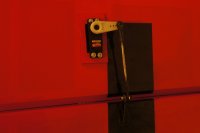
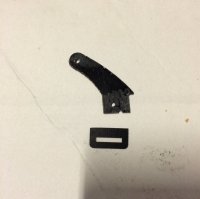
Start with the preparing the horn. Lightly sand the portion of the horn that goes into the surface to get a strong bond.
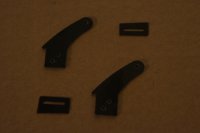
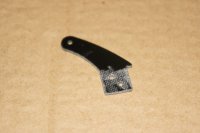
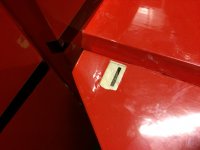
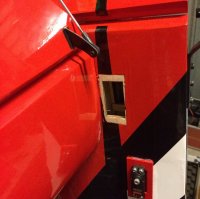
Next we need to find the hole in the surface for the horn, cat a small slot to allow the horn to fit inside.
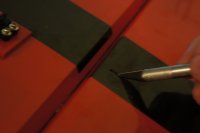
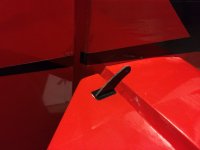
After cutting the slot you can now insert the horn the the support bracket, after you've done this you will need to trace and cut the outline of the bracket.
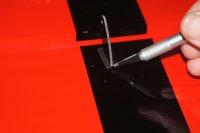
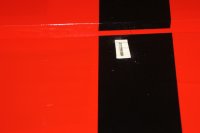
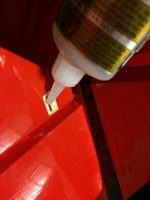
The horn can be glued in with medium CA
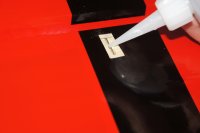
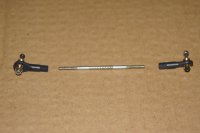
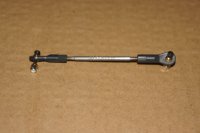
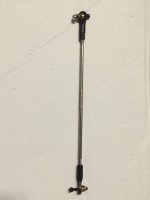
The final step to finishing the wings is installing the rod.
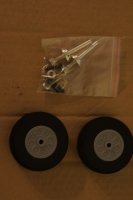
Now we can move onto the fuselage, we will start with the main landing gear.
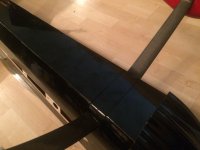
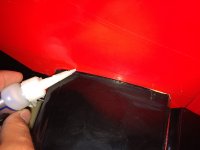
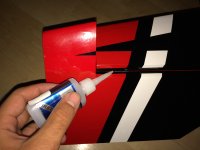
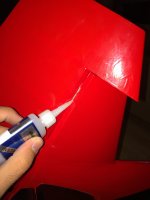
Next step will be the tail, First we will glue the stab/elevator and rudder hinges with thin CA.
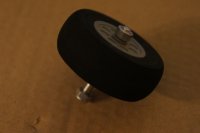
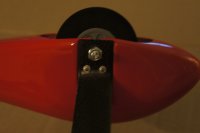
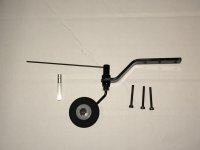
Now that we have the tail surfaces on we can install the tail wheel. Locate the 3 holes in the rear of the tail where the screws go
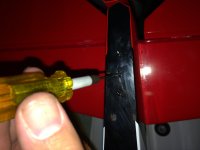
After you have screwed on the tail wheel locate the hole on the bottom of the rudder for the pivot point
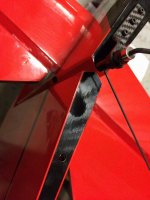
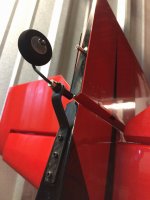
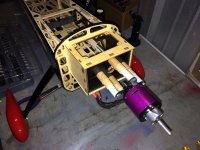
Next we will move onto the power set up. Mark the location for the motor mount( depends on which motor you choose) and drill the holes.
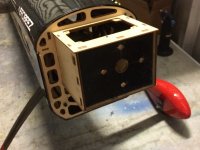
Now we can install the motor. Depending on the motor you choose you will need different length stand offs.
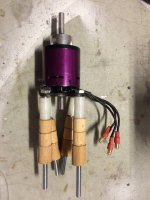
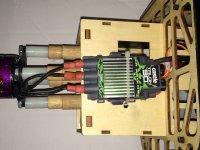
Next comes the ESC
The same method is used to install the elevator servos as the aileron servos. Slots come pre-cut to fit standards size servos or using the mounts for mini servos.
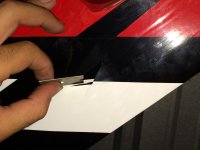
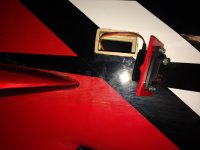
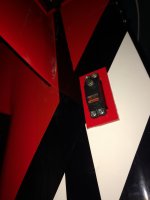
Next we will do the horn and linkage assembly. Just like with the ailerons, make sure to lightly sand the horn and use medium CA to attach to surface.
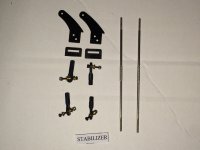
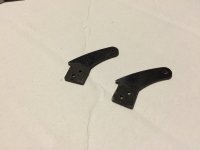
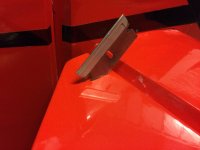
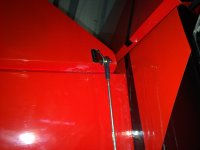
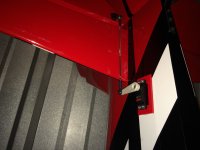
Now we can move onto the redder set up.
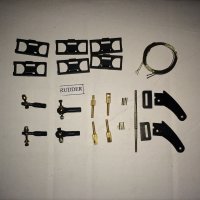
You can do ether pull-pull or direct drive with the MXSR. we oped for direct drive in this case because of the simplicity .
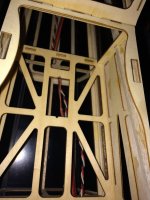
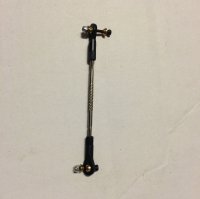
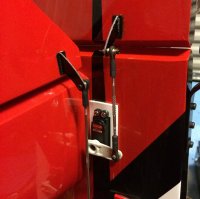
For the final step we will mount the cowl, we used the paper method to align the cowl and drill the holes.
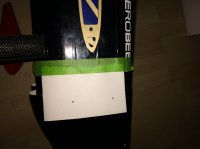
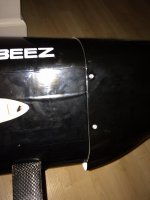
If you decide to go with the electric set up you will need to do an extra step, you will need to open up the holes in the rear of the plane to allow airflow to cool the esc and battery.
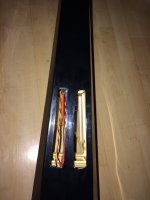
Here is an example of how to install your RX and wires to keep everything secure
Now you are ready to go fly!
We hope that you enjoyed our build log on our 64" MXSR!
Aerobeez
Hello 3DRC Forum, welcome to our official Step by Step build guide and manual for the 64" MXSR ARF kit. This manual will walk you through the steps to building our MXSR. Our MXSR can be flown with ether electric set ups or gas/nitro engines.
First we will start with the wing assembly. Our MXSR comes with CA hinges on every surface. Make sure when gluing the hinges to use thin CA on both sides of the hinge to get a stronger bond.


Next we will move onto installing the servos.
The Aerobeez 64" MXSR comes with the ability to run standard size servos or mini servos depending on the set up you choose.
If you choose to run mini servo all you have do is use the supplied mounts for the smaller servos.

To use the servo mounts simply trace over the servo slot and cut inside the outline, these can be glued with medium CA


Now we can move onto installing the linkage.

Start with the preparing the horn. Lightly sand the portion of the horn that goes into the surface to get a strong bond.


Next we need to find the hole in the surface for the horn, cat a small slot to allow the horn to fit inside.

After cutting the slot you can now insert the horn the the support bracket, after you've done this you will need to trace and cut the outline of the bracket.


The horn can be glued in with medium CA

The final step to finishing the wings is installing the rod.


Now we can move onto the fuselage, we will start with the main landing gear.


Next step will be the tail, First we will glue the stab/elevator and rudder hinges with thin CA.


Now that we have the tail surfaces on we can install the tail wheel. Locate the 3 holes in the rear of the tail where the screws go


After you have screwed on the tail wheel locate the hole on the bottom of the rudder for the pivot point


Next we will move onto the power set up. Mark the location for the motor mount( depends on which motor you choose) and drill the holes.

Now we can install the motor. Depending on the motor you choose you will need different length stand offs.


Next comes the ESC

The same method is used to install the elevator servos as the aileron servos. Slots come pre-cut to fit standards size servos or using the mounts for mini servos.


Next we will do the horn and linkage assembly. Just like with the ailerons, make sure to lightly sand the horn and use medium CA to attach to surface.


Now we can move onto the redder set up.

You can do ether pull-pull or direct drive with the MXSR. we oped for direct drive in this case because of the simplicity .


For the final step we will mount the cowl, we used the paper method to align the cowl and drill the holes.


If you decide to go with the electric set up you will need to do an extra step, you will need to open up the holes in the rear of the plane to allow airflow to cool the esc and battery.

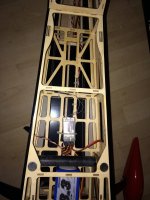
Here is an example of how to install your RX and wires to keep everything secure

Now you are ready to go fly!

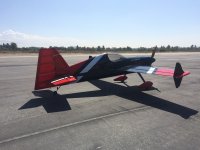
We hope that you enjoyed our build log on our 64" MXSR!
Aerobeez
