• If you are new to GiantScaleNews.com, please register, introduce yourself, and make yourself at home.

    We're 1st in Giant Scale RC because we've got the best membership on the internet! Take a look around and don't forget to register to get all of the benefits of GSN membership!

    Welcome!

Airplane Design Fusion 360

BalsaDust

Moderator
Ok lets do this design tutorial. For simplicity I'm rolling with an Ugly Stick.

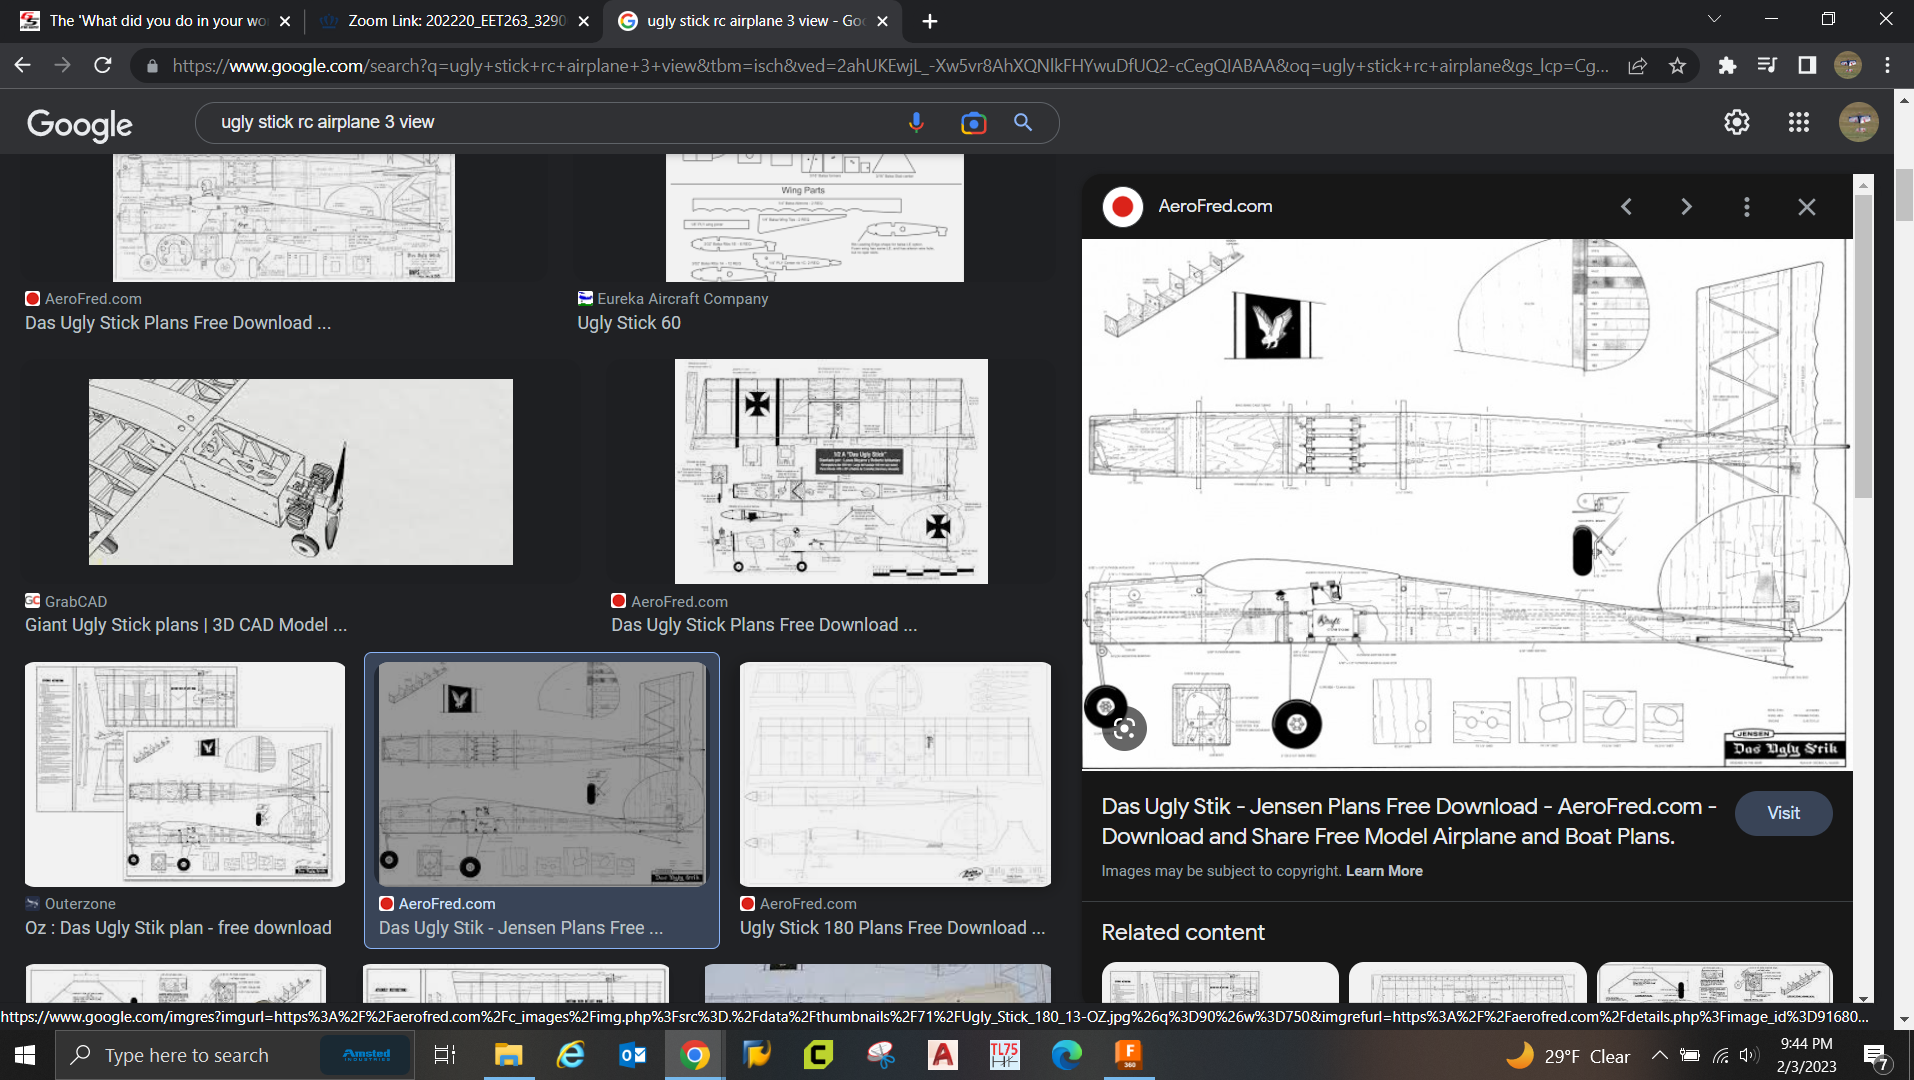
First things first you want to find some reference photos to insert into your Fusion file to work with. I prefer a 3 view generally but the Ugly Stick isn't a full scale plane so you can't really find a 3 view. Its a simple plane though and we can work off of just two views, the top and bottom.
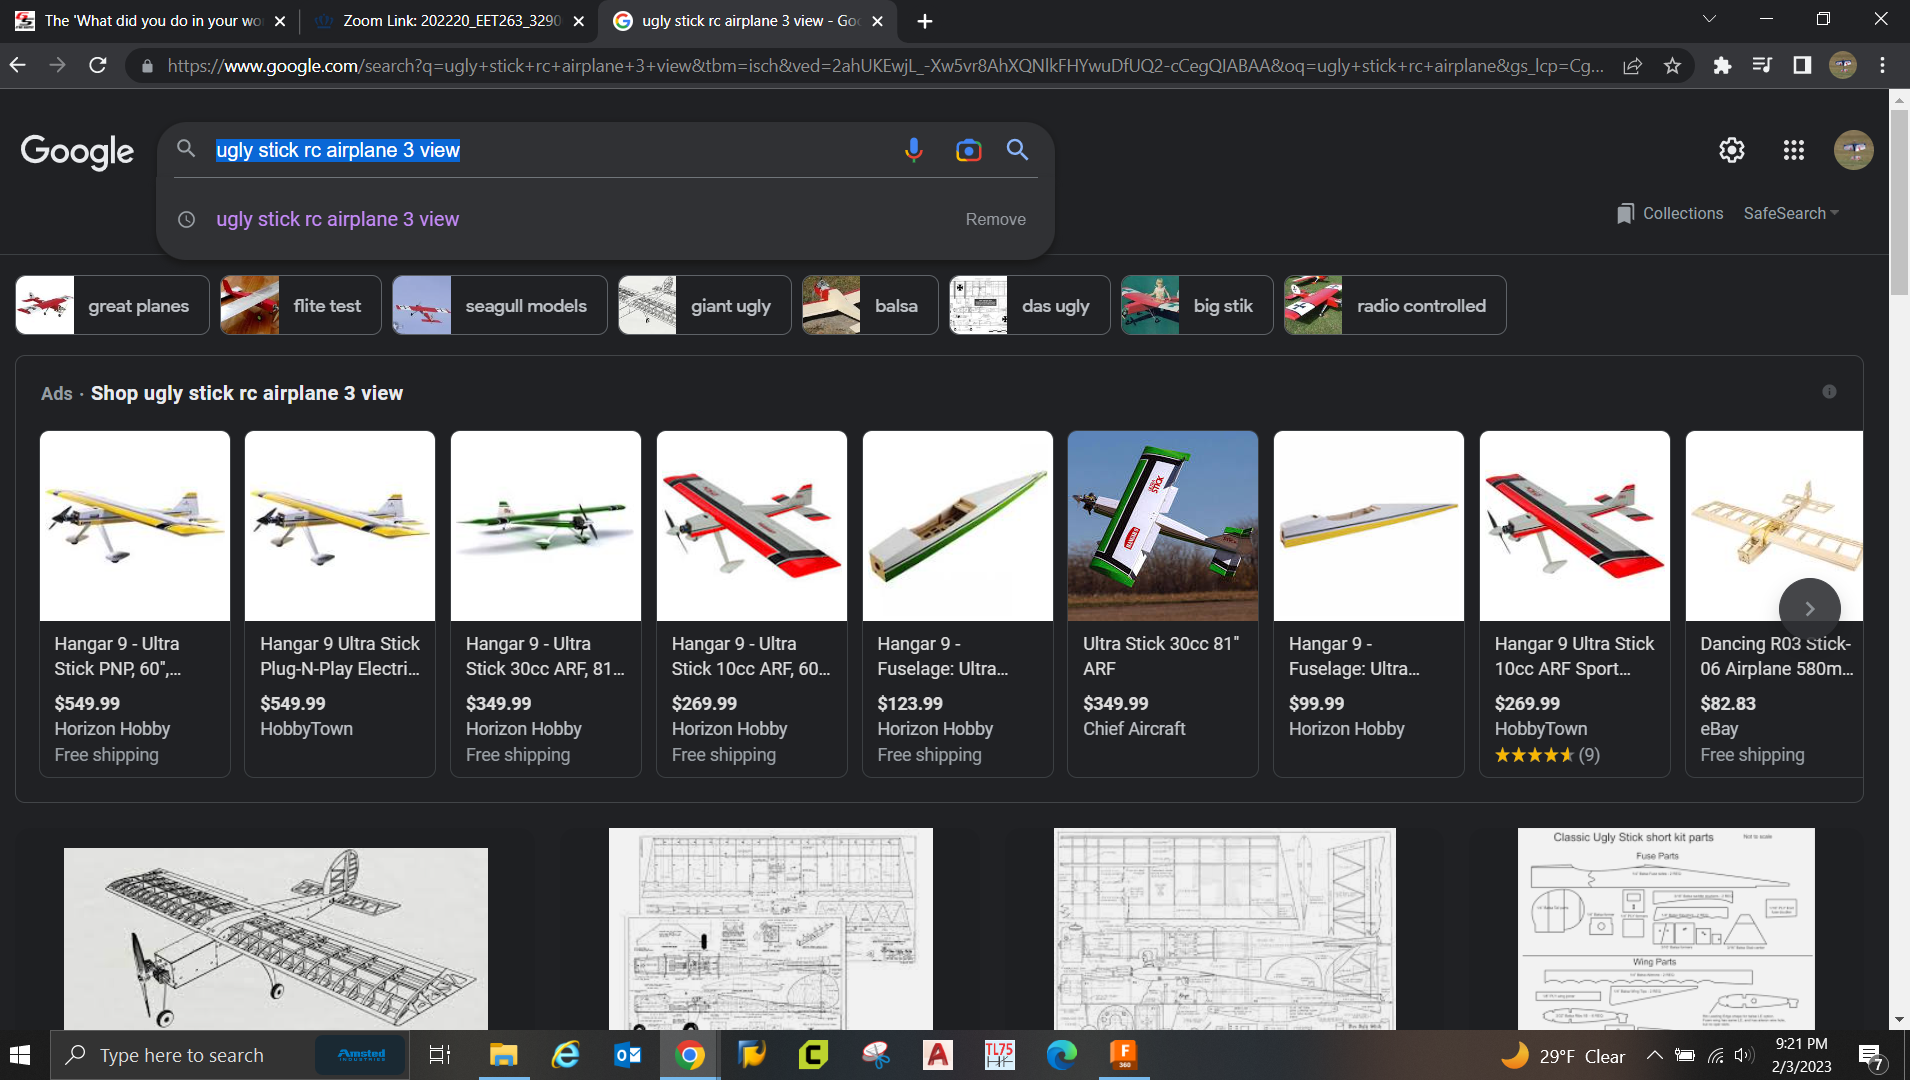
Plane Search.png


This one looks like a good choice.
Plane Selection.png


Next we need to decide on the size of the airframe itself so we can size parts properly around it. Standard ugly stick was a 60" span so we will roll with that so lets find a wing tube as who wants to carry around a 60" long wing panel. I like Gator RC as they have all the info needed for the model.
Wingtube search.png


3/4" tube should be more than adequate. For our purpose of design though we care about two things. The overall length of the tube and the OD of the wing tube sleeve.
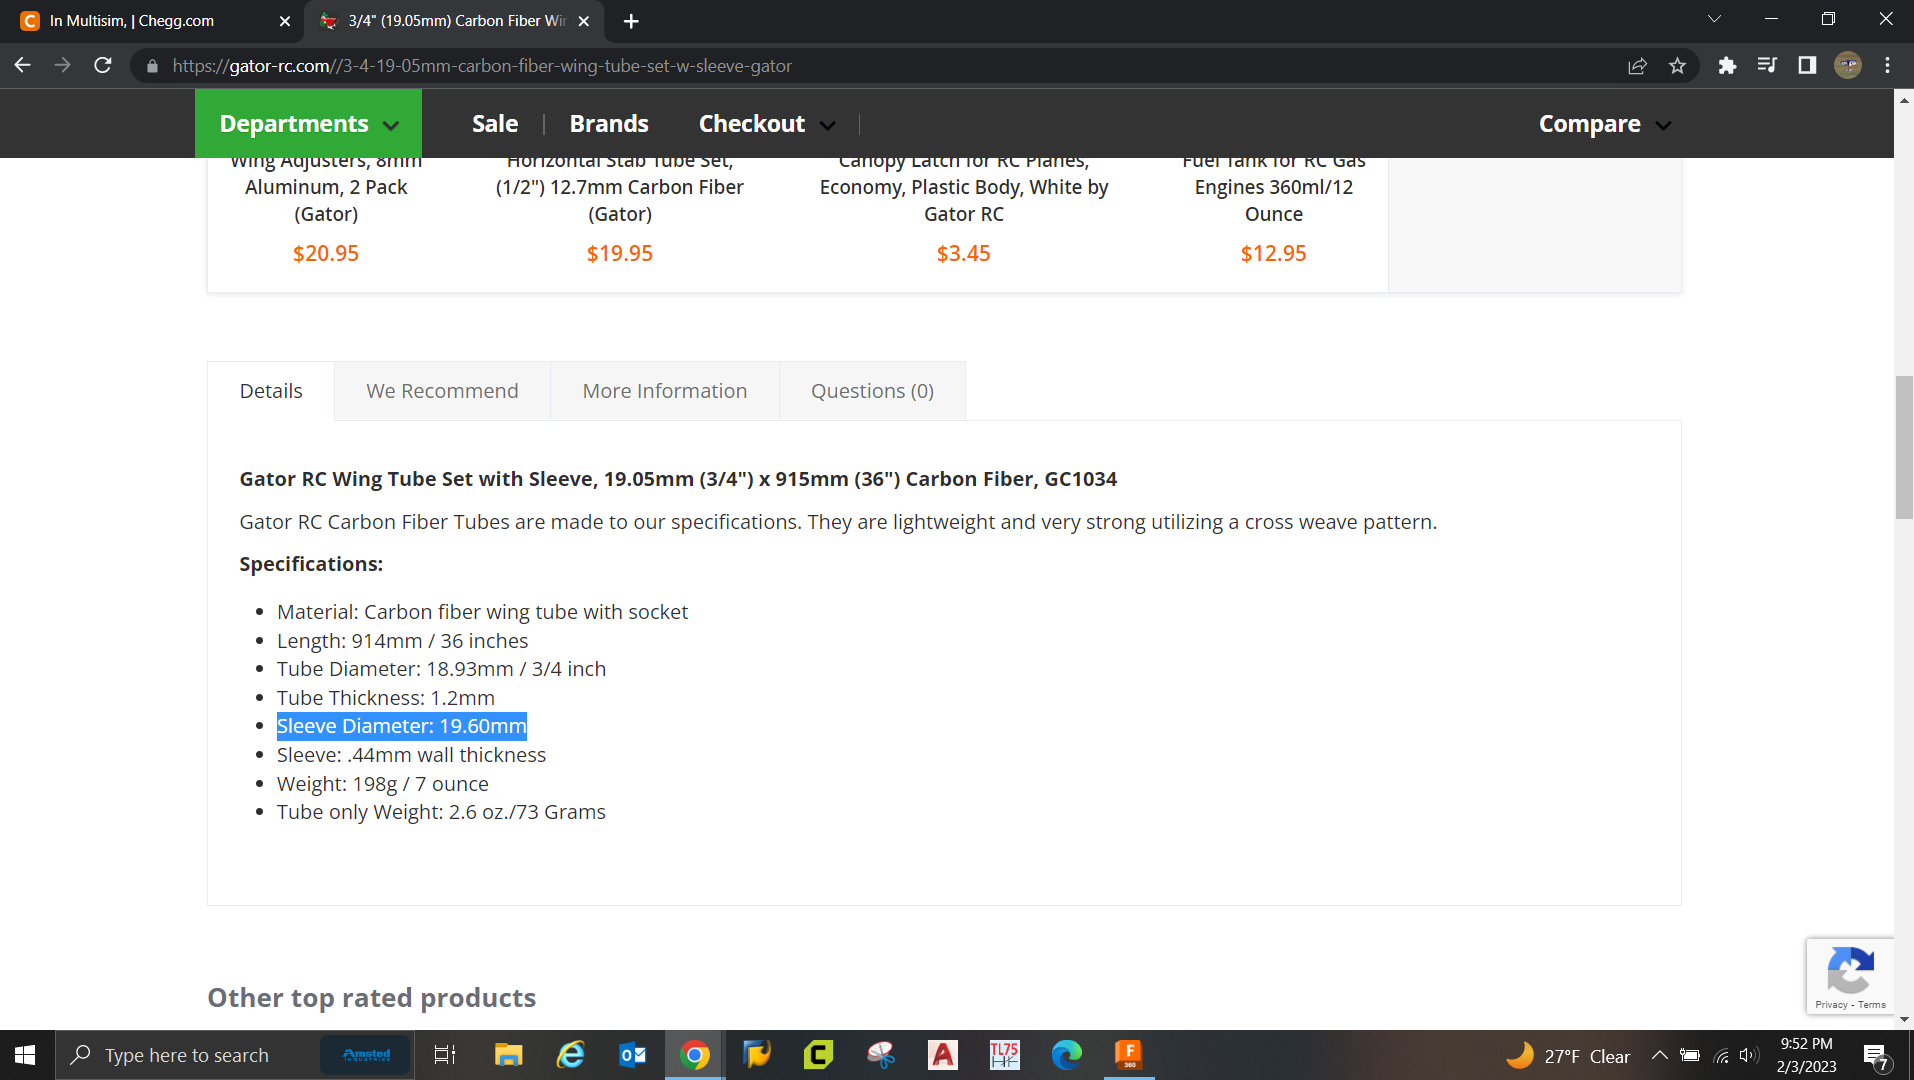
tube info.png
 

BalsaDust

Moderator
Ok step 1 that is not shown is to take what ever picture you have and break it up into pieces (say its a 3 view you want to cut it into 3 different images). I do this by just opening it in MS paint or photo edit and crop it to only show what I want.

Now open up fusion and lets get going. In the top ribbon go over to insert and select canvas.
Canvas1.png


It will open this box and go ahead and select "insert from my computer"
Canvas2.png


Once you have selected the image you will need to select a face to insert it on. I'm inserting a side view so I will go with the right face or (workplane) which is the yellow square.
Canvas3-1.png


it will change colors when you hover your mouse over it. Just click on it and then click ok in the canvas box to the right.
Canvas 3-2.png


That will slap your image in there and allow you to place it. You can click on the blue square in the center of the image to move it around or if need be you can see a circle at the top that you can click and rotate if needed. Got now just click ok to get the canvas into the drawing.
Canvas 5.png
 

BalsaDust

Moderator
Now comes the fun part and what I'm finding to be one of my favorite features of Fusion compared to other software and its the calibrate feature. on the browser to the left click the arrow to expand the canvas tab and then right click on the file name for the canvas we just inserted and select the calibrate feature.
Canvas calibrate1.png


Select two points on the canvas and it will display what the current distance is between those two points. Side note this is one of the few times I like to have grid lines turned on so that I can keep my two points relatively even with one another. As you can see the way the canvas inserted the fuse with rudder has an overall length of 17.29mm. Yes I am working in metric. if you would rather be in standard then the browser to the left just click on document settings and it will let you change it.
Canvas calibrate2.png


Now I'm going for a 60" span and most things I saw is there where around 46-48" in length. I will go with 48" which converts to 1219.2mm but I just rounded up to 1220mm for simplicity. once you have typed the new size in just click enter and it will scale the entire image.
Canvas calibrate 3.png
 

BalsaDust

Moderator
Now that it is sized properly you need to move it to a good location. So again in the browser right click on the canvas name and select edit canvas.
Canvas move1.png


the move box will open back up on the canvas. I like to line all my views up using the origin of the fusion file itself lines up with the center line of the fuse and you can see it right on the center of the firewall though.
Canvas move2.png


Repeat all those steps to insert any remaining images. Here is the top view placed.
Canvas move3.png


Now you can see here when I have the view canted some where both canvas's line up with the center of the firewall on each in the same basic place. It doesn't have to be perfect but close is good. At this point lets go ahead and save our work before moving forward. I'm calling this one the Fusion Stick. Lastly when all said and done I really don't plan to build this but I will share the file for anyone who would like a copy to just play around with or would like to send all the parts to a laser cutter and build one for themselves.
canvas move 4.png
 

Snoopy1

640cc Uber Pimp
Thanks for doing this. I am pretty good in AutoCAD but know nothing about Fusion 360. Really interested in what you are doing so I am going to try to get Fusion 360 installed and follow along with you and hope to be able to draw up a plane in the near future.
 

Snoopy1

640cc Uber Pimp
I have so many questions you are going hate me.
How easy is it import a 2D AutoCAD drawing into Fusion 360
 

AKNick

640cc Uber Pimp
I have so many questions you are going hate me.
How easy is it import a 2D AutoCAD drawing into Fusion 360

Just depends on the format I believe. Usually pretty easy. But I dont have AutoCAD or F360..... yet.... F360 seems very powerful. I just keep getting concerned the hobbiest platform restrictions would prevent me trying to make and sell stuff in the future... the full price subscription software is outrageously expensive I think.
 

BalsaDust

Moderator
I have so many questions you are going hate me.
How easy is it import a 2D AutoCAD drawing into Fusion 360
It can be done as I have done it but for some items it becomes difficult. For example importing in an airfoil profile. It's is going to bring it in as a bunch of lines connected together. This will work but when you go to extrude the part every point where two lines meet will all be shown on the extrusion and just not be pretty. What I do is import it in as a sketch but then basically sketch right over it using the fit point spline tool to draw over it as one continuous line. Highlight and move the new line to the side and delete the old stuff.
Just depends on the format I believe. Usually pretty easy. But I dont have AutoCAD or F360..... yet.... F360 seems very powerful. I just keep getting concerned the hobbiest platform restrictions would prevent me trying to make and sell stuff in the future... the full price subscription software is outrageously expensive I think.
It is extremely powerful. I use it and their software Inventor and I like Fusion way more. Depending on how much you where selling the full price isn't that bad compared to other paid software. I think Fusion is around $550 a year.
 

BalsaDust

Moderator
Ok lets start actually drawing stuff. First things first in the create part of the upper ribbon click on the sketch tool (it's the one highlighted blue below). I'm going to draw the side profile of the fuse first and you can see the square greyed out where I will select that work plane.
Fuse Solid1.png


Once it is selected you can see where basically all the options in the ribbon have changed to sketch related tools as well as a sketch palette has opened up to the right of the screen. All I have done here is use the line command to trace the outer profile of the fuse. One thing to note are some little symbols around the sketch. Those all are constraints. Also not the lines of my sketch are a light blue color which indicates they are not fully constrained. Some sketches I try to make sure everything is fully constrained and others like this I really don't care that much. Once done drawing everything click finish sketch.
Fuse Solid2.png


Next go back to the create ribbon and grab the extrude tool which is right next to the sketch tool. Since there is only one profile it automatically grabbed the sketch I drew. You can click the arrow on the drawing to drag it out and see the numbers change, I usually do that to get it close and then type in a distance to get it exactly where I want it. You will notice multiple options in the extrude palette. for this part I could have done it two ways. One would be under the direction drop down to change it to symmetry which would extrude out an equal distance on both sides of the sketch plane. I choose for this model to only do one side as it actually saves a few steps later on and I will explain that in that step. Lastly for this operation I want to create this as a new body.
Fuse Solid3.png


So at this point when looking at the front view I have only done one half of the fuse.
Fuse Solid4.png


In this step I have used my sketch tool to draw on the bottom face of the fuse. Under the create ribbon click the drop down and go to project. You can read the text box that is open to see exactly what it does.
Fuse Solid5.png


Here you can see the outline of the solid body highlighted with red lines. This meens it is selected and now we can click ok on the project pop-up box.
Fuse Solid6.png


I would like to include more but it will only allow me to upload 6 images in a post.
 
Top