BalsaDust
Moderator
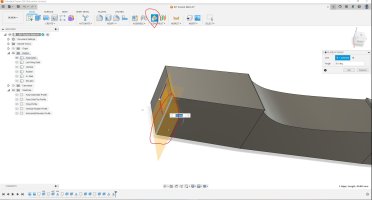
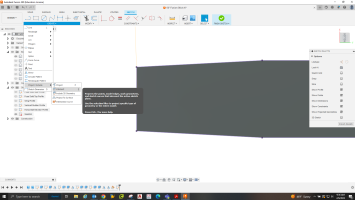
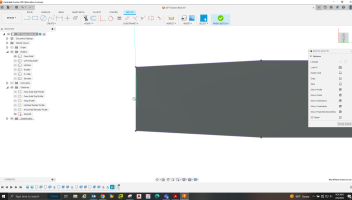
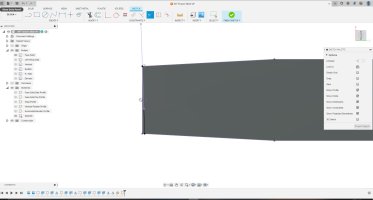
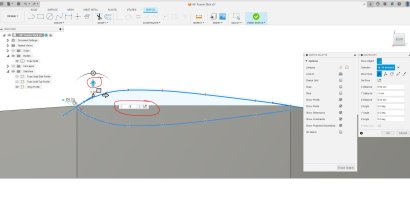
Now I will sketch the top profile of the fuse onto the solid. The rear taper appears to be slighlty curved so I will use the 3 point arc command to draw it.

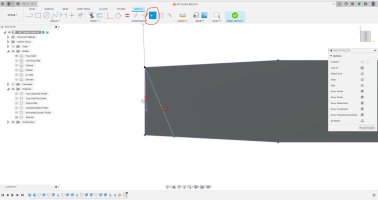
You can see the start and end points of the arc and in the middle will be the fit point for it that defines the radius of the arc. Afterwards I also traced the front tape with just a straight line but it is currently not pictured. again click finish sketch.

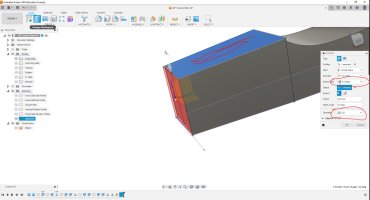
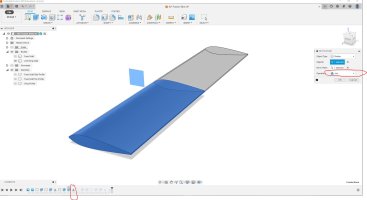
Click the extrude button. This time since there are multiple profiles at play you will need to select which ones you want to extrude. You can see that it defaults to an up arrow wanting to extrude out and away from the face.

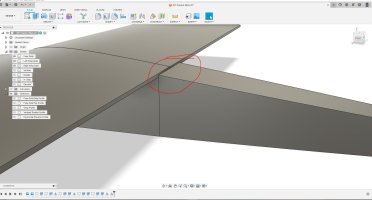
I forgot to take a screen shot here but in the extrude tab I selected "To Object" under the extent type tab. with that I don't need to type in a distance. Instead I roll over my view and select the top of the fuse where the wing will ultimately rest. It should automatically change the operation from new body to "Cut" but if not change that now and click ok. This will cut away material leaving you with the top profile.

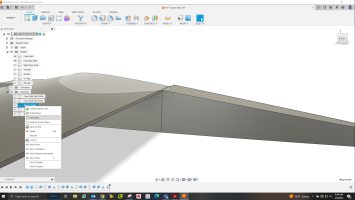
Next in the create tab drop down click on the "Mirror" tool. Its control box will pop up and you will see the objects tab highlighted telling you to select all solid bodies you want to mirror. There currently is only one so go ahead and click on it to highlight the entire fuse half.

once everything needed is selected you will need to click on the mirror plane box, this will allow you to pick which way it mirrors. Just click on the appropriate face and you will see a preview of how it wants to mirror it. Also for the fuse down in the operation tab I will just leave it as the defaulted join operation. If I was say mirroring the wing I will instead change it to new body so each wing half was a separate part.

You can see the start and end points of the arc and in the middle will be the fit point for it that defines the radius of the arc. Afterwards I also traced the front tape with just a straight line but it is currently not pictured. again click finish sketch.
Click the extrude button. This time since there are multiple profiles at play you will need to select which ones you want to extrude. You can see that it defaults to an up arrow wanting to extrude out and away from the face.
I forgot to take a screen shot here but in the extrude tab I selected "To Object" under the extent type tab. with that I don't need to type in a distance. Instead I roll over my view and select the top of the fuse where the wing will ultimately rest. It should automatically change the operation from new body to "Cut" but if not change that now and click ok. This will cut away material leaving you with the top profile.
Next in the create tab drop down click on the "Mirror" tool. Its control box will pop up and you will see the objects tab highlighted telling you to select all solid bodies you want to mirror. There currently is only one so go ahead and click on it to highlight the entire fuse half.
once everything needed is selected you will need to click on the mirror plane box, this will allow you to pick which way it mirrors. Just click on the appropriate face and you will see a preview of how it wants to mirror it. Also for the fuse down in the operation tab I will just leave it as the defaulted join operation. If I was say mirroring the wing I will instead change it to new body so each wing half was a separate part.

