• If you are new to GiantScaleNews.com, please register, introduce yourself, and make yourself at home.

    We're 1st in Giant Scale RC because we've got the best membership on the internet! Take a look around and don't forget to register to get all of the benefits of GSN membership!

    Welcome!

Build Log Top Flite P-40E Warhawk Gold Edition kit

rcdude07

70cc twin V2
The two shall become one: pics

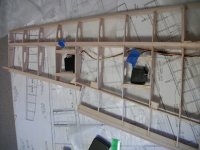
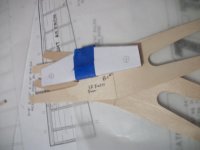
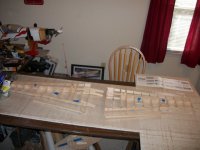
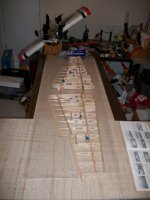
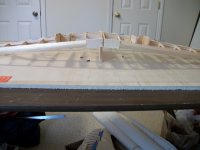
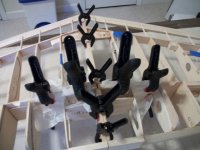
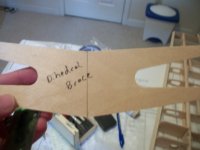
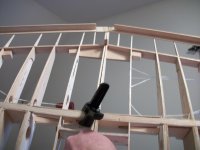
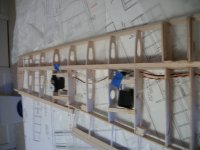
Here's the pics from about 2 hours of work over the weekend. As you can see I rerouted the aileron servo wire, then there was prep work to get the wing halves ready for joining, test fitting and sanding/shortening the dihedral braces, and sanding/cutting to get the wing bolt plate to fit, and drilling the holes in the wing bolt plate, then came the epoxy. I almost made a HUGE mistake while trial fitting the dihedral braces. They wouldn't fit right, and before I started cutting I realized I was trying to fit them upside down compared to the way the wing halves were sitting on the table. I had forgotten the wing halves were built upside down and were still sitting that way on the workbench. Fortunately I caught this before doing anything drastic, and when they were put in correctly, they fit right. To get the right dihedral on the wing the kit contains a large balsa block that is stood up on the table called the Wing Jig or wing root jig. The spars and the TE tabs sit flat on this and the tabs on W12 ribs sit flat on the work surface.
100_6458.JPG 100_6461.JPG 100_6463.JPG 100_6464.JPG 100_6465.JPG 100_6466.JPG 100_6467.JPG 100_6470.JPG 100_6472.JPG
 

rcdude07

70cc twin V2
didn't get as much done during the Thanksgiving break mainly because I was doing stuff with/for the family (last leaf mulch of the season, Christmas decorations, and a trip to the local club for some flying). however, I was able to get to the LHS to pick up tri-stock and got the tri-stock epoxied in at the dihedral brace and rib 1 where the rib was short.
 

rcdude07

70cc twin V2
Last night the wing alignment bolt hole was drilled and the last sheer webs were glued in. Next up is retract installation. I'll probably have to tweak the wing bolt some when it comes time to mate the wing to the fuse in order to get the correct angle.

attachment.php


attachment.php
 

rcdude07

70cc twin V2
If anyone has experience installing oleo struts, please let me know your tips and tricks. I have the 3/8" oleo struts from Robart and the wingspanretracts retracts for this bird. The struts are large enough to go over the retracts, thus covering up the set screws. The wingspanretracts manual refers to JB Wielding a smaller piece of wire inside the 3/8" struts to insert into the retract. By doing this, do I shorten the strut to not go all the way up on the retract, or would I need to tap the holes I'd have to drill for the strut for the set screws?

Makes sense? If I can get to the actual manuals sometime I'll post up the instructions I'm seeking clarification on.
 

rcdude07

70cc twin V2
Looked at the instructions again yesterday after taking some time off from the build. Steps are simple. 5/32"wire goes into the trunnion and strut via an adapter that came with the struts. Need to get supplies to do the work.
 

rcdude07

70cc twin V2
After a loooong hiatus, I'm back at the build table. I was able to get
the tools I need last weekend as my birthday present and a nice plane
restraining device (one of those u-shaped pvc pipe stands that is
nailed into the ground with a looooong nail).

Last weekend while my experienced builder was in town we talked ideas
and plans for the LG and spar area. As well as getting an additional
pointer for beefing up the wing bolt area in the wing.

Today I spent just under an hour looking at the retracts again. The
instructions say there is a left and right, however doesn't tell you
what S/N is which. So, I fitted the Robart Oleo Struts on the LG,
pulled out the RX, an old spare RX battery, and y-harness. Connected
everything up and started testing open and closed to get the right
positions. I'll post video later once I can get it uploaded to Vimeo.
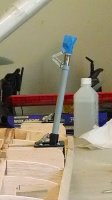
I used blue tape on the struts to simulate which side the wheels would
be on. After getting the correct open and closed positions, I marked
the left and right LG as well as the struts. I also started looking at
making a paper template for the LG mounting holes and found my LG is a
bit smaller/holes closer together than the Century Jet ones used in
the plan. So I have to start looking at hole locations from the LE to
get close to the right location.
 

rcdude07

70cc twin V2
Just noticed this thread is now in the scratch build section. I'm building a kit. Was this a mistake in the last round of reorganization of the site?
 

rcdude07

70cc twin V2
It's been just over a year since I started the build. Progress is slow, but thought out and not rushed.

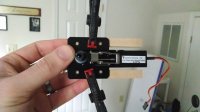
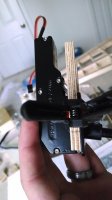
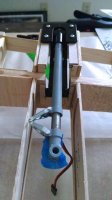
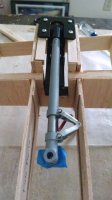
Video of the retracts in motion. The blue tape represents where the wheels will be, and the struts are just slid down on top of the post on the retracts:

http://vimeo.com/86300973


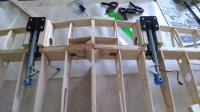
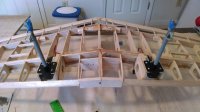
Pictures of the work. Yes some of the pics have the wheels on the wrong sides, I referenced earlier pics and switched them around, no change in the positioning/alignement of the struts:


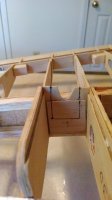
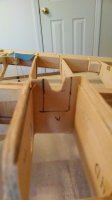
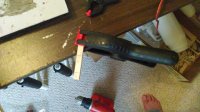
Step one, mark the hole needed to cut the spar and LG box. I did this by placing the LG on the LG rails and setting in place to measure the width. Then measured the depth based on the bottom of the LG rail, and marked accordingly. A saw was used to cut the vertical lines and a cutoff wheel on a Dremel was used for the horizontal lines. This was Saturday's work.


Sunday was spent lining up the pivot point on the Wingspan Retracts to as close as possible to the pivot point marked on the plans. To achieve this I laid the LG rails on the plans and marked the pivot point per the instructions with a straight line. After several loong minutes I find the easy way by seeing the pivot circle on the retracts. So I had to extend the lines to the sides of the rails. In order to get this alignment I used small clamps to hold the rails in place. I initially marked screw holes this way, but this created alignment issues when set in place on the wing. So I switched to using small clamps to hold the rails in place on the wing, and lined the gear up with the pivot point and straight lines with the ribs. Once happy with the alignment, I marked my screw holes. I removed the gear and used the clamps on the rails to the LG once again, then brought out my dead center tool, usually used for engine mounting. If you don't have one, it's handy to have, it's a small drill bit on a long spring loaded rod you push down and twist to get a pilot divot. With the screw holes marked, I drilled the correct sized hole per the screw's instructions, and screwed the retracts down. After both retracts were screwed in, I sat them in place again and checked the simple lateral alignment. Looks good.


IMG_20140208_132849560.jpg IMG_20140208_132855535.jpg IMG_20140209_135721313.jpg IMG_20140209_135744334.jpg IMG_20140209_144035093.jpg IMG_20140209_151059358.jpg IMG_20140209_151104546.jpg IMG_20140209_151035687.jpg IMG_20140209_145816057.jpg IMG_20140209_150438289.jpg


Next up is to fine tune the alignments and epoxy the rails in without epoxying the LG in.
 
Top