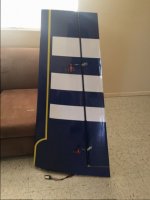
• If you are new to GiantScaleNews.com, please register, introduce yourself, and make yourself at home.

    We're 1st in Giant Scale RC because we've got the best membership on the internet! Take a look around and don't forget to register to get all of the benefits of GSN membership!

    Welcome!

Extreme Flight 104" MXS Assembly

garlandk

100cc
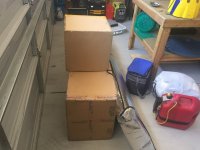
The other day my new Extreme Flight 104" MXS came in. I had it ship to my company I work for to save a little bit on shipping cost. Sadly it came in on Wednesday and due to I was away from home for work I couldn't get to see it till today! I am very impressed with this ARF. I currently own the 94" version with a DA-70 and have been enjoying it. Colton Clark helped me assemble that one due to at the time I was working out of a small storage unit. Since then I have moved into a new house with a decent size garage. At least now I have a little room to work with!

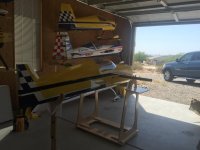
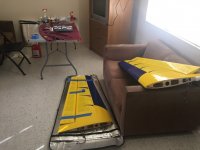
Here is a few photos of it in my new shop. Enjoy! Testing out Terry's stand!
 

Attachments

  • IMG_3771.JPG
    IMG_3771.JPG
    77.5 KB · Views: 989
  • IMG_3780.JPG
    IMG_3780.JPG
    78.2 KB · Views: 789
  • IMG_3789.JPG
    IMG_3789.JPG
    44.7 KB · Views: 855

garlandk

100cc
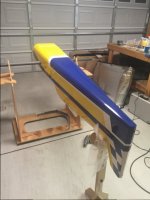
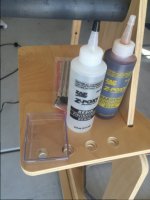
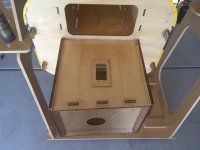
Since the fuse is upside down on Terry's stand I decided before putting the gear in to use Zap Finishing resin to put on the joints on the motor box. Typically I like to do this to all of my Arfs so they can last a bit longer.
 

Attachments

  • image.jpeg
    image.jpeg
    39.6 KB · Views: 800
  • image.jpeg
    image.jpeg
    57.7 KB · Views: 806

garlandk

100cc
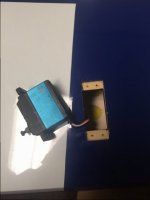
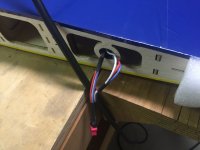
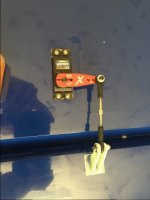
Finished installing the servos in the wings. I am using the Tail Dragger connection at the end to clean up the wiring. Of course before screwing the servo screws in I put medium CA in the holes. What is nice is there is a tube to run your wires in down the wing. Makes for a easy installation for the wing servos.
 

Attachments

  • IMG_3807.JPG
    IMG_3807.JPG
    21.2 KB · Views: 764
  • IMG_3808.JPG
    IMG_3808.JPG
    62.3 KB · Views: 779

garlandk

100cc
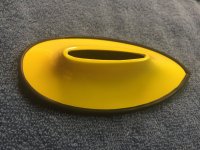
Before attaching the gear i completed the wheel cuffs. Basically you take the supplied tubing required to go around the cuff and cut a slot in the tube with a small set of scissors. I let where the two end pieces meet go towards the back. Used medium CA to attach it to the cuff from the inside.
 

Attachments

  • IMG_3809.JPG
    IMG_3809.JPG
    92.5 KB · Views: 778

garlandk

100cc
Out working three hours from home for work. We live out in a remote area for work during the week. I figure I would bring along the wings and stab to complete servo installation, hinging, and programming.
 

Attachments

  • IMG_3848.JPG
    IMG_3848.JPG
    73.8 KB · Views: 750

garlandk

100cc
Here are the tools needed to complete the hinging of all surfaces.
Redline is for the hinge itself so no glue gets stuck to it. We will use the sanding block to lightly sand each hinge. The blue tape will be used to put glue on plus be used to keep the surface tight to the wing, The vaseline is optional, but you can use this to put around the holes for the hinges to keep glue off the airframe, the stick is used to spread the glue around the hinge. Finally you need a small cup to put the oil in to dip the hinges in.
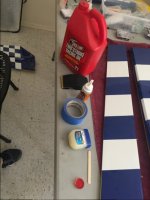
Photo Jun 01, 18 04 25.jpg


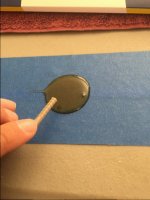
First lets put down a piece of tape on the table. This is to put glue on without getting it on the workbench.
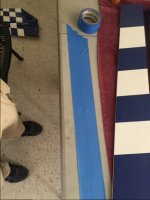
Photo Jun 01, 18 05 13.jpg

Now take the small cup and poor a small amount of oil in the cup. I used redline.
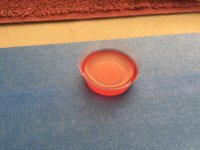
Photo Jun 01, 18 05 19.jpg

Now take the sanding block and lightly sand each hinge.
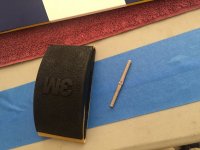
Photo Jun 01, 18 05 28.jpg

Pick the hinge up as shown and lightly dip the hinge point in the oil. Do this to each hinge. Make sure you work the hinge back and forth to make sure the oil gets inside where the pin is.
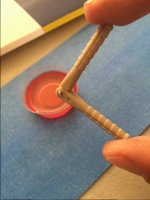
Photo Jun 01, 18 07 32.jpg

This is optional, but you can take vaseline and put it around each hole for the hinges on the surface to keep glue off the surface.
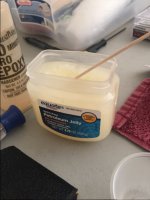
Photo Jun 01, 18 10 12.jpg

Now take the Gorilla glue and put it in each hole of your control surface. Only do one side. For example I did the aileron first. Dont do the actual wing yet. It only takes a small amount. After completing this task lay the wing down flat.
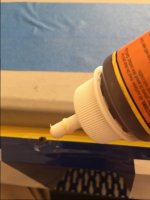
Photo Jun 01, 18 10 24.jpg

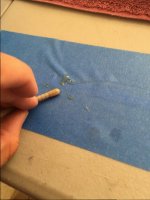
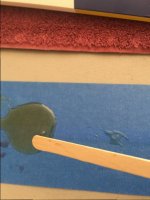
The the gorilla glue and put a puddle on the tape you layed down earlier and take each hinge and put glue on one side. I try to lightly roll the hinge in the glue then taking the hinge and roll it on the clean side of the tape to get the excessive off.
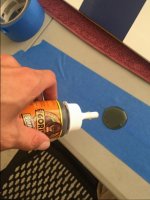
Photo Jun 01, 18 12 01.jpg Photo Jun 01, 18 12 13.jpg Photo Jun 01, 18 12 25.jpg

Take the hinge and stick it in each hole of the movable surface. Once completed turn the hinge 90 degrees. To insure full deflection and to have the tightest hinge gap put the hinge in so have the metal plate of the pin shows.
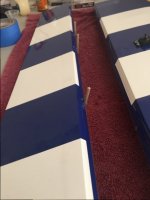
Photo Jun 01, 18 17 11.jpg

Set the ailerons to the side and take the gorilla glue and fill the wings holes in just like you did with the ailerons.
Once completed we will take the stick and coat each hing other side with gorilla glue. Lightly coat each hinge. Once completed you can now join the two pieces together.
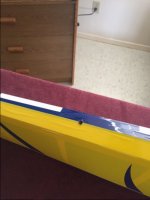
Photo Jun 01, 18 17 20.jpg Photo Jun 01, 18 18 29.jpg Photo Jun 01, 18 18 37.jpg Photo Jun 01, 18 18 43.jpg

Last step is to make sure you push the two together tightly and use painters tape to hold each side together. Let it sit overnight before you mess with the wing anymore.
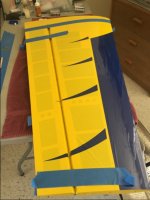
Photo Jun 01, 18 25 22.jpg
 

garlandk

100cc
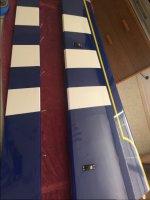
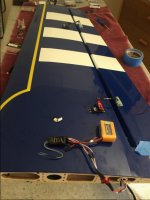
Completed the aileron installation and also completed the programming
 

Attachments

  • Photo Jun 01, 18 43 48.jpg
    Photo Jun 01, 18 43 48.jpg
    32.9 KB · Views: 824
  • Photo Jun 01, 18 43 56.jpg
    Photo Jun 01, 18 43 56.jpg
    44.3 KB · Views: 781
  • Photo Jun 01, 19 06 00.jpg
    Photo Jun 01, 19 06 00.jpg
    33.1 KB · Views: 751
Top