You are using an out of date browser. It may not display this or other websites correctly.
You should upgrade or use an alternative browser.
You should upgrade or use an alternative browser.
Extreme Flight 91" Extra EXP Build Log
- Thread starter Bipenut53
- Start date
Bipenut53
150cc
Thanks SnowDog!!!
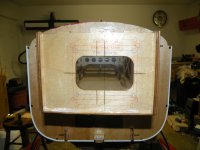
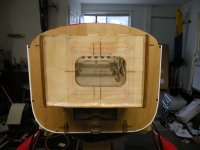
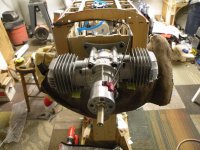
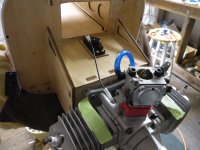
The next step was to install the engine. The engine comes with a stick on template that had a circle and cross hair for proper alignment on the firewall, I took a ruler and extended the cross hairs to run the length and width of the template which made it much easier to get proper alignment, I stuck on the template decal and drilled the proper holes and they lined up perfectly. With the EME 70cc engine were included 13mm spacers (approx. 1/2"). Those proved to be too much and I found that it took approx. 1/4" spacing to get proper clearance for the cowl. I then installed the fuel tank and plumed it in including the Miracle fuel dot. I then installed the throttle servo in the bottom of the engine box and made up a linkage for the throttle. I suspect that I will not need a choke lever as I plan on opening a hole in the cowl for the carb and should be able to reach in and flip the choke with my finger.
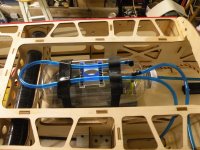
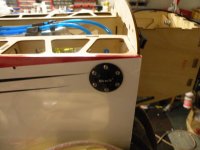
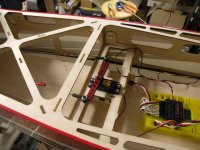
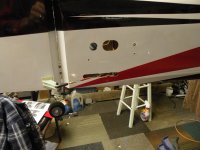
I then opened up the canister tunnel in preparation for the vented tunnel cover for engine cooling. I also installed the rudder servo and pull pull wires. I was dreading the pull pull system as I have only had marginal success with them in the past. I watched Chris Jewett's build videos on the 104" Extreme Flight Extra 300 and in particular the #3 video which explained how to construct pull pull wires. I guess I watched that part about 10 times and followed his example for making them and I have to say that it worked perfectly as he instructed and came up with the proper tension on the cables the first time!! One thing to note, there are two exit holes on each side for the pull pull cables so I decided to open the forward holes and soon figured out that the cables rubbed on the aft part of the holes. I cut out the 3/8" wood spacer between the forward and aft holes and opened up the whole opening and the cables exited exactly where the wood spacer was, no more rubbing.
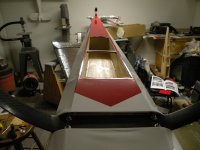
Now on to installing the ignition, switches and wiring.....
The next step was to install the engine. The engine comes with a stick on template that had a circle and cross hair for proper alignment on the firewall, I took a ruler and extended the cross hairs to run the length and width of the template which made it much easier to get proper alignment, I stuck on the template decal and drilled the proper holes and they lined up perfectly. With the EME 70cc engine were included 13mm spacers (approx. 1/2"). Those proved to be too much and I found that it took approx. 1/4" spacing to get proper clearance for the cowl. I then installed the fuel tank and plumed it in including the Miracle fuel dot. I then installed the throttle servo in the bottom of the engine box and made up a linkage for the throttle. I suspect that I will not need a choke lever as I plan on opening a hole in the cowl for the carb and should be able to reach in and flip the choke with my finger.


I then opened up the canister tunnel in preparation for the vented tunnel cover for engine cooling. I also installed the rudder servo and pull pull wires. I was dreading the pull pull system as I have only had marginal success with them in the past. I watched Chris Jewett's build videos on the 104" Extreme Flight Extra 300 and in particular the #3 video which explained how to construct pull pull wires. I guess I watched that part about 10 times and followed his example for making them and I have to say that it worked perfectly as he instructed and came up with the proper tension on the cables the first time!! One thing to note, there are two exit holes on each side for the pull pull cables so I decided to open the forward holes and soon figured out that the cables rubbed on the aft part of the holes. I cut out the 3/8" wood spacer between the forward and aft holes and opened up the whole opening and the cables exited exactly where the wood spacer was, no more rubbing.


Now on to installing the ignition, switches and wiring.....
Bipenut53
150cc
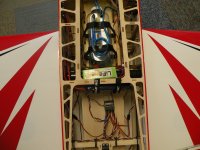
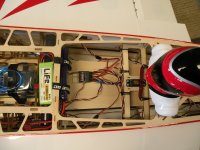
Getting close now, I installed the mufflers, ignition module and switch, then I cut out all the cut outs for the canister tunnel and installed the cover.
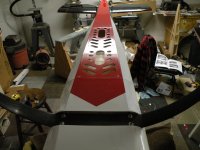
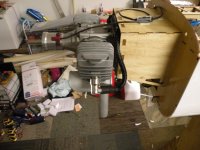
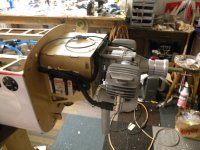
I then installed the Fromco switch, servo extensions for the elevators, attached power expander and receiver in place, cut the cowl. I did have a problem with one of the blind nuts in the cowl. I was able to remove the cowl and am going to repair it so I can get everything back together and balance it so I can determine battery placement. I also hope to fire the engine for the first time today.
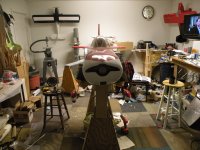
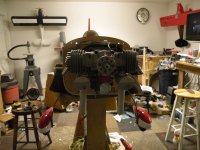
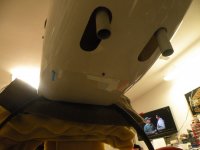
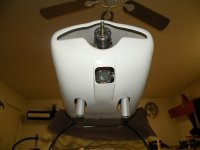
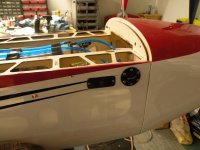
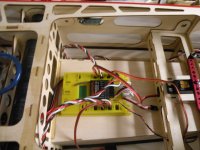
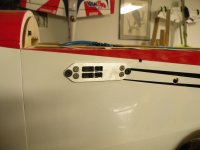
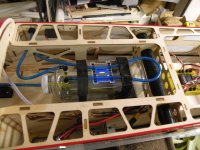
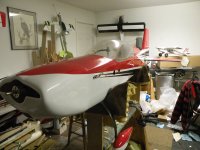
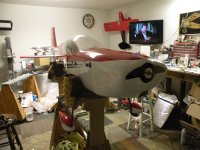
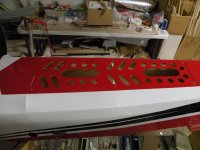


I then installed the Fromco switch, servo extensions for the elevators, attached power expander and receiver in place, cut the cowl. I did have a problem with one of the blind nuts in the cowl. I was able to remove the cowl and am going to repair it so I can get everything back together and balance it so I can determine battery placement. I also hope to fire the engine for the first time today.


Bipenut53
150cc
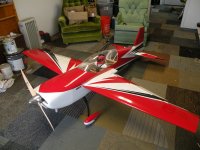
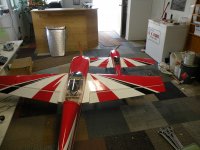
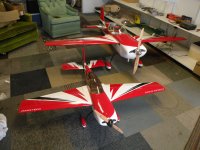
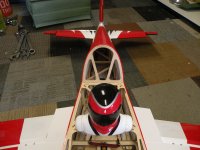
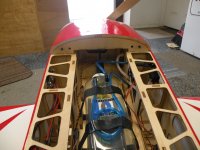
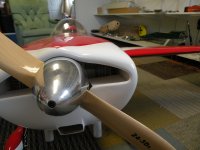
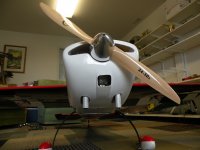
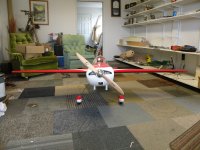
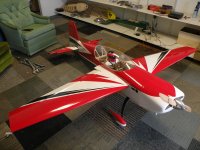
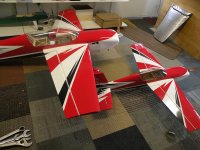
I finished the build of this airframe today. Yes SnowDog I did add a loop to the vent line as you suggested. I ran the EME 70 yesterday for one tank full and after warm up and adjusting the mixture on the top end and low end the engine runs great. It likes to idle around 1350 rpm and top end with the Xoar 24-3Da prop I was getting 6750 rpm after peak rpm of 7100 and richened it up to drop about 300 rpm. Gas mixture with natural 2-stroke oil was 30:1. I ran it with the engine cowling off so I could adjust fuel mixture and max temp I recorded was 205 F. and when let idle temp was around 163 F. I did put baffling in the cowl and I expect about the same results, maybe a touch warmer, we will see during maiden. All up weight RTF is 19.2 pounds and I am very happy with that. This airplane was a joy to build! I truly believe Extreme Flight is one of the top notch ARF company's around today. Some say the color schemes are a bit out dated but I like them. Here are some final pictures of the airplane just after getting cg correct, staticly anyway, we will see how it does in the air. The lateral balance is spot on without having to add any weight to either wing, quality of the kit shows through again. I hope to maiden it on Thursday. Here are some pictures of the completed airplane oh and I had to put little brother together and take a family photo lol. Thanks to everyone who commented on this one and if you see something you would like to see more detail or closer pictures of just let me know and I will do my best to provide them for you.


Bushwacker
3DRCF Moderator
Jeez really took your time putting that bird together didn't ya.
Just Kidding bro. Very nicely done, looks great. Hope you post up some flying vid.
Just Kidding bro. Very nicely done, looks great. Hope you post up some flying vid.
Bushwacker
3DRCF Moderator
Should be a good day for it weather wise. Supposed to be nice and sunny AND warm. Good luck my friend.
