rcdude07
70cc twin V2
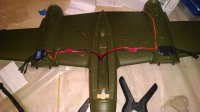
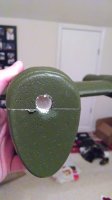
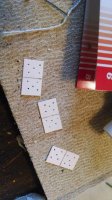
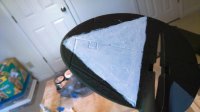
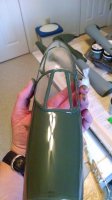
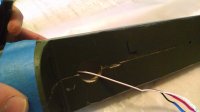
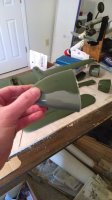
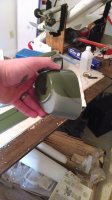
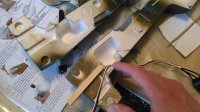
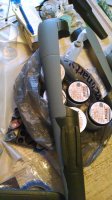
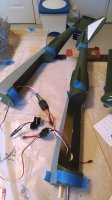
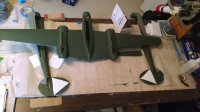
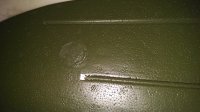
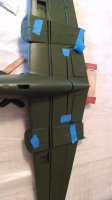
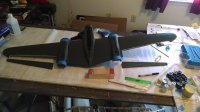
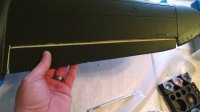
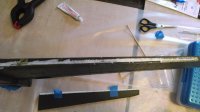
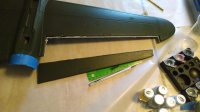
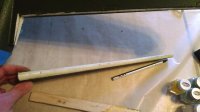
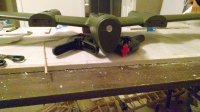
Saturday was build day #1 for me. Steps were straight forward for a while: glue the wing halves to the main wings, glue the wing spars in place, cut the ailerons out, sand the ailerons LE. I learned here that even blue painter's tape will pull of some of the green finish from the foam no matter how light the tape was applied. Both spars were a little longer than the precut channel so I had to lengthen the channels some. It may be due to this reason the rear spar did not seat flat/flush like it should have and is sticking out a tiny bit. The date on the kit is showing again as all spars are fiberglass instead of carbon fiber. Then came a little beef with the instructions. After cutting the ailerons out, they have you marking the hinge locations on the ailerons, then sanding. Well, this foam (EPO I think) sands faster than soft balsa, so so after shaping the aileron LE, the hing marks were gone, so I had to remark. Also, it's very tough to mark the center of the ailerons since it's preshaped and then having to cut off the aileron from the wing. So I had to eyeball it. Sure, if you have 4 hands you could rig something up to measure and mark the center line. Also, there is no mention of cleaning up the wing TE from cutting the ailerons off. So I took it upon myself to smooth the cuts on the wing. After doing this the manual calls for permanently attaching hinges and control horn, since I plan to paint the belly, I skipped this and moved on to gluing the nuts in place in under the super charger and what apparently will be boom pod alignment pieces. Again, I had a beef with the manual in not having clear pictures as to how these plastic pieces should face. Fortunately a quick Google search showed the boom nut, and going forward in the manual showed another plastic piece going on the boom that coincides with this piece (of course I found all this information before gluing in place). Since I didn't have my paints I couldn't paint the clear nose cone, instead I drilled the air holes in the nose and fuse, per instructions. 3mm holes are drilled in all 5 of the gun hole slots on the plastic piece and a 10mm hole is drilled in the foam. The steps in the manual are clearly for the older style 1 ESC to NiMH/NiCd and all electronics in the nose. After completing this step, I came to a halt. Without my ESCes here, I can't check how they'll fit in the booms. As boom assembly is next.
I have learned this foam sands quicker than balsa, and dents easier than balsa. My right aileron TE is already looking a little war battered.
My headsuprc order arrived Saturday, so that was exciting (2 lipos, the battery y-cable, and a servo y-cable).
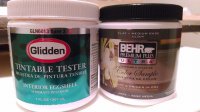
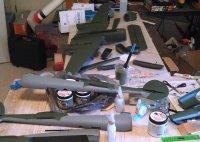
Hopefully today my ESCes from Hobby Express will show up. Tonight I'll mess with some paints my buddy loaned me. I think the green will be super close, if not I may just go with it and do a green type of camo pattern or a light coat on all the green foam.


