• If you are new to GiantScaleNews.com, please register, introduce yourself, and make yourself at home.

    We're 1st in Giant Scale RC because we've got the best membership on the internet! Take a look around and don't forget to register to get all of the benefits of GSN membership!

    Welcome!

IMAC JTEC 2.7m Extra 300CS

Alky6

150cc
So....This showed up on Friday!
image.jpg


Nice used DA 100 and some new JTEC cans and MTW headers!
 

Alky6

150cc
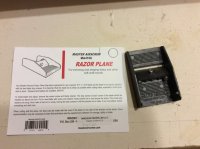
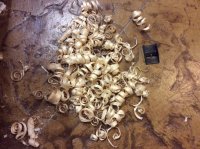
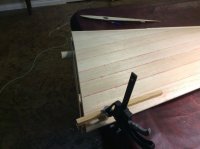
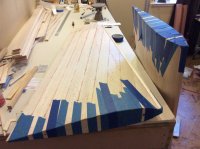
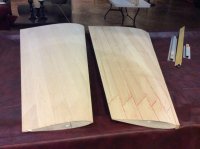
Drilled holes to mount the landing gear. Glued the leading edge (1/2"x1" balsa) to the wings and fitted the root ribs, then started sanding the wings. The leading edge was glued on with weldbond glue. Talked with Al and he recommended the razor plane from Master Airscrew. An $8 or so investment. Man does that thing work! Has adjustment screws on each side of the blade. Can't believe how fast it takes down material! Used 9430 Hysol to glue on the root ribs.

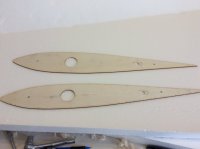
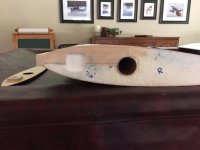
On the root ribs, because I chose to glue the ribs on after the wings were sheeted, I needed to add a bit of material near the leading edge so that it finished out at the top of the sheeting. This provides a harder material versus the balsa skin to take abuse on the edges of the wings.

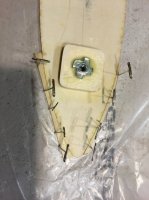
Root rib Assembly:
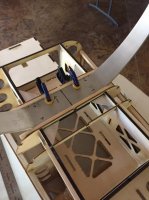
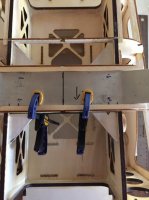
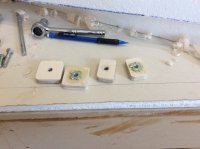
I drew a line down the centerline of the root rib and used that to get the initial alignment for the wing bolt locations transferred to the root rib. The root rib was then glued on centered on the wing. Final adjustment for incidence will be done before I cut out the ailerons. Also cut out and glued up the 1/4-20 tee nuts and backing plates for the wing bolts that were glued to the rib with titebond II. Those were then routed out. I used a piece of 1-1/2" poplar dowl cut down and wrapped with tape to get to proper size to use as a mock up tool in the wing tube socket. The tee nuts were glued in with some cheap 15 minute epoxy. I did grease a 1/4-20 bolt and screwed into tee nut when I glued up the root rib to keep epoxy from getting in the threads.

Have one wing still to rough sand. Also a couple of boo-boos to fix.....

image.jpg image.jpg image.jpg image.jpg image.jpg image.jpg image.jpg image.jpg image.jpg image.jpg image.jpg image.jpg
 

Alky6

150cc
I see you purchased the razor plane. How'd that work out for you!!!

Al
Works awesome!! Had several others, including a really old x-acto one, that don't work very well and are really frustrating. This one with the adjustment screws on each side of the blade make sneaking up on the correct cut depth really easy and it actually stays in adjustment. Probably will buy a couple more to have different depths of cuts ready to go. Thanks again for turning me on to it.
 

Alky6

150cc
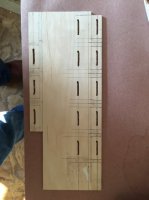
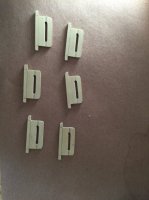
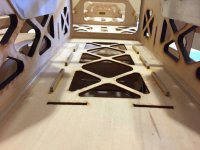
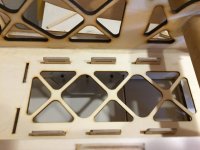
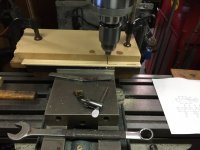
Made up some tank hold downs to glue into the tank bottom. A bit overkill using a mill, but can't beat using the DRO with some ordinate dimensions! Besides, trying to use a dremel with a rotobit was horrible. Interesting to note when using the very tip of the rotobit and fast feed speeds results in the corners moving off line - not much time spent on the setup either.... Three on left side in second pic were done with a dremel - leading to the need to use the mill.

image.jpg image.jpg image.jpg image.jpg image.jpg
 

HRRC Flyer

GSN Sponsor Tier 1
Awesome work Paul,

Thanks for the answer a few pages back. Been kinda busy lately and just catching up with your AWESOME thread. Thanks for sharing this with us..:yesss:
 
Top