You are using an out of date browser. It may not display this or other websites correctly.
You should upgrade or use an alternative browser.
You should upgrade or use an alternative browser.
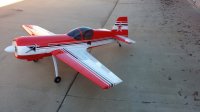
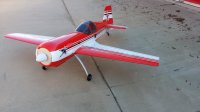
Ordered my Su-26
- Thread starter Smitty
- Start date
Smitty
50cc
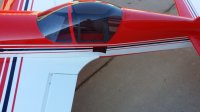
The Sukhoi is coming right along. I have mounted the fuel tank, Mixed up some thinned down Epoxy and painted the firewall outside and inside. I will mount the engine today and figure out what to do about a throttle servo placement. Ordered a Pitts style muffler from ValleyView they had free shipping and a 15% discount, might be here before Christmas. Install the Opti kill light next to ignition switch. Started making a floor in the hatch, going to buy a decal of a cockpit to make it look good also going to put in a instrument dash. Lots of little things to do that take time to make it look good.---Smitty
Smitty
50cc
That's what I did Tom, I used some material to make spacers that would get me the 6 3/4 from the firewall to prop hub, then put the cowl in place using masking tape in the front to center the propshaft. I put 4 pieces of tape at 90 degrees and wrapped them around the propshaft to get the cowl centered. Turned out real good. I cheated the cowl face to backplate a little from what you did, mine turned out to be 1 inch. One of the things I do where you have that hole in the side of the cowl for your screwdriver to fit in to adjust the needle valves, I drill a small hole and widen it out so that 2 soda straws can fit. I put soda straws over the needle valves and let them stich through the cowl about a 1/8 " and paint them whatever color the cowl is where they stick through. All you have to do then is just insert the screwdriver int0 the high or low straw. works like a champ.---Smitty
Smitty
50cc
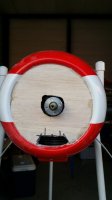
Ok here is some of the latest pictures I took today. This plane is really coming along. Do need to ask for some info on the hole I cut for cooling of the cyl. head. I really want to make sure it is right because I plan on putting a radial decal on the balsa that you see on the front. I am going to paint it flat black before I put the decal on, matter of fact haven't even ordered it from Decal Dennis yet. Question from centerline I went out 1 1/2' to each side to cut the opening. I plan on going inside the cowl to make a dam for the air to hit and direct over the engine. Also need to cut open a slot just under the opening to allow more air over the head. if anyone has any thoughts on this matter I would love to hear them.---Smitty
Attachments
Terryscustom
640cc Uber Pimp
Not enough air in, I would open it up a little and also use some creative foam on the inside to make sure that every little bit of air that makes it in goes directly through the fins. Foam baffles should not be more than about 1/8" from the engine itself.
Tseres
150cc
View attachment 46898 Here is what my opening looks like. hope it helps. It works great.
If you prefer Decal Dennis thats fine. B&E Graphics already has the radial graphics made up to fit the cowl.


If you prefer Decal Dennis thats fine. B&E Graphics already has the radial graphics made up to fit the cowl.
rmyers
70cc twin V2
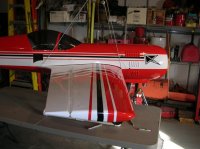
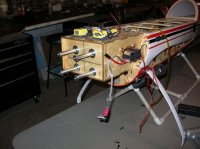
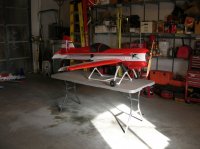
Mine is getting closer. Finished hinging the wings, mounted the servos, fuel tank, ignition, etc. Got it in the vanessa rig to check the cg. It's just behind the wing tube with the batteries way up on the motor box. I'm thinking I'd better try to get it just ahead of the wing tube? All that's left is setting up the mechanical trims and tidying up and locking down everything. We're supposed to be getting up to the 50's next week calm winds. YEAAAHHH!!
Smitty
50cc
I worked on my balance today and I think to get it right without adding any weight I may add 1/2 in. of spacers to the standoffs. I really think it will need that to make it come in right. Only thing I hate, I will have to drill new holes in the cowl. But I covered one hole with some ultra cote and you can't really tell it was a mess up. Yep the 6 in. from the front of the wing is just in front of the wing tube. I was hoping it was in the middle of the tube that way you could just run a rope around the tube and hold it up to check the balance, but no such luck. I do want to be on the side of caution on the first flight.---Smitty

