Phil.Griffin
70cc twin V2
Nice scheme.
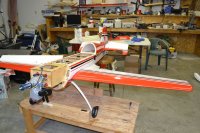
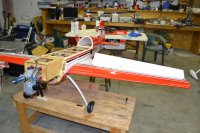
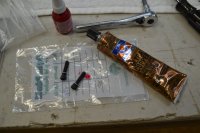
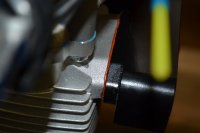
That's pretty cool. A friend of mine made some for my son and I for our Pilot Edges out of bar stock aluminum. Turned out really nice.Here is the Choke setup. All my planes with a cowl have some kind of a mechanical Choke setup that gives me access from the front. I don't like Servo chokes for many reasons but mostly cause I can't see if they are closed or open. Twins are easy they come out the bottom and don't need a bracket. Single cylinders require a little finesse.
In this case I made a flat bracket first but the geometry was off and it was to close to the choke arm. The choke arm was at the wrong angle for what I wanted so I had to make an adapter out of aluminum to correct the geometry. The support bracket needed the brace point to be moved forward so the angle of the rod didn't change so much between the open and closed position. Learned to do this on my DA-60. It's working great on the bench. Have to do some firewall work ( Clearance) then I'll mount it and take some more pictures.
View attachment 7065View attachment 7066View attachment 7067View attachment 7068View attachment 7069View attachment 7070View attachment 7071View attachment 7072
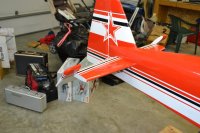
Hey...that's cool. I like!Thanks Guys. Glad you guys are looking in.
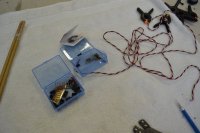
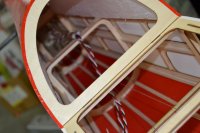
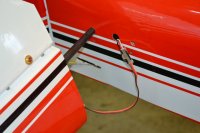
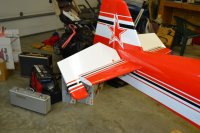
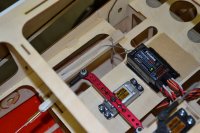
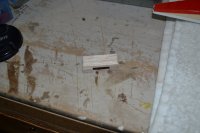
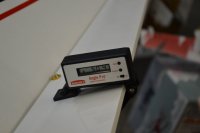
Yesterday I didn't take any pictures inside the wing of the bridge I was talking about. These pictures should show you what I was talking about... It's simple light and it works.
View attachment 7620 View attachment 7621
Thanks Guys. Glad you guys are looking in.
Yesterday I didn't take any pictures inside the wing of the bridge I was talking about. These pictures should show you what I was talking about... It's simple light and it works.
View attachment 7620 View attachment 7621
