• If you are new to GiantScaleNews.com, please register, introduce yourself, and make yourself at home.

    We're 1st in Giant Scale RC because we've got the best membership on the internet! Take a look around and don't forget to register to get all of the benefits of GSN membership!

    Welcome!

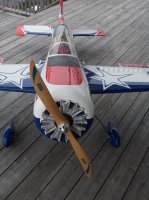
Sport RED DAWG QQ YAK 54

This isn't a real build thread but more of an assembly thread.

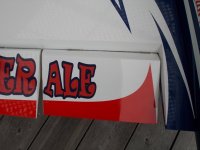
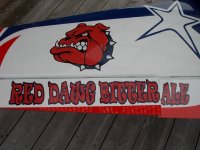
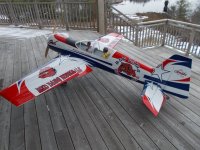
RED DAWG BITTER ALE

Here are some pictures of my recently completed QQ Yak 54. It is to replace my favorite airplane that I crashed during a IMAC contest in Keswick last summer. I always like how the Yak flew so I decided to upgrade and buy the new QQ Yak made by Comp Arf.

I purchased one of the very last planes available from Horizon. Unfortunately when it arrived at my LHS in Barrie, it was damaged, but after some negotiation's they were able to get it for about 1/2 price.

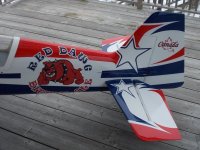
Eric at B & E GRAPHIX took my renderings and made the decals for this airplane. I hate using graphics that come with any airplane. I want mine to be different so that's why this one has the RED DAWG look.
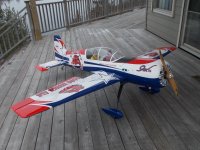
FRONT VIEW.JPG

REAR VIEW.JPG

RED DAWG BITTER ALE.JPG
 
Last edited:
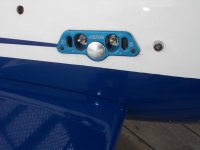
The repairs needed were on the front right of the fuselage. After strengthening inside, I placed my receiver switch and fuel dot over the damaged area. This solved the issue of trying to match the paint colors.

The forward section of the canopy was also cracked, and after repairs I painted it flat black to give the appearance of a an anti glare panel.

The bottom of the right wing at the root touching the fuselage was also cracked. I fiberglassed and epoxied the inside of the root of the wing and all that can be seen is a small crease when the airplane is upside down.

FRONT CANOPY DAMAGE REPAIR.JPG SWITCH HIDES DAMAGE.JPG
 
I put a GP88 EVO in the plane after reading how many thought the plane had way to much power. I only fly IMAC (Basic) so I'm not worried that I will run out of energy with this plane.
To assist on landing at some of our shorter fields that I fly at I, split the Aerilons and added Flaps. I have them programmed so that in the "OFF" position the flaps work as Aerilons, but in Position 1 they act as flaps and in Position 2 they act as spoilers.


SPLIT AERILON.JPG AERILON FLAP.JPG
 
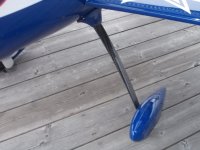
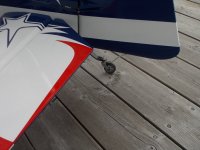
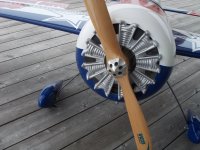
Other modifications were to a different tail wheel and a Carbon Fiber Landing Gear. I also added an imitation Radial Engine just for better looks.
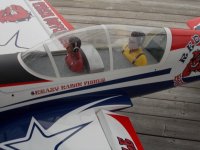
To be different I added 2 pilots, but made it very easy to remove either one if I think the weight issue is too much.

Carbon Fiber LANDING GEAR.JPG TAIL WHEEL.JPG RADIAL ENGINE.JPG DUAL PILOTS.JPG
 
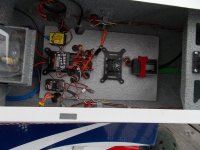
I added a Gyro to this airplane, (not yet wired in) so I can learn how they work. The Gyro will eventually be going into my 1/3 scale Harvard (AT-6) with a Moki 250.

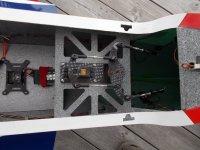
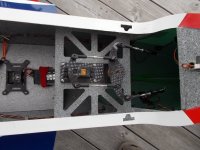
I also went with a all Carbon Fiber Rudder Tray to keep the weight down.

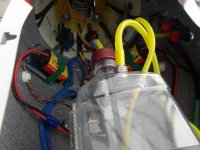
The batteries are all the way up front, but are not to difficult to reach.

As do on all of my Comp airplanes I ad a safety lock on the rear wing bolts so that they can never loosen off. I almost lost an airplane to the wing nuts coming off, but luckily the plane was on it's maiden flight so no aggressive maneuvers were done that might have removed the wing from the fuselage.

Carbon Fiber RUDDER TRAY.JPG BATTERY LOCATION.JPG RECEIVER WIRING.JPG Carbon Fiber RUDDER TRAY.JPG
 
Top