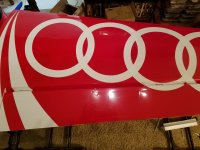
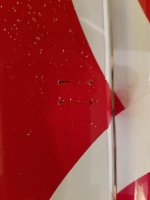
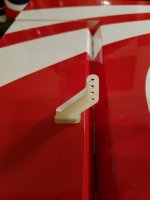
First I fill the slotted cavities for each of the aileron control horn shanks, then insert the horns and push down to seat them into place. This is where the alcohol really comes in handy for clean up.

And now with an alignment dowel (small hex head nut driver) through the holes of each of the control horns, I will let them sit while the epoxy cures.


While the epoxy cures on the aileron control horns, I will open up the servo bays. I like to cut a "four cornered" angle so that I have enough of a lip to fold over so that the servo bay looks a little nicer.


With the servo holes drilled and hardened with thin CA, in go the servos and screwed down.


And with the servos in, tomorrow I will attach the ball links to their perspective control horns and program the servos for the new aileron.
If I have enough juice left tomorrow, After the connection and programming I want to address the extra length of the wing that does not match the original. We'll see how much steam I still have.


") . Should make a great home for the DL50.
. Should make a great home for the DL50.


 . The SFG's don't seem to work well there
  .
.