Ok, so once again not exactly plane related. But it is... the lil red rocket hooptie hauler so...once again I think it's ok. I took a break today from everything to spend some quality time with the Silverado. Besides, I hate leaving anything left undone and it has just been bugging the crap outta me to get it done. Wow was she ever needing a bath and a good cleaning out. While I was at it, I figured it was time for an oil change too. Oh yeah, and since we're all wrapped up in giving her some T.L.C., I might just as well replace that seat cover that has the split in the seam. The last couple of weeks it has really gotten bad. So, no time like the present to take care of it.
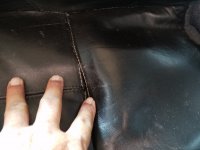
First thing I did was drag my tools out of the storage shed and out to the truck. After evaluating the best procedure to get the old upholstery off, it was actually pretty easy. By reaching up under the front of the seat, there is a lip on the cover that slides over the steel seat frame. Once pulled down it was easy to lift and pull back the corner of the cover.
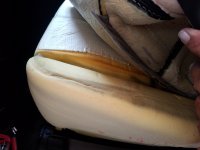
After a quick examination it was clear to see this was going to be a walk in the park. Not like the upholstery in our cars from years ago. Everything has been so modernized and so much easier to work with. There are these really awesome plastic "barbed" stripes that lock into fingers that is glued to the seat cushion. Using a small flat blade screw driver, (the same 12" driver I used to adjust the needles on my "dub" motors) the locks are easily unlocked and the barbed strip can then be pulled out.
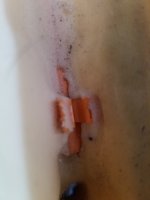
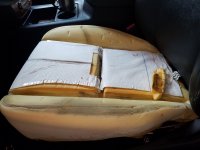
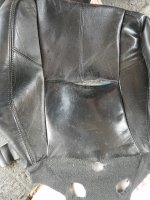
The original cover had gotten so out of place that a piece of the foam and very back of the seat was torn off. Fortunately no damage to the seat warmer and the rest of the cushion is in pretty good shape. A little hot glue will take care of that small piece of foam at the back of the seat cushion. Not like it is in a high use area anyway. So once I was ready to put the replacement cover on, I simply reversed the procedure of taking the old off. Slide the barbed plastic strip down into the lock fingers.
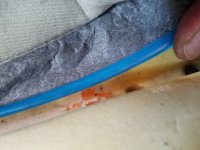
Then reach around the back and lock the slide lock on the frame rail. The same with the left and right sides of the cover. There are also two smaller tabs that go around the rear of the sides of the cover that have Velcro on them to lock them to the bottom of the seat cushion. Then lock the front of the cover in place on the frame rail and "DONE". Next and final step was to put the seat back into position in the floor boards and replace the front nuts and the rear bolts.
From this:
To this:
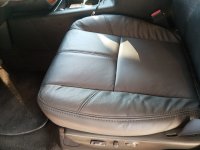
And now it matches the newly replaced console lid cover.
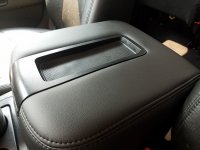
There are still some new leather wrinkles in the cover from being in the shipping box. Just like the console lid cover however, they will flatten out in a day or so. And that.... is what I did today.


