pawnshopmike
Staff member
Thanks brother. You’re Mustang is going to be killer.That’s awesome Mike! #jealous
I just finished the other wing.
Thanks brother. You’re Mustang is going to be killer.That’s awesome Mike! #jealous
Nicely done... I may have to have you cut me some graphs.... small ones of course. Maybe something like, "I am not compensating, I just like Behemoth RC Planes". LOLThanks brother. You’re Mustang is going to be killer.
I just finished the other wing.
View attachment 111801
Nicely done... I may have to have you cut me some graphs.... small ones of course. Maybe something like, "I am not compensating, I just like Behemoth RC Planes". LOL
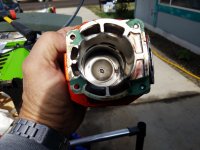
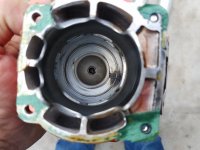
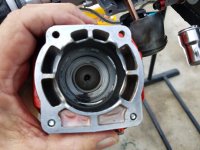
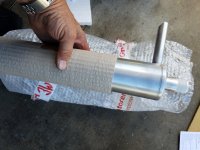
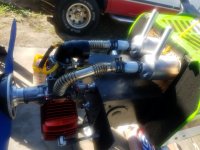
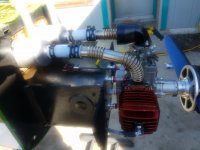
I spent roughly 6 hours today going through the Pilot 330SC/3w 157cs. Man, I did not realize it would take me that long. But no doubt it needed it. I had one cylinder gasket just barely starting to seep. And the reed block and cage gaskets were also starting to show signs of "wetting". The canisters I purchased for the 157 just were not doing a good job as I mentioned previously. I felt the beast red head was down a little on power. So new L80's were ordered. Now, I did take about 43 photos of my progress along the way. (Seriously I did) But really no need to post them all unless you fellas want to see them. Basically, I removed both cylinders and cleaned away the gaskets, cleaned up the mating surfaces. Dang, I love Redline oil. That motor is as clean looking as it did when it was new. First, the before photo. You all can see a little seeping around the mating surfaces of all the gaskets. With the exception of the front bearing housing.
View attachment 111803
This is what the ole one fity seven looks like after 6 full years of flying and about literally some 40 gallons of redline 40:1 special blend.
View attachment 111804 View attachment 111805 View attachment 111806 View attachment 111807 View attachment 111808 View attachment 111809 View attachment 111810
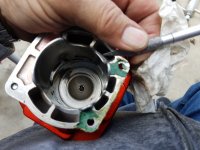
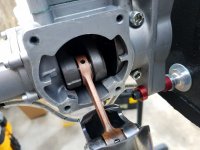
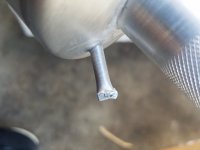
Anyway, after cleaning all the gasket mating surfaces, I set about installing all new cylinder and intake system gaskets. It gets a little tricky putting the cylinders back on as I do not have a piston ring compressor. But hey, you just have to go real slow, and watch everything very closely. Very cautiously push the rings back into the piston grooves with my thumb nail and not so tough at all. Just had to be very careful to align the ring gaps with the piston ring alignment pins. Would really hate to break one of those very fragile ring ends. They are probably very breakable. Once the surfaces were cleaned and gaskets were installed, I bolted everything back together. And installed the new L80's.
View attachment 111811 View attachment 111812 View attachment 111813 View attachment 111814 View attachment 111815 View attachment 111816
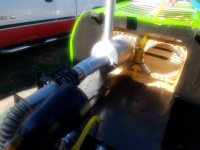
And WaLaa….she is a beast engine once again. I wanted to use the new headers I picked up for her. But they are just not a deep enough drop. So, I will just keep the K & S comfort headers on her for now. I am a true believer in regular maintenance. I am very pleased with the outcome. Remember I felt she was down a little on power? Well, turns out I was right. Once all bolted back together, I test fired her. Yup, she is definitely a beast again. I gained back the 400 rpm she was lacking lately. And holy crap...the throttle response. Wow.... I had to press myself to get her done today. Because tomorrow??? We burn some dino dna at first light. LOL
I need to do my company logos on a plane.......

Looks like your getting her done! Glad to see your using the doors and deck lid to check the fit. As common sense as that sounds, you wouldn't believe how many people hang quarters with out the doors on and then don't understand why the gaps are so bad.Updates on the mustang project. Got most of the sheet metal fitted up. Definitely had to do some beating, cutting, stretching, but getting there!
View attachment 111791 View attachment 111792 View attachment 111793 View attachment 111794 View attachment 111795

