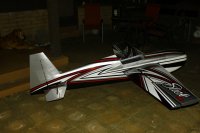
Xpress
GSN Sponsor Tier 1
Got some more time in the shop last night and got the right wing panel all hinged up, still have to seal it though. Also managed to get one elevator half ready to go.
I get the control horns test fitted in place prior to gluing them to ensure they center up over the hinge line properly. I also cut around the covering here to give the spreader plate something firm to grip onto.
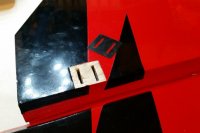
Sanding the control horns and the bottom of the spreader plate is important. Gives the glue something to bite into. One more test fit in place, then I mixed up some epoxy and glued them in.
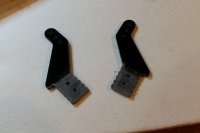
Make sure you wipe away the excess epoxy for a clean fit.
While the epoxy dries, I typically hook up one of the linkages to help keep all of the holes aligned with each other.
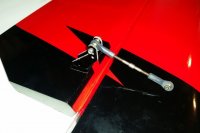
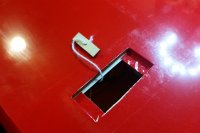
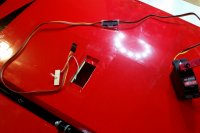
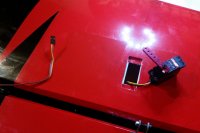
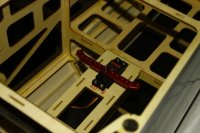
Once the control horns were dry enough I removed the linkage and installed my servo. I always set fit the servo with screws and everything, then remove it all and saturate the screw holes with thin CA to give the screws something nice and hard to bite into. Makes the servo mount last a long time in my experience.
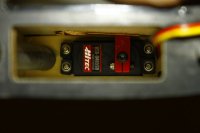
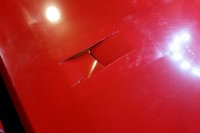
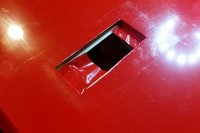
I centered my servo and fitted the SWB arm next. I did have to cut out the servo arm slot a little bit wider to allow the arm to fit in place- I had to cut approximately 1/16". This will always vary depending on what servo you use, some you may not have to cut at all. Just be mindful if you do have to cut as there is a plywood doubler around the inside rim of the slot to reinforce it.
Servo centered, linkage centered, surface centered. Ready for flight.
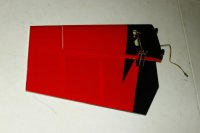
I have to say, I am deeply impressed with these servos. They are SOLID, there is zero slop whatsoever. Combined with the Maxima 6's 4096 resolution and 7ms response time, they make these servos blisteringly responsive and ultra precise and smooth.
They feature a soft startup function as well, so if your control surfaces are all out of whack when you first power up, they will slowly rotate back to center before coming fully responsive. One nice feature I think is how stiff the servo is when it's powered down- it really holds the control surface in place well. No flopping around when your transporting or moving the airplane around. Pretty excited to try them out and see how they perform in the air
I get the control horns test fitted in place prior to gluing them to ensure they center up over the hinge line properly. I also cut around the covering here to give the spreader plate something firm to grip onto.

Sanding the control horns and the bottom of the spreader plate is important. Gives the glue something to bite into. One more test fit in place, then I mixed up some epoxy and glued them in.

Make sure you wipe away the excess epoxy for a clean fit.
While the epoxy dries, I typically hook up one of the linkages to help keep all of the holes aligned with each other.

Once the control horns were dry enough I removed the linkage and installed my servo. I always set fit the servo with screws and everything, then remove it all and saturate the screw holes with thin CA to give the screws something nice and hard to bite into. Makes the servo mount last a long time in my experience.

I centered my servo and fitted the SWB arm next. I did have to cut out the servo arm slot a little bit wider to allow the arm to fit in place- I had to cut approximately 1/16". This will always vary depending on what servo you use, some you may not have to cut at all. Just be mindful if you do have to cut as there is a plywood doubler around the inside rim of the slot to reinforce it.
Servo centered, linkage centered, surface centered. Ready for flight.

I have to say, I am deeply impressed with these servos. They are SOLID, there is zero slop whatsoever. Combined with the Maxima 6's 4096 resolution and 7ms response time, they make these servos blisteringly responsive and ultra precise and smooth.
They feature a soft startup function as well, so if your control surfaces are all out of whack when you first power up, they will slowly rotate back to center before coming fully responsive. One nice feature I think is how stiff the servo is when it's powered down- it really holds the control surface in place well. No flopping around when your transporting or moving the airplane around. Pretty excited to try them out and see how they perform in the air

