As promised, here is the updates. This all happened over the past few days.
The RCGF55 template was almost a perfect match for the DA70 (I have to ream one hole out slightly) so I used that as my drill guide.
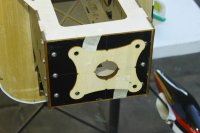
I almost hate having to cut into the CF, it looks so good.
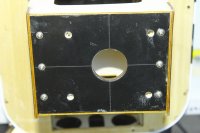
Test fitting the engine, I used the SWB 1" standoffs which include a variety of additional spacers so you can dial in your cowl spacing. I wound up having to use the 1" standoffs with the smallest spacers.
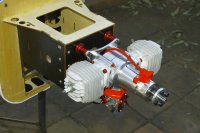
I also bought the bolts and nuts from SWB to complete the mounting standoff package.
Because of how wide the standoffs are (1" at the base) I found that the reinforcing screws were protruding in the way. My fix was just to countersink them just below the surface to the standoffs fit flush.
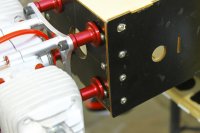
Engine all bolted in. Make sure you use washers on the other side of the firewall to spread out the load on the wood.
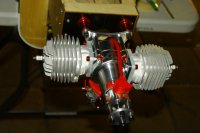
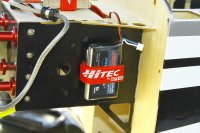
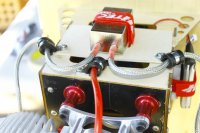
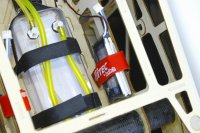
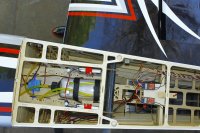
I decided to make a mounting plate up top for the ignition, just a piece of plywood epoxied in place with slots cut for the velcro strap. The cables have yet to be secured, still waiting for my split wire loom to come in.
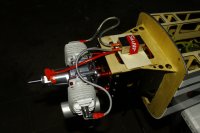
Throttle servo mounted up, and throttle wire bent to shape for clearance. The included ball link and nut/bolt fit the DA70 throttle arm perfectly. Remember to use red loctite on the linkage to keep it in place (red because of the heat).
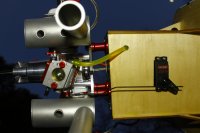
I have grommets still on their way in the mail so I will be installing one of those to keep the fuel tubing from chafing- just test fitting in place for a test run.
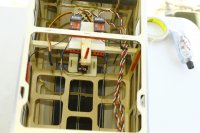
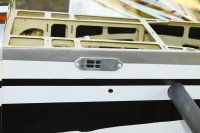
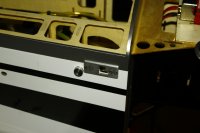
Ignition switch installed. Also I drilled a hole for the supplied fuel dot. I ran the plumbing for the tank at this time.
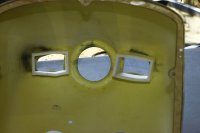
Cowl all cut up. This was a bit of a scary one as you can never be too certain if your cuts are correct with a one piece cowl. Just take your time, measure out the distance of your mufflers and the spacing between them, then start with small cuts. Use masking tape over the cowl to keep the paint from chipping.
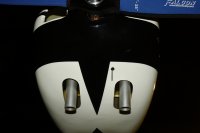
I used a dremel with a cutoff wheel to get a rough straight cut then I used a sanding drum to finalize the shape. Use some 150 grit sandpaper to sand away all of the leftover material and 220 to put a fine edge on it. Some opt to seal the edges with some clear nail polish but I don't feel the need to do that. As you can see I cut them wide and long to allow the cowl to slip over the mufflers when I install it. I also drilled a small hole for the choke rod- I just put a z-bend in a piece of piano wire then ran it through the choke lever, then cut to size.
Cowl all bolted in place.
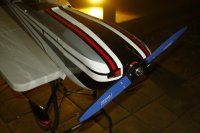
I like my clearances to be tight. Will have to get a spinner real soon here.
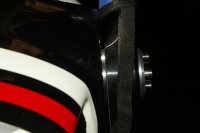
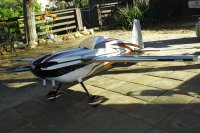
It's so shiny!!
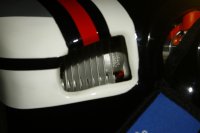
Ready for everything else to be mounted inside.
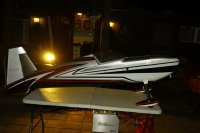
Will put in more work on it tomorrow and hopefully have it ready to maiden next weekend!!!! :banana::banana::banana:


