• If you are new to GiantScaleNews.com, please register, introduce yourself, and make yourself at home.

    We're 1st in Giant Scale RC because we've got the best membership on the internet! Take a look around and don't forget to register to get all of the benefits of GSN membership!

    Welcome!

Sport Beautifying the Beast

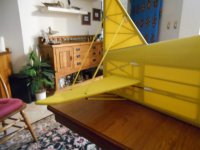
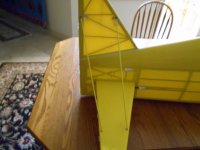
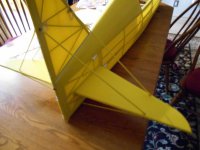
STAB FLYING WIRES

After reading on FG the build of The Beast, it was apparent that several people had a lot of trouble with their flying wires breaking.

I decided to try something different and to build a much stronger Flying Wire assembly.

I started off with a 2-56 rod that was threaded at one end, and I found a 2mm carbon fiber tube that had the I.D. that was the exact diameter of the un threaded portion of the 2-56 rod. I cut several notches into the wire and then assembled it together with J B Weld.

I was also able to find some yellow shrink tubing at the electronics store in Barrie that just barely fit over the clevis. The colour matches perfectly with the Solartex fabric. When I start to paint the fuselage the paint will bond much better to the shrink tubing.

I now have a rigid light weight system and one that looks more "scale like".
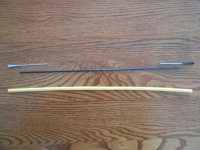
PARTS.JPG FRONT.JPG SIDE.JPG BACK.JPG
 
Last edited:
BOTTOM COWL

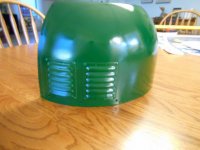
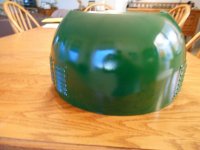
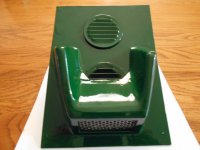
The bottom cowl (it's great that it comes split in two from the factory) is now complete.

I added 4 louvers (3" by 2 1/2") to assist in the engine cooling. I get mine from SDS Hobbies at $2.42

Here is the link, I find their web site a bit awkward to search.

http://www.sdshobby.com/rc-airplane-...mall-size.html

The curvature on these cooling fins was almost perfect for this cowl's diameter. I used 4 tiny #2 screws at the corner and JB Weld to hold them in place.

I painted the cowl with Forest Green enamel and now have to wait for some sunshine so I can "cure" the paint. I read that it takes UV light to complete the hardening process. I'll wait for this to happen before adding the trim colours.

SIDE.JPG BOTTOM.JPG
 
ENGINE COOLING HATCH

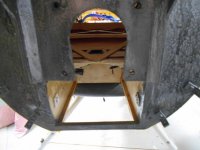
This airplane comes with an open area under and behind the cowl for the placement of cans or pipes. As I am using a Valach 4 stroke engine, I don't need this area to be "Open".

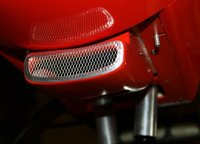
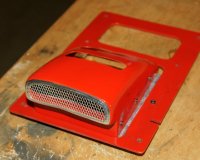
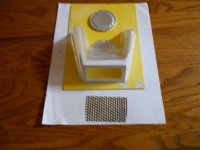
I built a simple hatch cover out of 1/16" birch ply and then added some aluminum louvers from Home Hardware to extract the hot air. To assist the removal and to give it a more scale like look, I added a Radiator Scoop similar but not to scale to the real airplane. I even added a real radiator screen for the real look appearance.

A big "Thanks" to Pistolera for the inspiration to add the Scoop and Rad Screen. I had not thought about adding that until I saw your picture.

OPENING BEHIND COWL.JPG HATCH CONSTRUCTION.JPG FINISHED HATCH.JPG
 
Last edited:
DECALS FOR THE BEAST

Since someone on another site (Canadian) guessed, here is a proof of the decals for the Beast.

There is a slight error, the first decal, the Banner should read two required.

Eric of B&E graphics did all the work to convert my images to the correct size and remove any unwanted lines. He does GREAT work!!! http://www.GiantScaleNews.com/forums/images/smilies/198.gif

PITTS DECALS.jpg
 
Last edited:
PANEL LINE SCREWS

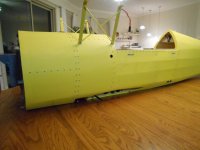
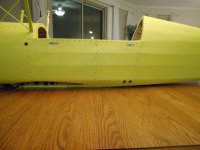
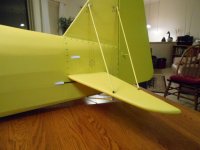
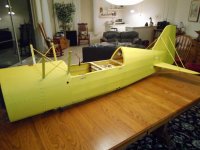
The fuselage is now ready for paint!

I have all of the Panel screws installed. I used Phillips Pan Head #2 by 3/16" Stainless screws. Most of them I cut off a bit of the thread to lighten them a bit. The screws came from Ottawa Fasteners who are one of the sponsors of the Ottawa Valley Giant Rally. It's a great event and I'm glad to be able to use a product from a firm that supports us. And the screws were cheap. Approximately $4.25 for 100.

To keep all of the screws secure, I used a drop of thin Cyano to hold them in place. I use a Q-Tip (lots of them) to absorb the excess glue that did not run down into the hole. There are a total of 276 screws; a lot of work cutting them smaller and then putting in place. But the look is worth the 2 nights to do it.

On the 68 different Pitts S 12 built that there are photos to review some of the screws are painted and some not. I'm opting for the mores subtle look by having the screws painted the same two colours that will be on the fuselage.

FRONT END.JPG SIDE.JPG TAIL.JPG OVERVIEW.JPG
 
Top