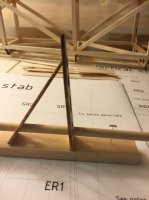
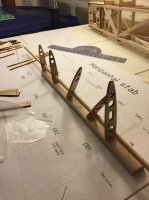
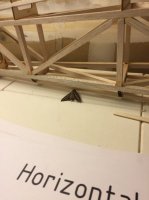
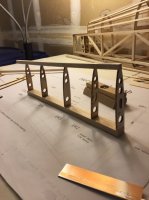
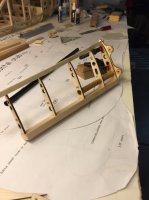
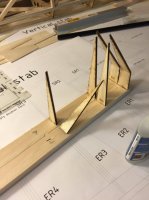
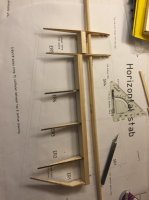
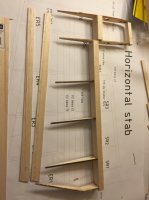
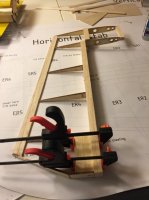
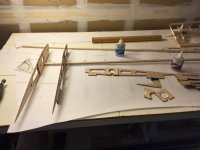
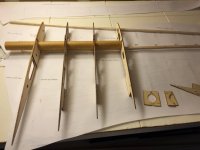
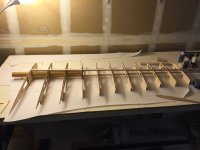
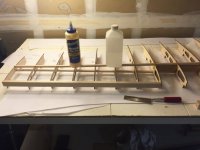
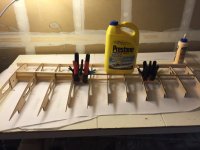
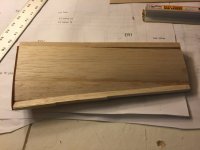
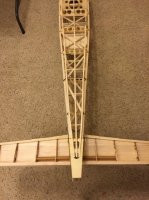
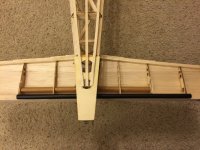
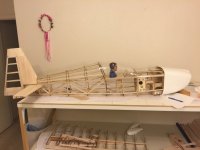
I built the horizontal stabilizer much the same as I built the vertical stabilizer. The elevator halves were a little bit harder to get the tips perfectly lined up. As you can see, I them like dominoes, only backwards. I also built the two halves side by side. As I was doing it, I had a little unwelcome guest into my garage (bad part about a 95 degree garage... have to leave the door open to get some airflow with a fan). For the back of the elevator, I used 2x 1/16” balsa sheeting cut to 10mm wide to get the length needed on the elevator. The elevator tips were sandwiched between the sheeting as I glued them together. For the tubes, I needed to expand the holes in the stabilizer ribs so it would fit.
When I started building the wings, I first checked the fit of the wing tube into all the ribs and plywood doublers. The ribs were an easy fit, but the doublers needed to be dremeled out a bit for a good fit. That is probably a good thing to make sure the tubes are nice and tight in the wing structure. Then I glued the doublers to the associated wing ribs. The W-4 doublers were made oversize since the spacing between the wing tube and the wing spar is so little. I tried to cut the doublers to the right size spacing between the wing tube and spar, but could not make it work. I ended up cutting the doublers in half, sanding the middle part flush where the wing spar would go, and glue them in after I had the wing tube in place.
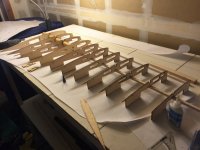
After I had W-4 in place and glued, I came to the conclusion I wanted a really floaty plane. So I added 1/4” more spacing between the rest of the ribs which gave me 2” more total wingspan on each half. Each rib was glued in while aligned on the plans with a builder's triangle to get them perfectly vertical. Then I epoxied the wing tubes into place. Both wing halves are to this point.
