• If you are new to GiantScaleNews.com, please register, introduce yourself, and make yourself at home.

    We're 1st in Giant Scale RC because we've got the best membership on the internet! Take a look around and don't forget to register to get all of the benefits of GSN membership!

    Welcome!

30cc profile from the ashes of a 70" RIP AJ Slick - Build Log

gyro

GSN Contributor
That is a good suggestion... My reasoning for setting it up the way I did was to keep all of the build info together at the beginning for anyone who wanted to reference it in the future without having to scroll through comments to find the next build update. Maybe I'll do it both ways and reference back and forth to make it easier for you real-time readers ;)

Nate, another option is that we can merge you build posts together when the log is done, and thus create a single post build.
 

3dNater

3DRCF Regional Ambassador
I purchased the wood for the stab and rudder. We might get the parts designed and cut out today. It is a little dicey though... we'll see.
 

3dNater

3DRCF Regional Ambassador
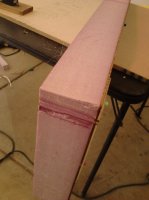
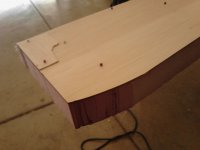
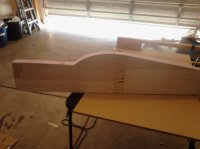
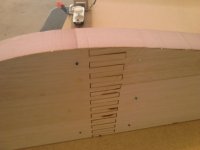
I had a chance to complete some more work over the last two days. This morning I went in to work late (unassigned time) so I took the chance to cut out the fuse on the hot wire.

IMG_20131002_095356.jpgIMG_20131002_095405.jpgIMG_20131002_095246.jpgIMG_20131002_095255.jpg

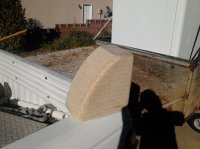
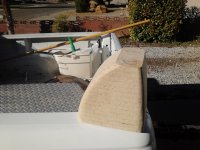
I also ended up getting off work early :) So I got a little work done on the cowl plug.

IMG_20131002_170239.jpgIMG_20131002_170228.jpg

Compare these to the pics I posted earlier on the first page. I took a TON of material off with 80 grit sand paper on a 3" belt sander. In the next little while I'll finish it off a palm sander but I'm happy for now to have it be roughly the right shape.

Oh, I also fixed the damaged wing the other night... I thought it would be a big project but was done in 5 minutes :banana:

Next I plan to make the foam wing ribs (for lack of a better word) to make the tapered wings fit a straight fuse. I'll be using the scroll saw to cut out the airfoil and then finish it off with the hot wire again :D
 

3dNater

3DRCF Regional Ambassador
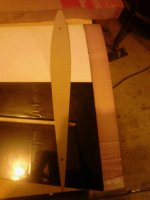
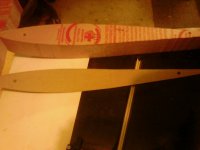
Ok so I decided to just bite off the foam extensions for the wings.

I had thought about cutting a rib out on the scroll saw to transfer to the foam. Then I thought... why use a saw when I could just use scissors? I ended up measuring the distance between the anti rotation pins and marking it on the inside of a cereal box. Then I drilled holes in the cardboard on the drill press. Next I put the cardboard on the wing root and set the wing vertical on the edge of the table with theanti rotation pins against the edge. This allowed me to trace half the airfoil onto the cardboard. I turned it around and got the other half. I cut the cardboard out with scissors and pinned the new pattern onto a scrap of foam and it was hot wire time.

The great thing about these extensions is that they will be super easy to sand until they fit the fuse well. Then I will cap them with either balsa or 3mm ply for assembly durability. If I screw one up I have plenty of foam scraps left and making a new one takes less than 10 minutes.
 

Attachments

  • uploadfromtaptalk1380775255742.jpg
    uploadfromtaptalk1380775255742.jpg
    50.3 KB · Views: 397
  • uploadfromtaptalk1380775275418.jpg
    uploadfromtaptalk1380775275418.jpg
    47.5 KB · Views: 388
Last edited by a moderator:

abaser

50cc
Great progress. Merging the posts is a great idea too. I was going to suggest that, but you beat me to it.
 

3dNater

3DRCF Regional Ambassador
I got the other wing root extension made this morning. It looks better than the other one. Each cut I do on the hot wire turns out better than the one before ;)
 

3dNater

3DRCF Regional Ambassador
Ya, if I do a few more of these maybe I'll make some that won't require any sanding or fill ;)
 
Top