• If you are new to GiantScaleNews.com, please register, introduce yourself, and make yourself at home.

    We're 1st in Giant Scale RC because we've got the best membership on the internet! Take a look around and don't forget to register to get all of the benefits of GSN membership!

    Welcome!

3DHS 75" EDGE 540 V2 Assembly Thread

AKNick

640cc Uber Pimp
75" 3DHS Edge 540 V2 Assembly Thread.
maxresdefault.jpg

Never quite sure where to start one of these threads, so here we go! I'll edit this page as I go. I've already started to build this, so I'll be adding pictures quickly.
My build is looking like this:
Motrolfly 4330-216kv
https://shop.subsonicplanes.com/product.sc?productId=399&categoryId=39

XL Blazing Star Standoffs (Had to ream out the X mount holes to use this)
Castle Creations Edge 80HV
Futaba SBS-01C Current Telemetry Sensor
Futaba SBS-02G GPS Sensor
12S setup, two 6S in series.
Falcon White 20X8
Extreme Flight Carbon 3.5" spinner
MKS777 for the tail (had laying around)
MKS777A for the wings (also had laying around, but only because old style doesn't fit in the wings since they are too tall)
Pulse 2S 1350mAh for the RX
Futaba 18SZ
Futaba 7008SB

Here is a link to the maiden flight:
 
Last edited:

AKNick

640cc Uber Pimp
Here is to what I'm sure is everybody's least favorite part about putting an ARF together. Hinging. I'll share what at this point seems to be the quickest method with good results.
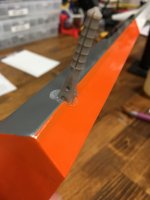
First, I'll make sure each hole is clean of any obstructions and allows the control surface to deflect without binding. I must say that 3DHS/EF did an excellent job prepping this. They burned each hole so it's pretty clean, and left very little touch up work on my end... awesome.
Then I'll scruff up each pin with a little coarse sand paper for good measure.

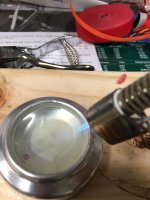
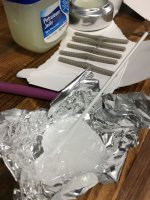
Next is the most satisfying process that I learned from the forums. Get a old barley soda can, cut it in half (cuts easily with an Xacto blade), wash it off. Flip it upside down. Put some petroleum jelly in it (Vaseline is the name brand Petroleum Jelly). Heat it up so it melts.
IMG_3929.JPG

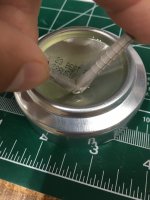
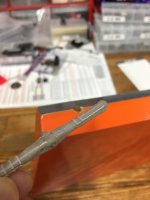
Bend each hinge pin in half, dip it in the molten Petroleum Jelly, fold it the other way, dip it again, work the hinge. It will start to clump up when it cools off. When it's hot, it seeps into the cracks of the hinge, once it starts to cool off it will build on itself creating a protective shield against the epoxy later on.
IMG_3758.JPG

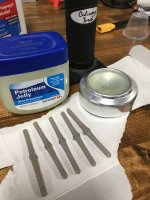
Then set the prepped pins aside for the next step.

IMG_3760.JPG
 
Last edited:

AKNick

640cc Uber Pimp
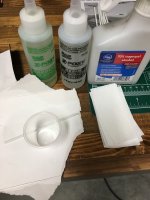
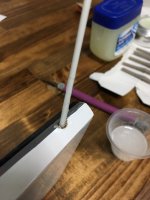
Then the "fun" part. 30Min epoxy one aileron at a time. I use a small mixing cup, and a round stir stick for mixing rod finish. If you need another minute of working time, spread it out over some aluminum foil to delay the cure time.
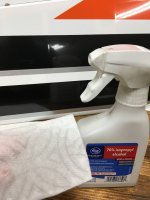
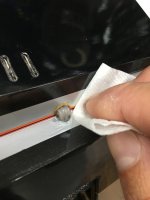
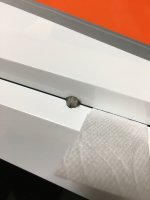
The dowel/rod fits in the hinge pin holes great. I cut up some paper towels and have some lacquer thinner and denatured alcohol ready for the cleanup.
I get the mixing sticks here:
http://www.mudhole.com/Flex-Coat-Mixing-Sticks-100-Pack
IMG_3762.JPG IMG_3764.JPG IMG_3763.JPG IMG_3765.JPG IMG_3766.JPG IMG_3769.JPG IMG_3770.JPG IMG_3768.JPG
 
Last edited:
Top