• If you are new to GiantScaleNews.com, please register, introduce yourself, and make yourself at home.

    We're 1st in Giant Scale RC because we've got the best membership on the internet! Take a look around and don't forget to register to get all of the benefits of GSN membership!

    Welcome!

3DHS 75" EDGE 540 V2 Assembly Thread

AKNick

640cc Uber Pimp
Main Landing Gear.

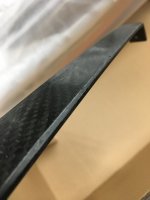
This gear is STOUT. Mine has a few imperfections, but very thick and robust- only cosmetic.
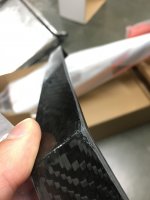
IMG_3773.JPG IMG_3774.JPG
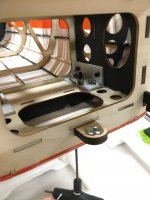
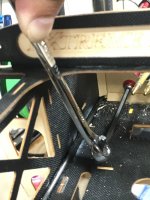
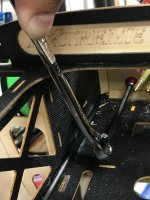
The gear is bolted through the fuselage onto some aluminum angle, no blind nuts here!
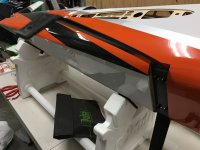
IMG_3796.JPG IMG_3795.JPG
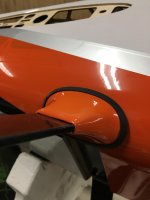
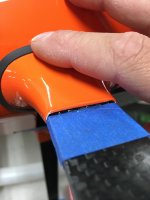
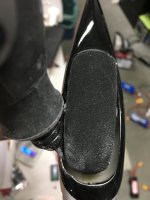
To my surprise the landing gear cuff rubber grommets are U shaped and pre-installed. I've always hated gluing those on, they never seemed to stick either. So thanks design team!
File them to fit the gear leg without cracking the cuff is the key to success.
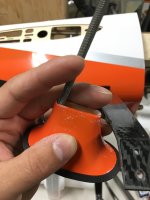
IMG_3797.JPG IMG_3798.JPG
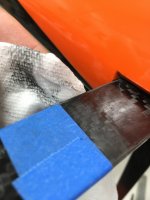
Once it's fitted, use blue painters tape to mark where the cuff stops and scruff up the gear leg lightly so the glue will stick better.
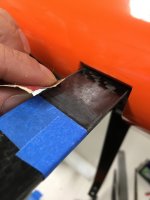
IMG_3799.JPG IMG_3800.JPG
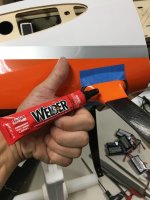
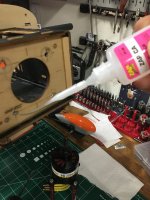
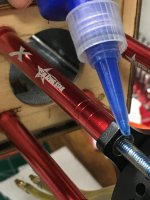
Add the glue (I'm using my trusty welders glue). I'll add a bead of glue around the circumference of the cuff were it attaches to the gear for some extra support.
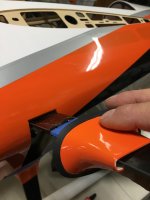
IMG_3802.JPG IMG_3803.JPG IMG_3801.JPG

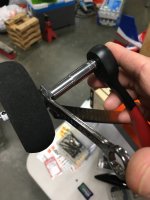
As for the Wheel and Pants. I like to fit everything together with the allen screws out of the collars, use a fine point sharpie to mark where to dremel a flat spot. Then put it on the gear leg, add the pant and trim any areas of concern.
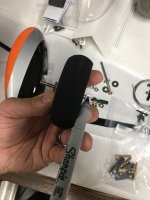
IMG_3958.JPG IMG_3959.JPG IMG_3960.JPG IMG_3961.JPG
 
Last edited:
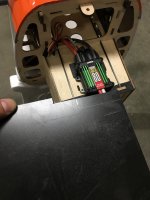
AKNick

640cc Uber Pimp
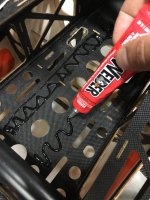
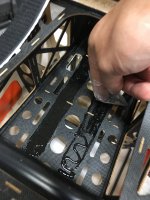
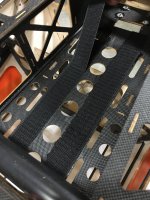
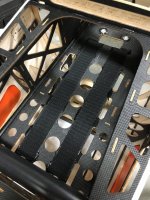
Installed Velcro inside the fuselage for the batteries. I've been tacking a thin layer of welders glue down first. I never trust the sticky 3M velcro by itself. Creates an awesome bond this way. If you dont have the sticky back velcro, just smear some welders glue on the back. I go even one step further and add a little bead on the sides to keep it from lifting.

IMG_4105.JPG IMG_4106.JPG IMG_4107.JPG IMG_4108.JPG
 

AKNick

640cc Uber Pimp
Motor Installation.
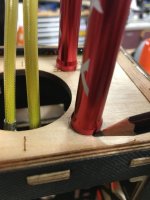
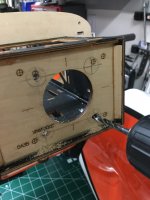
This was a little tricky, first off I have one of the early versions, so the original holes are about 1/8" off vertically, this has been fixed since then so no worries.
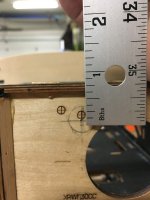
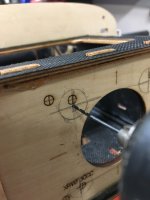
Second off I am using the Blazing Star XL mount with a Motrolfly 4330-216 so the X mount holes need to be reamed out. In short I eyeballed, marked the firewall, and drilled it. more details below.
Once the X mount was reamed out to accommodate the Blazing Star XL mounting bolts, I ended up using a small, medium and large spacer.

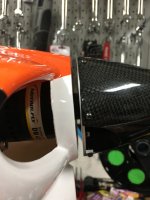
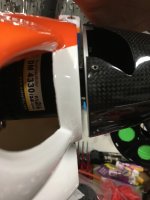
Prior to final assy, I bolted the Xmount to the Blazing Star mount with my three spacers, stood the plane on it's tail, set the motor on top, put the cowl and spinner on so I could find the center. My brain couldn't handle geometry and fancy mounting templates.
IMG_4042.JPG IMG_4043.JPG IMG_4044.JPG

I carefully removed the spinner and cowling, then marked the mount positions.

IMG_4045.JPG IMG_4046.JPG IMG_4048.JPG

It doesn't have to be perfectly square on the firewall. Marked the center, then drilled a pilot hole, followed by a hole about the same thickness as the bolt.

IMG_4047.JPG IMG_4049.JPG

Cleaned up the holes, added some thin CA to harden it up a bit, and bolted everything together with blue locktite.

IMG_4056.JPG IMG_4050.JPG IMG_4053.JPG IMG_4054.JPG IMG_4055.JPG IMG_4077.JPG IMG_4078.JPG IMG_4051.JPG IMG_4052.JPG

May not have been the tightest gap, but its better than the spinner rubbing the cowl when the plane is getting tumbled through the air. Also, note the mount squished down a bit from the first picture (prior to bolting down tight) which I anticipated.
 

AKNick

640cc Uber Pimp
ESC Mounting.
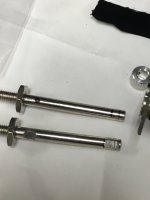
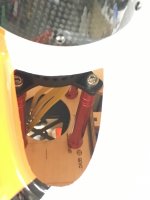
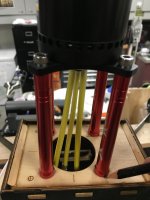
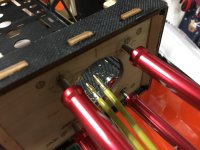
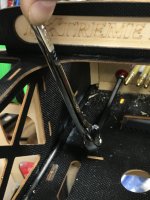
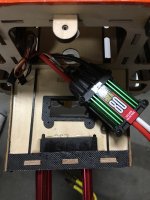
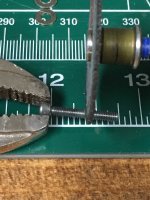
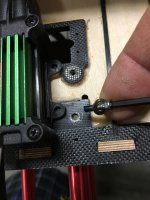
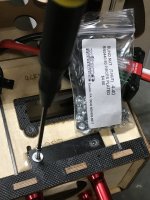
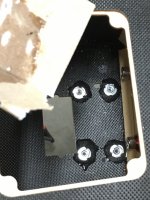
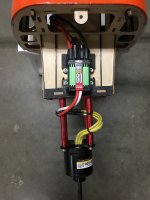
I found a spot on the bottom of the engine box that suited my liking. Got some carbon G10 board, and made a little standoff, epoxied that in place. Drilled four holes, and used some 4-40 bolts trimmed to length with some blind nuts put in place and added some epoxy around them. I cinched them down using a 4-40 bolt with a thick washer on it.
IMG_4095.JPG IMG_4096.JPG IMG_4097.JPG IMG_4109.JPG IMG_4110.JPG IMG_4098.JPG IMG_4099.JPG IMG_4111.JPG
I made a larger slot for the esc wires to come into the fuselage.
IMG_4094.JPG
 
Last edited:
Snoopy1

640cc Uber Pimp
ESC Mounting.
I found a spot on the bottom of the engine box that suited my liking. Got some carbon G10 board, and made a little standoff, epoxied that in place. Drilled four holes, and used some 4-40 bolts trimmed to length with some blind nuts put in place and added some epoxy around them. I cinched them down using a 4-40 bolt with a thick washer on it.
View attachment 106369 View attachment 106370 View attachment 106371 View attachment 106366 View attachment 106367 View attachment 106372 View attachment 106373 View attachment 106368
I made a larger slot for the esc wires to come into the fuselage.
View attachment 106374
Nice plane it sure has a lot of carbon reinforcements in it. Seems like a lot for an electric plane.
 

AKNick

640cc Uber Pimp
Nice plane it sure has a lot of carbon reinforcements in it. Seems like a lot for an electric plane.
Yes it sure does. This plane is designed to accommodate electric or gas, so it's pretty beefy. One thing I've noticed, I'm probably not the only one... but the carbon glass irritates my skin, so when you are reaching inside the fuselage and your forearm is rubbing against the carbon frame - the tiny glass particles stick to your skin creating an itchy rash. You really need to be more mindful in regards to safety when working around this stuff. Fiberglass is already bad, but this stuff is worse for your health. Trying not to breathe in particles, and get them on your skin while working on these airframes is a new hurtle.
 

Snoopy1

640cc Uber Pimp
Yes it sure does. This plane is designed to accommodate electric or gas, so it's pretty beefy. One thing I've noticed, I'm probably not the only one... but the carbon glass irritates my skin, so when you are reaching inside the fuselage and your forearm is rubbing against the carbon frame - the tiny glass particles stick to your skin creating an itchy rash. You really need to be more mindful in regards to safety when working around this stuff. Fiberglass is already bad, but this stuff is worse for your health. Trying not to breathe in particles, and get them on your skin while working on these airframes is a new hurtle.
Carbon is bad stuff when we did some testing at work the results were not good so all I can say is be careful around the stuff. it’s right up there with asbestos, the body can not dissolve it or get rid of it.
 

Luchnia

70cc twin V2
Carbon is bad stuff when we did some testing at work the results were not good so all I can say is be careful around the stuff. it’s right up there with asbestos, the body can not dissolve it or get rid of it.
Since it cannot be dissolved or gotten rid of, it simply stays in the body? I know most any plastics are that way as well. I have a small piece of plastic that came off a hammer that is in one of my fingers that has been there for probably around 50 years now.

Every now and then I hit my finger at a certain angle and am quickly reminded about it. I think carbon fiber may have some other bad/strange qualities about it.
 
Top