• If you are new to GiantScaleNews.com, please register, introduce yourself, and make yourself at home.

    We're 1st in Giant Scale RC because we've got the best membership on the internet! Take a look around and don't forget to register to get all of the benefits of GSN membership!

    Welcome!

3D 75cc 106" HyperLITE Slick 540 by Fibertech N More

Fibertech

70cc twin V2
Been a while
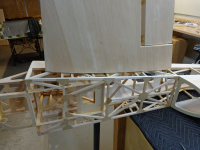
Wings are finished and ready to set incidence. I don’t use a incidence meter as I find them a PITA. Not saying you shouldn’t just saying I don’tcare for any of them.
First I slip a wing half on and check to make sure I have good fit to fuse again. I say again because I have checked this earlier in the process before skinning. Easer to do then before root plate is glued on if you need to make adjustments. Typically I have tried to build and cut correctly and don’t need to fuss much at this point.
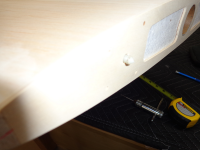
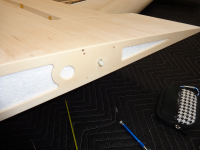
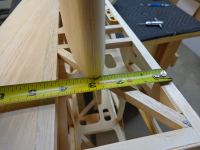
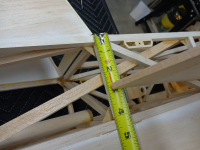
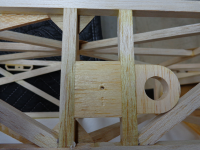
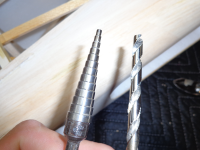
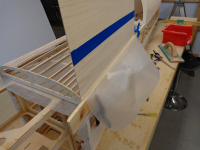
I take two ¼” nylon bolts and cut the heads off and grind down to a point. Then screw these in part way on root as pic shows. I make a mark on center line of LE and TE of wing. Then measure from top of fuse down to center line. When wing or stab is at correct Incidence you should have same measurement on both LE & TE. At this point I just push a little on wing to make a indent from the pointed ¼” bolt. Then make a pilot hole with a small drill bit.I like to use a step-drill as it won’t waller when drilling the hole. Just be careful and not drill in to deep as the farther you go the bigger diameter the hole will be. Finish the hole off with a correct size drill bit. I use a ¼” firthis.
That’s all it takes. I also use same measure method to check the incidence on ARF’s
 

Attachments

  • IN 1.png
    IN 1.png
    773.1 KB · Views: 435
  • IN 2.png
    IN 2.png
    520.7 KB · Views: 464
  • IN 3.png
    IN 3.png
    657.4 KB · Views: 486
  • IN 4.png
    IN 4.png
    790 KB · Views: 525
  • IN 5.png
    IN 5.png
    767.7 KB · Views: 475
  • IN 6.png
    IN 6.png
    816.8 KB · Views: 570
  • IN 7.png
    IN 7.png
    661.4 KB · Views: 475

Fibertech

70cc twin V2
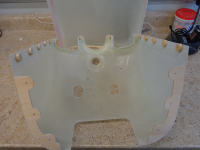
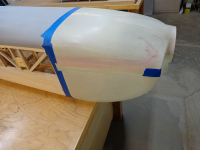
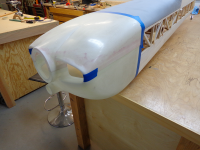
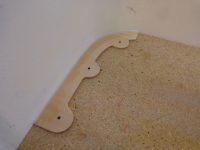
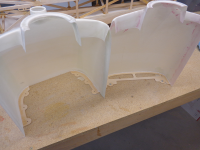
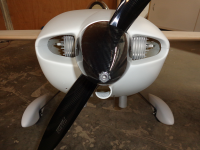
New Cowl Is finished and mounted
 

Attachments

  • New 1.png
    New 1.png
    1.1 MB · Views: 505
  • New 2.png
    New 2.png
    763.6 KB · Views: 493
  • New 3.png
    New 3.png
    729.2 KB · Views: 452
  • New 4.png
    New 4.png
    720.6 KB · Views: 436
  • New F 1.png
    New F 1.png
    833.4 KB · Views: 463
  • New F 2.png
    New F 2.png
    755.4 KB · Views: 496
  • New Mounted 1.png
    New Mounted 1.png
    729.9 KB · Views: 495
  • New Mounted 2.png
    New Mounted 2.png
    741.5 KB · Views: 438
  • New R 1.png
    New R 1.png
    751.4 KB · Views: 534
  • New R 2.png
    New R 2.png
    750.5 KB · Views: 450

Fibertech

70cc twin V2
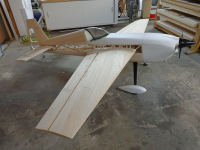
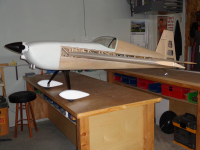
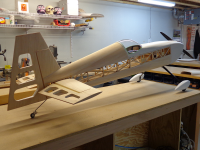
Cowl, Pants and hatch are primed. Motor Mounted.....
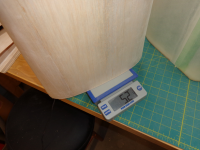
WEIGHT IS 16.5LBS
Only items to install is tank and radio gear, covering and some paint. Should still come in at or under 18.5lbs.
Not to shabby for a 35% 105" Bird
 

Attachments

  • PW1.png
    PW1.png
    977.9 KB · Views: 520
  • PW2.png
    PW2.png
    705.3 KB · Views: 469
  • PW3.png
    PW3.png
    677.4 KB · Views: 482
  • PW4.png
    PW4.png
    754.5 KB · Views: 469

Fibertech

70cc twin V2
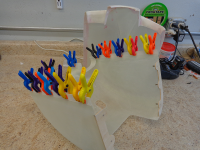
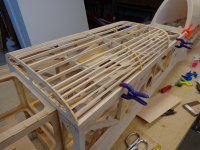
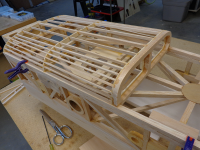
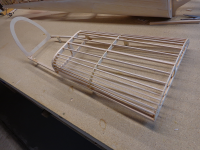
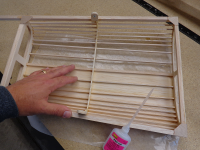
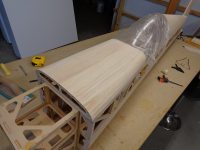
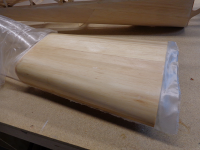
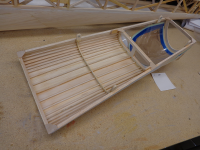
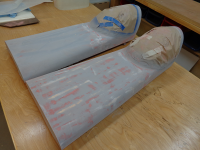
I wanted to compare weights and or pro’s & cons of foam core hatch to stick built hatch. I took the time to build both to compare. Part of what got me to do this was I didn’t like how the cnc foam cut was do to drastic profile shape difference from front to back. This caused a slit cave in appearance when looking down the hatch. After do this compare builds I spent more time on the cnc and found a way to solve the cave in appearance. No matter it was a good experiment.
The weight was within .2oz so not a huge factor to do one over the other. Foam core was 5oz & stick was 5.2oz Both were at point of paint time.
Foam Core
Pro’s… A little more rigid, smooth surface, fast finish time do to smooth surface (no waves)
Con’s …Time for glue to set when bagging, bag process time

Stick built
Pro’s… Faster build do to no wait time of bagging ext, nice appearance (my opinion), better for more rad shapes.
Con’s… Not as smooth a surface do to small sagging between sticks, longer finish time, not as rigid
My conclusion is I like both process of building the hatch. I think the end results are close to the same but depends on what you like. Having the hatch 100% PETG is a whole nother story of pros & cons.
 

Attachments

  • H7 2-23.png
    H7 2-23.png
    682.1 KB · Views: 407
  • Wood Hatch 1.png
    Wood Hatch 1.png
    801.6 KB · Views: 499
  • Wood Hatch 2.png
    Wood Hatch 2.png
    825.7 KB · Views: 428
  • Wood Hatch 3.png
    Wood Hatch 3.png
    841.9 KB · Views: 436
  • Wood Hatch 4.png
    Wood Hatch 4.png
    756.6 KB · Views: 429
  • Wood Hatch 5.png
    Wood Hatch 5.png
    832.8 KB · Views: 469
  • Wood Hatch 6.png
    Wood Hatch 6.png
    741.6 KB · Views: 453
  • Wood Hatch 7.png
    Wood Hatch 7.png
    764.5 KB · Views: 461
  • Wood Hatch 8.png
    Wood Hatch 8.png
    811.5 KB · Views: 407
  • Wood Hatch 9.png
    Wood Hatch 9.png
    714.1 KB · Views: 435

Fibertech

70cc twin V2
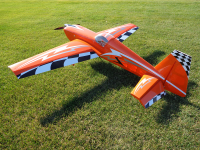
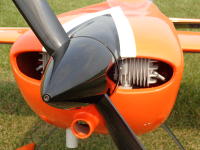
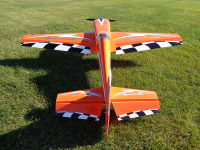
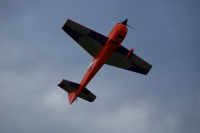
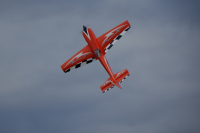
The cheme I am doing the 35% slick in will be close to what I did big brother in. Pics below are of the 42% I did last summer.
 

Attachments

  • Slick 42%  03.png
    Slick 42% 03.png
    1.2 MB · Views: 478
  • Slick 42%  5.png
    Slick 42% 5.png
    435.9 KB · Views: 410
  • Slick 42%  08.png
    Slick 42% 08.png
    1.1 MB · Views: 430
  • Slick 42%  9.png
    Slick 42% 9.png
    214.8 KB · Views: 456
  • Slick 42%  11.png
    Slick 42% 11.png
    212 KB · Views: 412
  • Slick 42%  16.png
    Slick 42% 16.png
    473.1 KB · Views: 421

Alky6

150cc
I wanted to compare weights and or pro’s & cons of foam core hatch to stick built hatch. I took the time to build both to compare. Part of what got me to do this was I didn’t like how the cnc foam cut was do to drastic profile shape difference from front to back. This caused a slit cave in appearance when looking down the hatch. After do this compare builds I spent more time on the cnc and found a way to solve the cave in appearance. No matter it was a good experiment.
The weight was within .2oz so not a huge factor to do one over the other. Foam core was 5oz & stick was 5.2oz Both were at point of paint time.
Foam Core
Pro’s… A little more rigid, smooth surface, fast finish time do to smooth surface (no waves)
Con’s …Time for glue to set when bagging, bag process time

Stick built
Pro’s… Faster build do to no wait time of bagging ext, nice appearance (my opinion), better for more rad shapes.
Con’s… Not as smooth a surface do to small sagging between sticks, longer finish time, not as rigid
My conclusion is I like both process of building the hatch. I think the end results are close to the same but depends on what you like. Having the hatch 100% PETG is a whole nother story of pros & cons.
Thanks for the comparison! Was very interested to hear about the differences. Crazy how light you have got this airframe!!
 

Fibertech

70cc twin V2
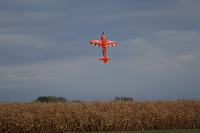
I should mention that the 42% That I built (orange one above) cam in at 27.5lbs. I am flying it with a DA100L stock exaust. Last year at the Des Moins Huck fest the motor died to low to the ground and it went in the corn. I fixed it and flew many times after but know it weighs 27.8lbs:)
 

Snoopy1

640cc Uber Pimp
Missed this build glad I found it. Beautiful plane love the construction with all the sticks in it. Beautiful job. Will there be one at JoeNull. Look forward to seeing you again and the plane.
 

Fibertech

70cc twin V2
Missed this build glad I found it. Beautiful plane love the construction with all the sticks in it. Beautiful job. Will there be one at JoeNull. Look forward to seeing you again and the plane.

Early to say but we are planning on it.
 
Top