Aerobeez
70cc twin V2
Aerobeez 70" Slick Pro Build Manual
Hello 3DRC Forum and Aerobeez pilots and fans, welcome to our official Step by Step build guide and manual for the 70" Slick Pro Electric ARF kit. This manual will walk you through the steps to building our Slick Pro and are in the order that we prefer to build. Build order is a recommendation, but it is also personal preference, so if you have experience with building and prefer to work with certain areas first or in a different order, please feel free to jump around from step to step as you see fit. So, lets get to building that new Slick Pro!
First things first, locate the wheels and the wheel hardware.
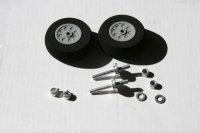
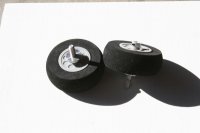
Install the axles onto the wheels with the wheel collars. Use a drop of blue thread lock on the wheel collar set screw for best results.
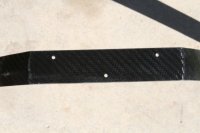
Now, locate the carbon fiber main landing gear. Notice the carbon fiber landing gear is tapered on one side and the 3 hole screw configuration on the bottom.
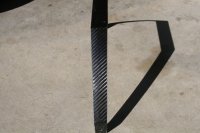
Install the carbon fiber landing gear to the fuselage.
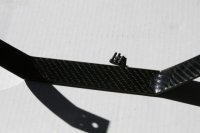
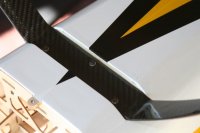
Next, Install the landing gear cover using a bit of glue to the carbon gear surface or a piece of clear tape will work just as well.
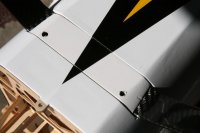
Now, we will install the wheel pants and wheels to the landing gear. Two self tapping screws are used per side for holding the wheel pants in position.
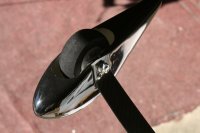
Next, we will locate the control surface horns and gently "score" them with 800 grit sand paper or a rotary tool. You can "Score or Scuff" all the surface horns at one time if you wish. The rudder horns will need to be cut shorter. A cut right between the horn lowest hole will be a good point.
Note:The rudder Pull/Pull horns will not be inserted flush if the horns are not trimmed.
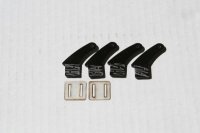
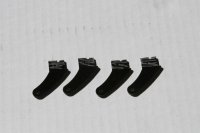
Once the horns are prepped, use a sharp hobby knife and remove the covering for the rudder control horns.
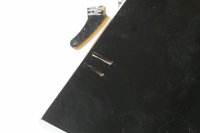
Now glue the rudder horns to the rudder using your glue of choice. Epoxy is recommended.
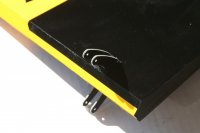
Insert the included CA surface hinges to the rudder as shown here. Be sure to only insert the hinges about half way in.
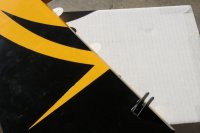
When installing CA hinges, we prefer to use T-pins or craft pins. If you do not have any T-pins, go to your local craft store and buy a box of craft pins. These pins will help greatly with the gluing and position of the CA hinges. This is a Pete's Pro Tip.
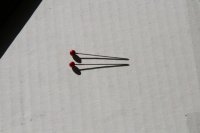
Now insert two pins per CA hinge as seen here. This will keep the CA hinge in position for gluing. This Pete's Pro Tip will prevent the CA hinge from sliding too far into one side of the hinge slot.
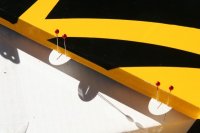
Connect the control surface to the aircraft and when you are happy with your surface gap, use Thin CA to wick into the CA hinges. Pete always will add the thin CA to both sides of the CA hinges. When the CA cures, you can remove the pins from the surface.
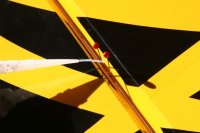
Install the tail wheel assembly.
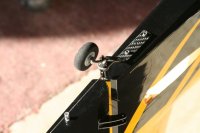
Insert the horizontal stabilizer into the fuselage and measure for equal distances for the stabilizer.
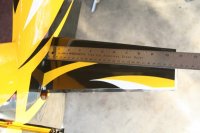
When you are satisfied with the horizontal stabilizer position, mark the position with a thin marker or pen.
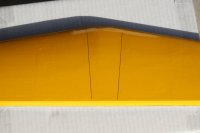
Remove the covering from the top and bottom of the horizontal stabilizer. 1/4" from the inside of the lines would give you a cleaner finish.
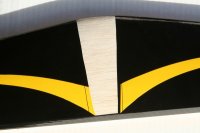
Using thin CA, wick the glue to the horizontal stabilizer and the fuselage area when you are satisfied with the position of the stabilizer. Using Thin CA, wick the glue into all 4 sides. Once the CA has cured, using medium CA, go over the same area with a bead of thicker CA.
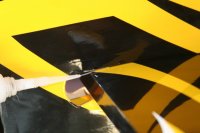
Glue the elevator surface horns to the elevator. Note: Only 1 elevator servo is used for this Slick Pro. You do not need to install elevator horns on both sides of the elevator. Pete prefers the elevator servo mounted on the left side of the fuselage and the elevator horns on the left elevator.
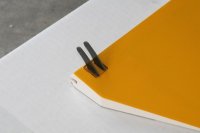
Your tail section is now ready for elevator install.
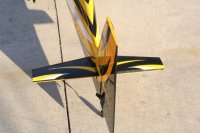
First remove the covering from the elevator servo mounting area.
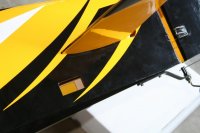
Then remove the covering from one compartment under the fuselage for motor and ESC cooling.
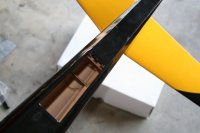
Now glue the elevator joiner to the right elevator First. Do not glue both sides at one time! The elevator joiner will need to be inserted through the fuselage before gluing the other side.
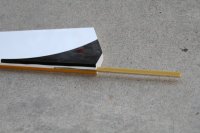
Insert the right elevator and the joiner through the fuselage and joining to the left elevator while inserting the CA hinges. Use masking tape to help hold the elevator position. When you are satisfied with the elevator spacing, epoxy the joiner to the left elevator and wick thin CA to the elevator hinges. Be sure to check the elevators to make sure they are level.
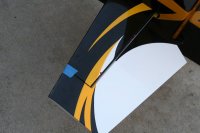
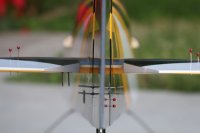
Remove the covering from the rudder pull/pull slot on both sides.
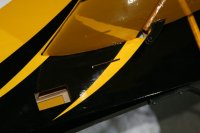
Attach the ball linkage ends to the pull/pull rods.
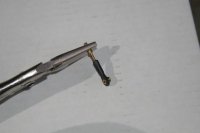
Run the cables and crimp the pull/pull rod ends for rudder to servo install.
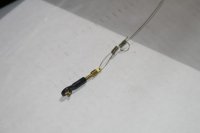
Install your elevator servo and rudder pull/pull cables.
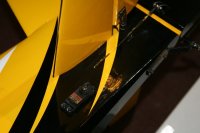
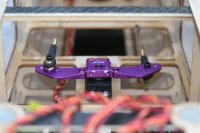
Install your ball ends to your elevator pushrod then install onto your elevator.
Note: One side of the threads on the push rods is reverse threads. This will provide a easy way to adjust the pushrod length but just turning the pushrod from the center while on the aircraft.
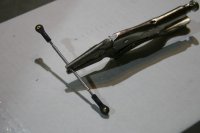
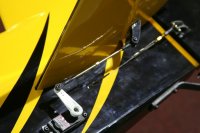
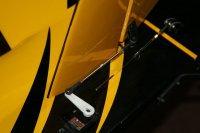
Mark your motor X plate mounting position.
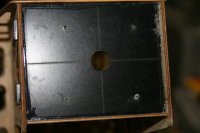
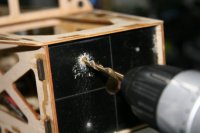
Depending on your motor of choice, drill the holes for the blind nuts and mount your motor.
Note: Wood stand offs are included for you to adjust your motor to propeller distance.
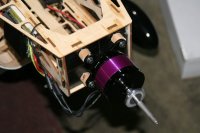
Use blue thread lock and install your motor screws to the blind nuts.
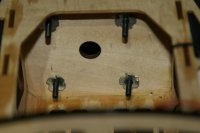
Install your control surface horns to the ailerons.
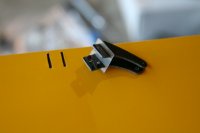
Locate and remove the covering for the aileron servos.
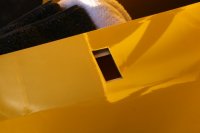
Install the aileron control surface hinges with the same method as the previous surfaces.
Pete's Pro Tip: Pete uses a 1/16 drill bit to pre-drill the servo holes. Pete then will drips some thin CA into the holes. This will provide a stronger servo screw to wood strength.
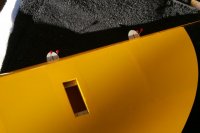
Install your aileron servos and pushrods.
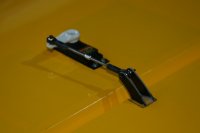
Now for the cowl installation. Use blue masking tape and cover the tabs for the cowl screws.
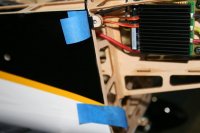
With a bright light from the back side of the cowl screw tabs mark the center with a marker.
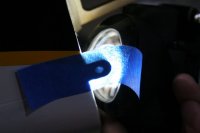
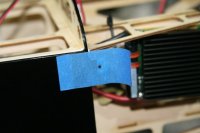
Now peal back the masking tape while leaving the trailing end side still attached to the fuselage. Install the cowl and press to a snug fit. When you are satisfied with the cowl fitment, fold the masking tape down to the cowl.
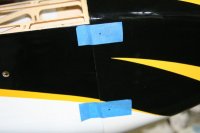
Remove the cowl and drill the holes for the cowl screws marked on the masking tape.
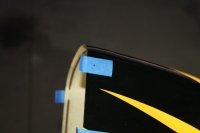
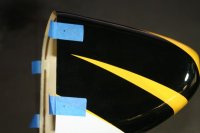
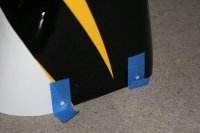
Install the cowling and your propeller.
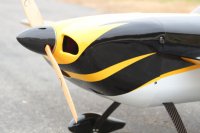
At this point you are ready for your radio programming and head to the field!
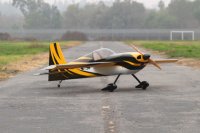
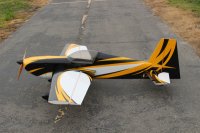
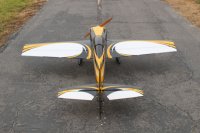
For CG on this model, we have a recommended starting point of 6.5" measured back from the leading edge at the wing root.
NOTE: CG can vary depending on flying style, set-up, and electronics, so do not be afraid to play within a small range of the suggested starting point until you find what works best for you.
Your build is complete, now go enjoy your airtime!
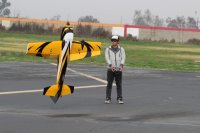
Thank you as always for reading our build blog and for your patronage and support.
Your Hobby, Our Passion!
Aerobeez
Hello 3DRC Forum and Aerobeez pilots and fans, welcome to our official Step by Step build guide and manual for the 70" Slick Pro Electric ARF kit. This manual will walk you through the steps to building our Slick Pro and are in the order that we prefer to build. Build order is a recommendation, but it is also personal preference, so if you have experience with building and prefer to work with certain areas first or in a different order, please feel free to jump around from step to step as you see fit. So, lets get to building that new Slick Pro!
First things first, locate the wheels and the wheel hardware.

Install the axles onto the wheels with the wheel collars. Use a drop of blue thread lock on the wheel collar set screw for best results.

Now, locate the carbon fiber main landing gear. Notice the carbon fiber landing gear is tapered on one side and the 3 hole screw configuration on the bottom.


Install the carbon fiber landing gear to the fuselage.


Next, Install the landing gear cover using a bit of glue to the carbon gear surface or a piece of clear tape will work just as well.

Now, we will install the wheel pants and wheels to the landing gear. Two self tapping screws are used per side for holding the wheel pants in position.

Next, we will locate the control surface horns and gently "score" them with 800 grit sand paper or a rotary tool. You can "Score or Scuff" all the surface horns at one time if you wish. The rudder horns will need to be cut shorter. A cut right between the horn lowest hole will be a good point.
Note:The rudder Pull/Pull horns will not be inserted flush if the horns are not trimmed.


Once the horns are prepped, use a sharp hobby knife and remove the covering for the rudder control horns.

Now glue the rudder horns to the rudder using your glue of choice. Epoxy is recommended.

Insert the included CA surface hinges to the rudder as shown here. Be sure to only insert the hinges about half way in.

When installing CA hinges, we prefer to use T-pins or craft pins. If you do not have any T-pins, go to your local craft store and buy a box of craft pins. These pins will help greatly with the gluing and position of the CA hinges. This is a Pete's Pro Tip.

Now insert two pins per CA hinge as seen here. This will keep the CA hinge in position for gluing. This Pete's Pro Tip will prevent the CA hinge from sliding too far into one side of the hinge slot.

Connect the control surface to the aircraft and when you are happy with your surface gap, use Thin CA to wick into the CA hinges. Pete always will add the thin CA to both sides of the CA hinges. When the CA cures, you can remove the pins from the surface.

Install the tail wheel assembly.

Insert the horizontal stabilizer into the fuselage and measure for equal distances for the stabilizer.

When you are satisfied with the horizontal stabilizer position, mark the position with a thin marker or pen.

Remove the covering from the top and bottom of the horizontal stabilizer. 1/4" from the inside of the lines would give you a cleaner finish.

Using thin CA, wick the glue to the horizontal stabilizer and the fuselage area when you are satisfied with the position of the stabilizer. Using Thin CA, wick the glue into all 4 sides. Once the CA has cured, using medium CA, go over the same area with a bead of thicker CA.

Glue the elevator surface horns to the elevator. Note: Only 1 elevator servo is used for this Slick Pro. You do not need to install elevator horns on both sides of the elevator. Pete prefers the elevator servo mounted on the left side of the fuselage and the elevator horns on the left elevator.

Your tail section is now ready for elevator install.

First remove the covering from the elevator servo mounting area.

Then remove the covering from one compartment under the fuselage for motor and ESC cooling.

Now glue the elevator joiner to the right elevator First. Do not glue both sides at one time! The elevator joiner will need to be inserted through the fuselage before gluing the other side.

Insert the right elevator and the joiner through the fuselage and joining to the left elevator while inserting the CA hinges. Use masking tape to help hold the elevator position. When you are satisfied with the elevator spacing, epoxy the joiner to the left elevator and wick thin CA to the elevator hinges. Be sure to check the elevators to make sure they are level.


Remove the covering from the rudder pull/pull slot on both sides.

Attach the ball linkage ends to the pull/pull rods.

Run the cables and crimp the pull/pull rod ends for rudder to servo install.

Install your elevator servo and rudder pull/pull cables.


Install your ball ends to your elevator pushrod then install onto your elevator.
Note: One side of the threads on the push rods is reverse threads. This will provide a easy way to adjust the pushrod length but just turning the pushrod from the center while on the aircraft.


Mark your motor X plate mounting position.

Depending on your motor of choice, drill the holes for the blind nuts and mount your motor.
Note: Wood stand offs are included for you to adjust your motor to propeller distance.


Use blue thread lock and install your motor screws to the blind nuts.

Install your control surface horns to the ailerons.

Locate and remove the covering for the aileron servos.

Install the aileron control surface hinges with the same method as the previous surfaces.
Pete's Pro Tip: Pete uses a 1/16 drill bit to pre-drill the servo holes. Pete then will drips some thin CA into the holes. This will provide a stronger servo screw to wood strength.

Install your aileron servos and pushrods.

Now for the cowl installation. Use blue masking tape and cover the tabs for the cowl screws.

With a bright light from the back side of the cowl screw tabs mark the center with a marker.


Now peal back the masking tape while leaving the trailing end side still attached to the fuselage. Install the cowl and press to a snug fit. When you are satisfied with the cowl fitment, fold the masking tape down to the cowl.

Remove the cowl and drill the holes for the cowl screws marked on the masking tape.


Install the cowling and your propeller.

At this point you are ready for your radio programming and head to the field!


For CG on this model, we have a recommended starting point of 6.5" measured back from the leading edge at the wing root.
NOTE: CG can vary depending on flying style, set-up, and electronics, so do not be afraid to play within a small range of the suggested starting point until you find what works best for you.
Your build is complete, now go enjoy your airtime!

Thank you as always for reading our build blog and for your patronage and support.
Your Hobby, Our Passion!
Aerobeez
Last edited by a moderator:
