• If you are new to GiantScaleNews.com, please register, introduce yourself, and make yourself at home.

    We're 1st in Giant Scale RC because we've got the best membership on the internet! Take a look around and don't forget to register to get all of the benefits of GSN membership!

    Welcome!
  • Unless you are a paid advertiser NO more posting advertisement in the individual vendor forums. You may post in the Manufacturer's Announcements section only but only ONCE a month unless your a paid advertiser.

AeroBeez 73" (26%) Yak-54 30cc ARF Airplane

3dNater

3DRCF Regional Ambassador
I snuck out to the field at lunch and got another test flight. I fixed the tank issue and replaced the tail wheel with a super light 1.25 one from dubro. It turns out the aerobeez wheel does not weigh much at all. It appears to be solid rubber but on closer inspection you find the tire is actually foam with a nice rubbery finish on it so I didn't lose much weight from the tail. Brigg is talking about machining a steel prop hub and I can still experiment with moving the motor forward a bit. The only problem with that is it just increases the gap between the prop and the cowl. I might try a half inch and see how it looks.

I did get the flight on video so I will post it as soon as my buddy Brigg gets it to me. I'm still trying to gain confidence in how my motor is running so I didn't have much confidence for low hucking and with a tail heavy plane precision is not really there but it was fun none-the-less.
 

3dmike

640cc Uber Pimp
Awesome! You would be surprised how much a half inch will make in a motor when it comes to cg! Thanks for the updates!
 

gyro

GSN Contributor
I remember Chris Hinson telling me that on Yaks the prop should be 1/2 or more from the cowl for airflow. Maybe it'll help it fly better in two ways
 

3dNater

3DRCF Regional Ambassador
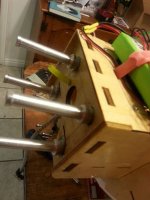
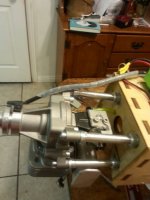
I spent some time working on the yak again tonite. I used washers to extend the motor standoffs. This adjustment required additional cowl cutting and lengthening the throttle push rod. Once I had it all back together I put the wings on to measure my success. Moving the motor definitely made a big impact but not quite as much as I had hoped. It is still balancing just a tad behind the wing tube. I plan to fly it again tomorrow to see how much of a change there is in how it flies.

As a matter of mentioning, the more I work on and fly this plane the more I enjoy it. Todays flight was very enjoyable even with some tail heavy tendencies. I did some rolling harrier today and found them to be very smooth and axial. My 70 slick had a tendency to wander in that move more than this plane seems to so I am very pleased by that. I did a satisfying pop top. I get the sense that it will be very good in knife edge. Today it tucked to the gear pretty hard but that is to be expected from a tail heavy plane. The good news for KE is that it didn't require any aileron input when applying more rudder. This is very promising to me... a taste of what is to come.
 

Attachments

  • uploadfromtaptalk1385449885142.jpg
    uploadfromtaptalk1385449885142.jpg
    49.7 KB · Views: 355
  • uploadfromtaptalk1385449901573.jpg
    uploadfromtaptalk1385449901573.jpg
    47.5 KB · Views: 371

3dNater

3DRCF Regional Ambassador
I was hoping to get a chance to try another flight on this plane after all my hard work last night but I had forgotten that the partners at my firm were taking all of the staff to lunch. The lunch was good, and it would have been rude to decline the invite, but you guys know I would have rather been out flying :D.

Oh well, here is the video from yesterday when the plane is still pretty tail heavy but more manageable than it was initially. Don't look for anything amazing here but it was fun :D

[video=youtube;rKU707Ux67w]http://www.youtube.com/watch?v=rKU707Ux67w[/video]

Edit: I just watched the vid. Sorry it is so far out. It was taken on a phone.
 

Pete

50cc
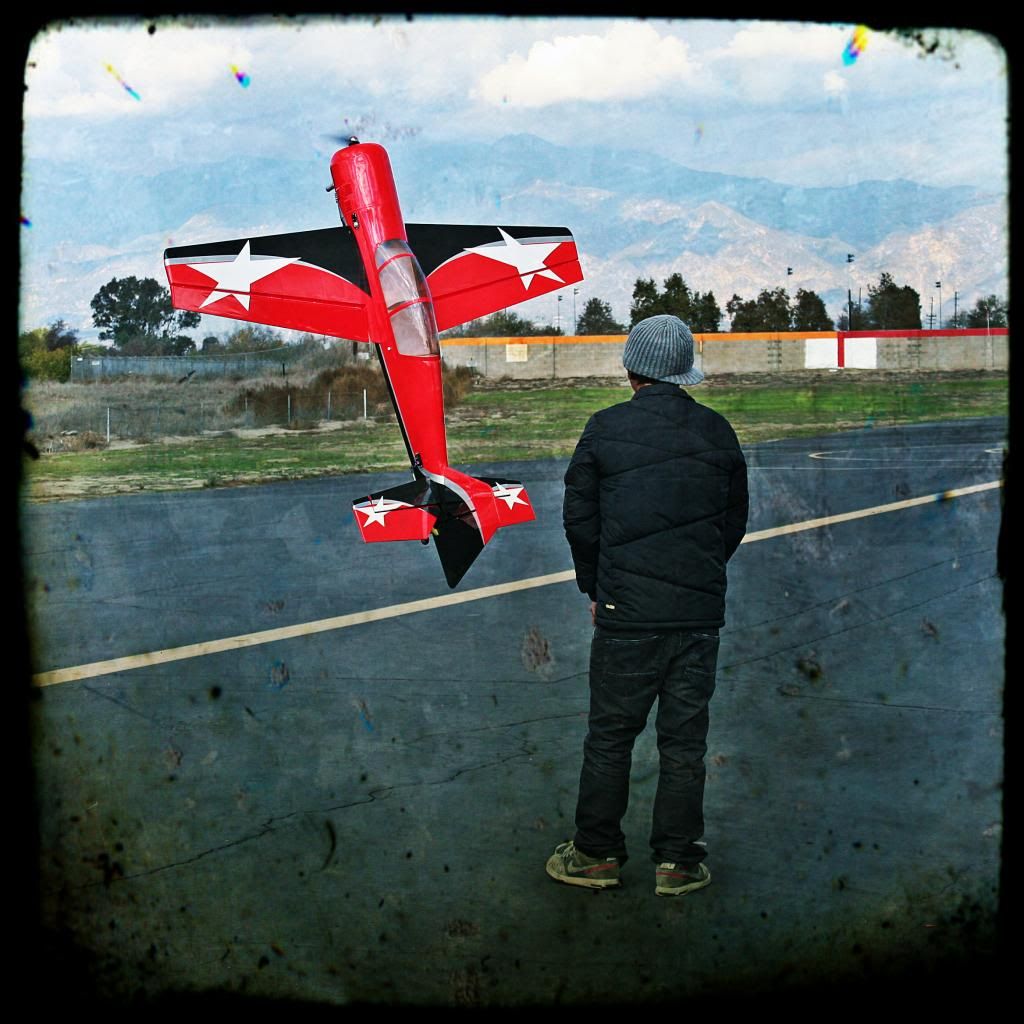
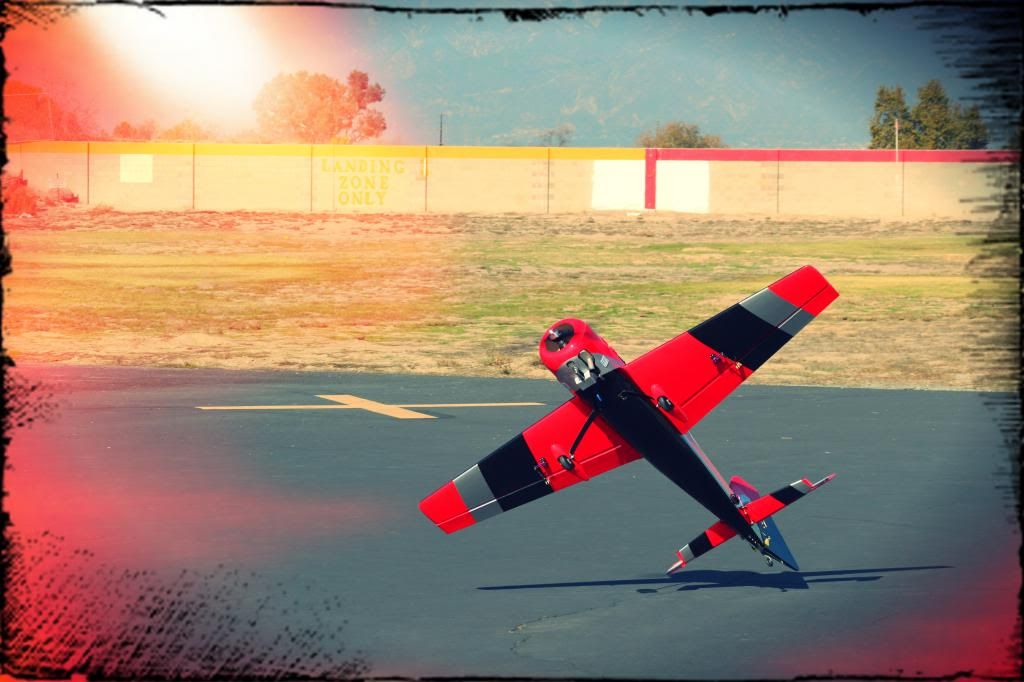
YAK-54 Photo of the day! Pete Low and Slow!

During the shoot for the Aerobeez YAK-54 ! Pete getting Low and Slow on the Rollers!


3dNater

3DRCF Regional Ambassador
Ok guys I am finally getting around to working on this plane. Once we got the balance about right I wanted to start hucking it. I soon found out that while it excels at high energy flying the low and slow has a bit to be desired.

The wing rock in harrier is quite scary. I asked Pete about it and he mentioned that the wing rock subsides quite a bit with a little higher angle of attack. I have not had a chance to try that yet but I will on my next outing for sure.

Brigg and I discussed some things that may be contributing to the instability in harrier and I also got some input from Gary. The consensus is that it could be a combination of the rounded wing tips, short wing chord at the tips (which also makes it roll super fast), and just the fact that it is a yak. All of us agree that these issues could be addressed with some sfg's. The kit comes with some that are supposed to be installed on the top of the wing. The only problem is that they do not come with any instructions and there Is no intuitively marked location for them such as pre-lasered slots. Another issue is that the only come into play for the top of the wing. In an ipright harrier it doesn't seem like they would do much. Brigg and I came up with a plan to make some new sfg's for the wingtips.

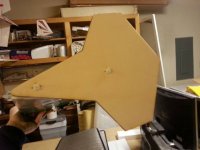
First we designed them in corel draw. Brigg did all the real work there as I have about zero cad skills... but I looked over his shoulder and made a few meaningful conceptual contributions that were probably totally obvious to Brigg already lol. The items created included the wing chord shape at the tip from the aileron hinge line to the leading edge and the actual sfg shape. These items had corresponding locations for blind nuts to line up.

Once the drawings were completed we sent them to the laser. So far we are into the project maybe two hours.
 

3dNater

3DRCF Regional Ambassador
Here is a link to a video of laser cutting with a littke dialogue. https://www.youtube.com/watch?v=ChVpxpkm4og&feature=youtube_gdata_player

The blocks the sfg attaches to is just basswood but we also marked a piece of plywood. The idea was to install the blind nuts in the basswood and then cover them with the ply so they weren't in the way when it was time to glue the blocks on. We made recesses in the ply with a forsner bit to recieve the back side of the blind nuts. Then we glued the basswood pieces to the ply.

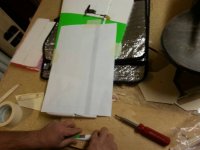
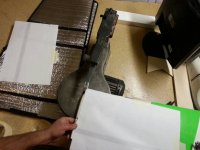
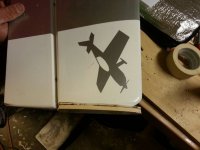
Now that the blocks were made it was time to actually cut the wing tips. We wanted to cut them so that when we glued on the blocks there would be a small gap for the ailerons to have clearance from the sfg's. We made a template of the angle of the hinge line and the wing tip. We printed it on 11x14 paper... bigger is better :) the template was just a quick drawing in corel from a picture I took of the wing. We taped the template on the wing and made the cut on a scroll saw.

uploadfromtaptalk1387000966277.jpg

uploadfromtaptalk1387001014217.jpg

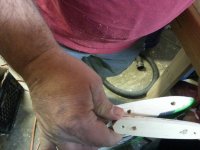
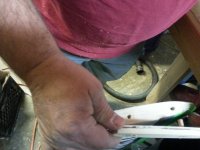
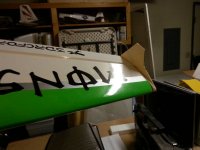
The stock wingtip is a decent sized balsa block so there was still plenty of meat to glue to. To give it more strength we used wood glue and a couple of 1/4 dowels. We marked drilled for the dowels on the blocks being careful not to catch the flange of the blind nuts. Then we moved the drilled blocks to the wingtip to drill it. Drilling through the blocks ensured the holes would match up perfectly. We then applied glue and inserted the dowels.

uploadfromtaptalk1387001361908.jpg

uploadfromtaptalk1387001391588.jpg

uploadfromtaptalk1387001441925.jpg

The sfg's attach to the blocks with small nylon bolts.

uploadfromtaptalk1387001473088.jpg

uploadfromtaptalk1387001496885.jpg

Now it is time to try them out!
 
Top