• If you are new to GiantScaleNews.com, please register, introduce yourself, and make yourself at home.

    We're 1st in Giant Scale RC because we've got the best membership on the internet! Take a look around and don't forget to register to get all of the benefits of GSN membership!

    Welcome!
  • Unless you are a paid advertiser NO more posting advertisement in the individual vendor forums. You may post in the Manufacturer's Announcements section only but only ONCE a month unless your a paid advertiser.

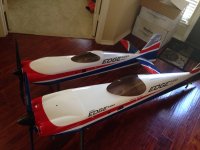
Aeroplus 35cc / 76" Edge 540 from Limitless Aero

Ohio AV8TOR

Just Do It
As a long time scratch builder I can tell you what the problem is with many manufactures use of Robart hinges. I had two pull out on my 87" 3DHS Extra. First look at the hinge there are barbs designed to trap epoxy and make a mechanical lock with the epoxy and as you get closer to the hinge pin there are no barbs and in fact it is tapered of in essence it has draft. After I removed the elevator and cleaned out the holes I notice that in the location of the hinge there was not enough wood backing to even get to the barbs, it was all held in the taper section. This really bugs me about the modern designs that use Roberts as they don't have enough wood back there.
 

gyro

GSN Contributor
As a long time scratch builder I can tell you what the problem is with many manufactures use of Robart hinges. I had two pull out on my 87" 3DHS Extra. First look at the hinge there are barbs designed to trap epoxy and make a mechanical lock with the epoxy and as you get closer to the hinge pin there are no barbs and in fact it is tapered of in essence it has draft. After I removed the elevator and cleaned out the holes I notice that in the location of the hinge there was not enough wood backing to even get to the barbs, it was all held in the taper section. This really bugs me about the modern designs that use Roberts as they don't have enough wood back there.

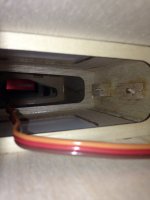
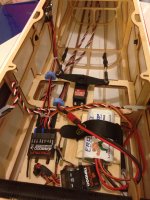
Ray, here is a shot inside the wing of this 76" edge. Looks like they added blocks to solve the problem you mention.
ImageUploadedByTapatalk1401026782.119292.jpg

I can't get a good photo of it, but the blocks are at each hinge point all the way down to the wing tip.
 

gyro

GSN Contributor
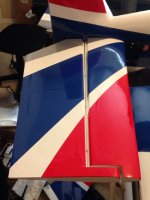
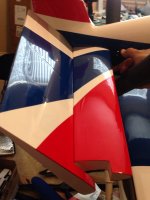
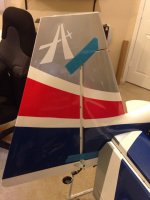
Stabs are on and setup. Plenty of throw
ImageUploadedByTapatalk1401049533.467762.jpgImageUploadedByTapatalk1401049548.689840.jpg

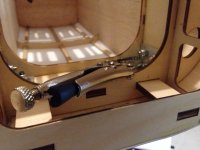
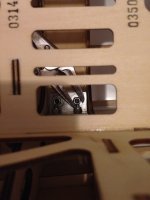
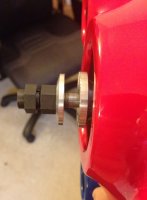
Landing gear is installed. Used some small needle nose vise grips for holding the lock nuts.
ImageUploadedByTapatalk1401049616.575973.jpgImageUploadedByTapatalk1401049632.324551.jpg

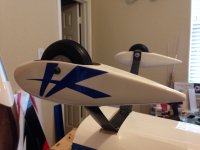
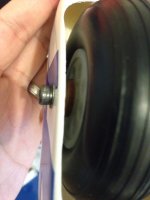
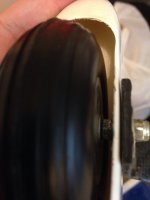
Also installed the wheels and pants. Same setup as the 60cc: threaded bolt, some wood and metal washers, and a few lock nuts.
ImageUploadedByTapatalk1401049738.179397.jpgImageUploadedByTapatalk1401049746.495175.jpgImageUploadedByTapatalk1401049757.223073.jpg

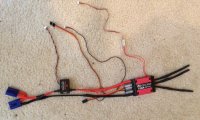
Also, got the ESC done with voltage/amperage/rpm sensors soldered on.
ImageUploadedByTapatalk1401049850.111725.jpg

The wires came out a little longer than optimal, but it is what it is for now. Will be posting results and discussion on the power system in the 12s power discussion thread.
http://www.3drcforums.com/showthread.php?2058-12S-power-systems-ideas-and-options
 

gyro

GSN Contributor
Are the bevels touching Gary? That only looks like 45°.

I think they are close but not touching. I was just holding the servo arm over in that pic. I also need to double check on the arm length. It's a stock Savox arm, and I'm not sure if it's 1.5 or 1.75"

I got a little more work done before heading off to bed. First I hit everywhere I could reach inside the fuse with some ca.

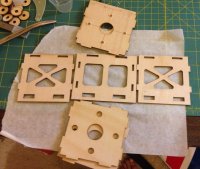
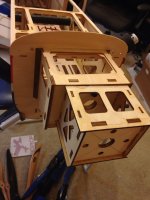
Then I built the electric motor box extension:
First, I laid it all out so I'd know what went where. I noticed there wasn't any suitable hardware included for attaching it to the firewall. Luckily, I had a spare set of m5 and m4 bolts with blind nuts ready.
ImageUploadedByTapatalk1401082028.817896.jpg

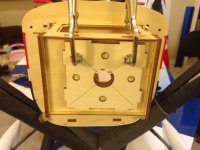
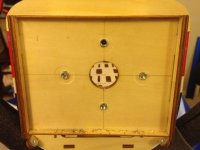
Then I clamped a few plates to the fire wall and drilled my holes and installed the blind nuts. Using M5 bolts here.
ImageUploadedByTapatalk1401082285.083484.jpgImageUploadedByTapatalk1401082307.945973.jpg

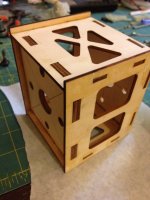
Then I built the box with 30 minute epoxy. I'll let it dry overnight and mount it tomorrow.
ImageUploadedByTapatalk1401082352.251512.jpg

While I had the epoxy out, I installed the rudder hinges and put the epoxy away... Done with it on this build.
ImageUploadedByTapatalk1401082455.226207.jpg
 

gyro

GSN Contributor
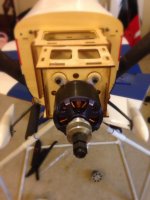
Went to check how the epoxy dried overnight, very pleased. The motorbox extension is nice and solid, and was the perfect length for the motor we're testing.
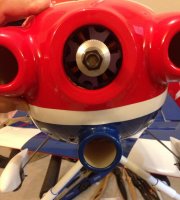
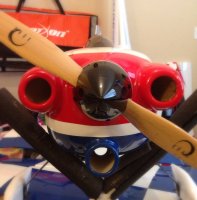
The plane even comes with a bunch of round disc wooden spacers to help you get the cowl gap you want. I think it came together nicely, and will get a little smaller when I tighten everything down... (Just test fitting for now)

ImageUploadedByTapatalk1401116956.025017.jpgImageUploadedByTapatalk1401117065.658634.jpgImageUploadedByTapatalk1401117084.944176.jpgImageUploadedByTapatalk1401117120.689990.jpg
 

gyro

GSN Contributor
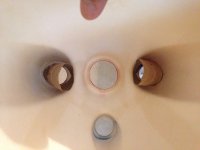
Made some paper towel roll baffles to direct some cooling air onto the motor. They are at slight angles to induce a circular motion of the incoming air.
ImageUploadedByTapatalk1401143615.326105.jpg

Looks fast :)
ImageUploadedByTapatalk1401143666.519568.jpg
 

gyro

GSN Contributor
All finished and ready for maiden tomorrow!

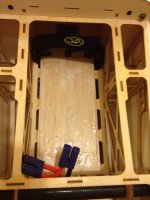
Built a little balsa ply battery holder:
ImageUploadedByTapatalk1401316569.202327.jpg.

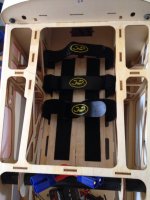
Decided to add a reinforced plate for the battery tray. All I could find at the LHS was some thick 1/8 balsa, so I attached it with
Epoxy, then added some fiberglass and epoxy to the top before attaching the Velcro.

ImageUploadedByTapatalk1401316584.605569.jpgImageUploadedByTapatalk1401316593.918416.jpg

All ready to tear up the sky!
ImageUploadedByTapatalk1401316626.001192.jpg
 
Top