• If you are new to GiantScaleNews.com, please register, introduce yourself, and make yourself at home.

    We're 1st in Giant Scale RC because we've got the best membership on the internet! Take a look around and don't forget to register to get all of the benefits of GSN membership!

    Welcome!
  • Unless you are a paid advertiser NO more posting advertisement in the individual vendor forums. You may post in the Manufacturer's Announcements section only but only ONCE a month unless your a paid advertiser.

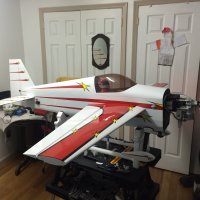
AJ Laser 230z 73" Build Thread

AKNick

640cc Uber Pimp
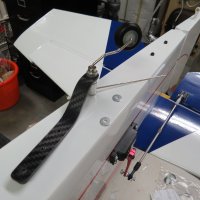
Tail Wheel

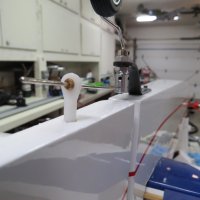
Pretty Strait forward! There is three holes in the carbon fiber, but only two screws/washers w/two blind nuts already installed. not much to think about here. I really liked how it was already put together, just had to bolt in on. I check the torque on the allen screws and they were all tight and apparently some sort of locktite was used. Way to go AJ A/C!
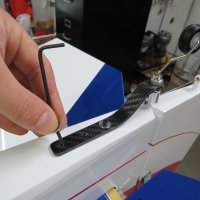
IMG_2574.JPGIMG_2576.JPGIMG_2577.JPG

note the tail wheel steering is at a bit of an angle, but the ball link that it goes through on the rudder pivots to allow the bend/angle. Good enough for me!
 
Last edited by a moderator:

AKNick

640cc Uber Pimp
Main Landing Gear


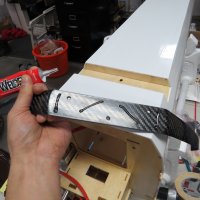
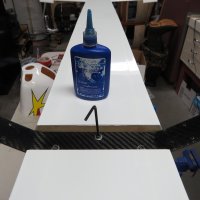
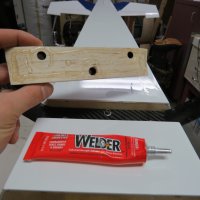
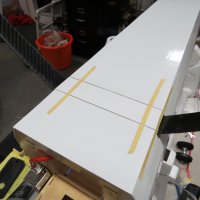
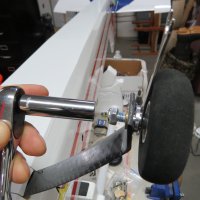
SupaTim did a good job covering this on his build as well, and I like that he used welders glue to install the cover plate, I decided to add a thin few lines where it attaches to the airframe as well. Bolted the gear in place using blue locktite. I had to trim the cover plate to allow it to sit flush with the curvature of the carbon gear leg prior to gluing and taping in place.

IMG_2579.JPGIMG_2580.JPGIMG_2582.JPGIMG_2583.JPGIMG_2584.JPG
 

AKNick

640cc Uber Pimp
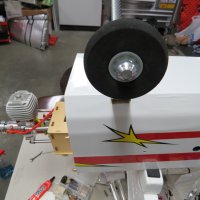
Wheels.

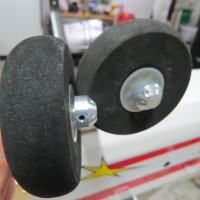
I ended up opting out the wheel pants and gear leg fairings. As mentioned before, the fairings just don't seem to fit as nicely as one would want to expect. I fly off a rock runway, so the wheel pants don't last very long either.
However!! I bought some bling from Aztech! Silver Wheel hubs!! gave it a little more class :thumbup:

IMG_2586.JPGIMG_2588.JPGIMG_2590.JPG
 

AKNick

640cc Uber Pimp
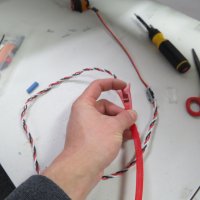
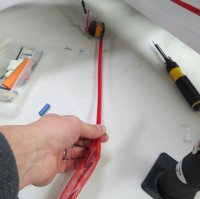
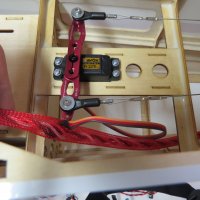
Elevator and Rudder Servo Wiring.

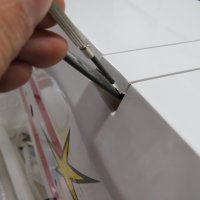
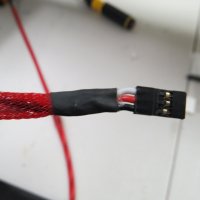
24" TDRC 20AWG extension used on the elevator extension. I also purchased some of their snake skin looming. This stuff helps keep the extension from chafing through the insulation/into the wiring, it's naturally slippery as well which means less friction. Feed the wire through one of the openings by pushing it together (makes it open up), then feed the extension through until you get about an inch from either end or so cut it off, slide some jelly filled heat shrink down so it sits 50/50 over the wire and looming. then use a heat gun being careful for to get too hot to melt the looming. If you dont have the "jelly filled" (as I like to call it ha) you can used a got glue gun to do the job. Once that's in place you can sneak feed a line into the looming by bunching it together and using a dull awl (aka phillips screwdriver) and sneak it in and out of the looming where ever you want it to go.

IMG_2603.JPGIMG_2604.JPGIMG_2605.JPGIMG_2606.JPG

I'm going to be doing this throughout the build.

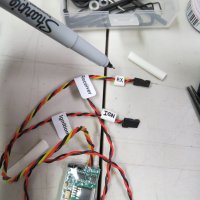
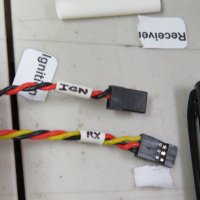
You may notice on the Tech-Aero IBEC that I got rid of their wire ID's and made my own. Buy some white heat shrink tube and a fine point sharpie, write on the tubing, then shrink it up. It's a great trick, note the letters shrink too!!! fun!!

IMG_2616.JPGIMG_2617.JPG
 

AKNick

640cc Uber Pimp
Nick,
Great idea on the heat shrink labels - fist time I've seen that trick.

I've seen people put clear heat shrink over top of it to preserve the markings as well. But yeah, it's a cheap, easy method for labeling that isn't very invasive. I learned this trick back when I took an avionics course wiring a radio rack.
 
Well guys... I get my Bird on monday and I will leave some pictures here.... Thanks to all of you for share the experience, this thread have made my process more easy. I was missing the Sleeve that hold the Rudder and I text AJ Aircraft, 20 minutes later I get the response from TIM.... Wooow These guys are in and Upper Level in this business.

IMG_4015.JPGIMG_4020.JPGIMG_4037.JPGIMG_4038.JPGIMG_4052.JPGIMG_4063.JPGIMG_4066.JPG
 
Top