• If you are new to GiantScaleNews.com, please register, introduce yourself, and make yourself at home.

    We're 1st in Giant Scale RC because we've got the best membership on the internet! Take a look around and don't forget to register to get all of the benefits of GSN membership!

    Welcome!

Sport Beautifying the Beast

Looks great Brian. Have you every thought about linking both elev halves to one larger servo? Would be relatively easy to do now that you're inside of everything.

Earle I sure wish I had seen your idea before I pinned the Elevators with the bamboo rods. I tried on a scrap piece to drill out where the bamboo is located and it just made a mess of the balsa wood. So I'm going to stay with the dual elevators.

BUT PLEASE keep coming with the comments, your advice is greatly appreciated.

Now onto the landing gear changes!
 

Bartman

Defender of the Noob!
By using this technique I have moved 6 1/2 ounces from the tail to a position much closer to the CG of the airplane.

by moving that large mass closer to the CG you've also removed a lot of momentum from the tail making it easier/faster to start and stop maneuvers
 

Pistolera

HEY!..GET OUTTA MY TREE!
Brian....here's a thought. Set up one larger servo in the fuse (where you have located the one shown in the pics) and use a "Y" shaped CF pushrod that would link to each elev horn?
 

Pistolera

HEY!..GET OUTTA MY TREE!
BTW - here's a perfect profile shot of Bryan Jensen's Beast. You could probably scale the gear measurements from the fuse length.
Bryan in cockpit.jpg
 
MAIN LANDING GEAR

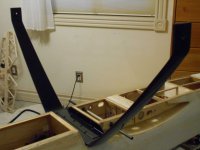
There are two problems with the landing gear that comes with the kit. It is too weak and the aluminum flexes too much and for my Valach Engine it doesn't offer enough ground clearance for a 30 or 32 inch prop.

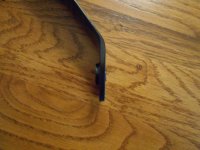
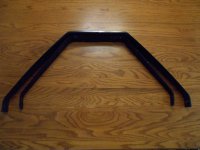
I found a Carbon Fiber Gear at SDS Hobbies that gives me another 1 inch in ground clearance, is stiffer and does offer a bit more width for a slightly easier landing.

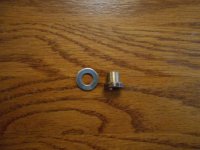
To strengthen the axle assembly through the CF gear, I installed a Sinter Bronze Flange Bushing. Sintered Bronze is an extremely hard material and it is impregnated with oil to give it good friction reduction properties. I get mine from Canadian Bearings.

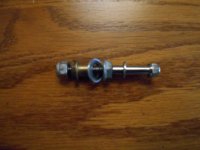
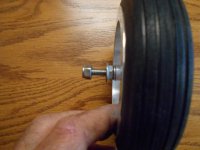
For the axle assembly I found a chrome plated 1/4-20 Allen Head bolt that looks good and fits perfectly through the wheel.

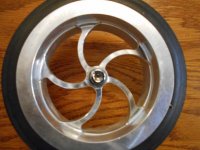
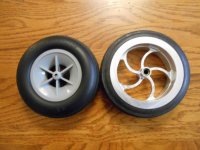
I had a set of White Rose Wheels from the crash of my Extra 330SC that I am going to use for this plane. These offer me another 1/2 inch in clearance, and their metal bushing assembly feature offers me a more durable assembly instead of the plastic bushings on the Hanger 9 wheels.

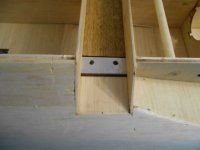
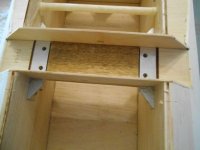
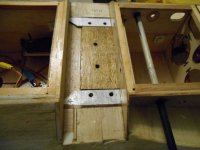
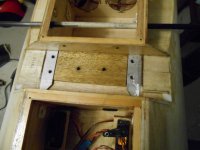
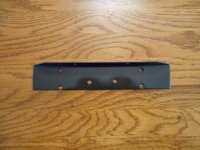
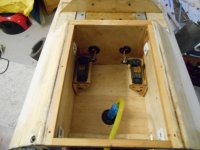
The CF landing is wider than the aluminum one so that required me to open up the area where the landing gear sits by 3/4 of an inch. To further strengthen the landing gear section I installed an aluminum cross plate made from 1/16" by 1 1/2 inch by 1 inches. This cross plate helps transfer the load if you land on one wheel, so that the whole landing gear plate absorbs the stresses imposed on it.

LANDING GEAR BEARING.JPG AXEL CONCEPT.JPG BEARING IN CF LANDING GEAR.JPG AXLE IN PLACE.JPG CHROME ALLEN BOLT.JPG BEFORE WIDENING.JPG OLD LANDING GEAR OPENING.JPG AFTER WIDENING.JPG NEW LANDING GEAR OPENING.JPG OLD vs NEW WHEELS.JPG OLD vs NEW GEAR.JPG CROSS PLATE.JPG BOLTED IN PLACE.JPG INSTALLED.JPG
 
BOTTOM HATCHES

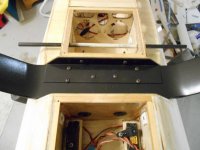
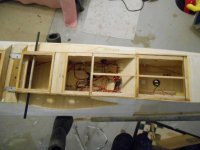
As I am going to be putting the Valach 4 stroke engine onto this airframe, I do not have to use the bottom hatches for either a canister or pipes.

I also plan on using a much more simplified way to attach the lower wing, so having access to the back hatch is not necessary.

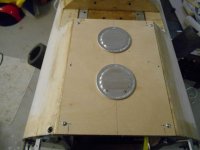
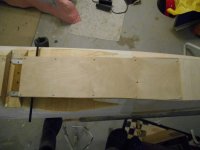
I made from 1/16 inch birch plywood two hatches that go over these areas so that they will remain clean, yet I am able to get inside if needed to get at my wiring.

I saw one Beast last summer that after a year of flying was very dirty inside these hatch areas, these open areas also produce a lot of drag (although that might not be important for this plane).

As the front hatch will house the carb of the Valach (pictures to come) I fuel proofed this area in case of the carb wants to spit out fuel. I also added some aluminum louvers to help remove some of the heat from the engine that will migrate back here.

FRONT HATCH.JPG BACK HATCH.JPG FRONT HATCH CLOSED.JPG BACK HATCH CLOSED.JPG
 
Top