Krazy Kanuk
50cc
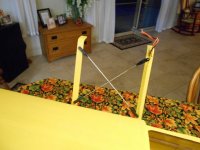
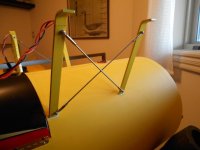
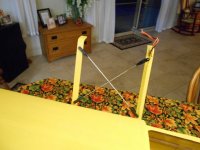
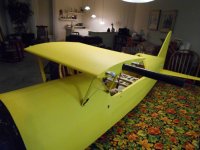
CABANE AND MID WING
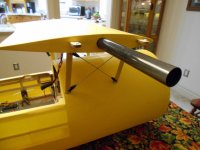
The great feature of having all of these build threads, is that you can come across ideas that others have had success with. On this part of the build it was the way to hide the top aerilon wires that go to the receiver. I was able to find a piece of shrink tubing at the local electronics store in Barrie that fit perfectly. I then painted the struts before assembling them to the main fuselage. Per the suggestions, I used blue locktite to hold the tiny 4-40 screws in place.
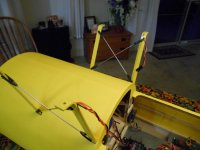
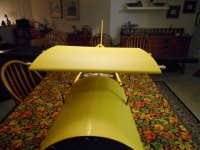
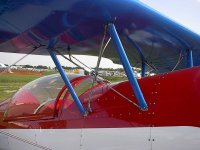
I'm building this plane to enter into the Sports Scale events around here, and to add a bit more realism to the plane, I added the cross struts to the Mid wing area.
If anyone wants LOTS of pictures of Pitts S12 go to this site. http://www.2wings.com/pages/airplanes/airplanes.htm
It took me forever to cover the mid wing section, I was watching our Blue Jays and it was hard to stay concentrated as they made their great comeback!


