You are using an out of date browser. It may not display this or other websites correctly.
You should upgrade or use an alternative browser.
You should upgrade or use an alternative browser.
IMAC Carden Pro 124 Build, My Dream Plane
- Thread starter ROLLERMAN
- Start date
ROLLERMAN
70cc twin V2
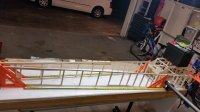
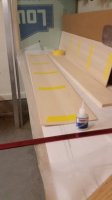
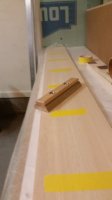
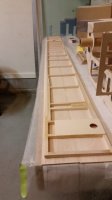
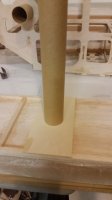
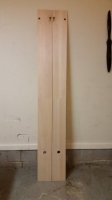
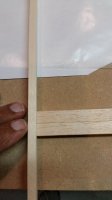
I manage to get a little work done on it last night. I glued on the 1/8 balsa sheet and trimmed it flushed with the top and bottom longerons. I like this kind of work on the kit, not too much to think about. I used tape to hold the two pieces together flipped it over and use thin CA, the side where I applied the glue will go to the inside. You will see where I marked one of the vertical trusses, this is where I will butt join the two sheets together.
Attachments
pawnshopmike
Staff member
+1Making good progress ! Looks great !

ROLLERMAN
70cc twin V2
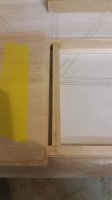
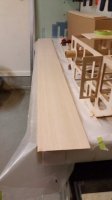
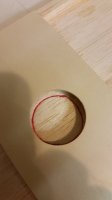
Both fuse sides have been sheeted and I’ve located and glued in the hard points for the rudder servo. I used epoxy on this area. I used the socket tube to mark the 1/8inch sheet from the inside, marked it with a red sharpie and used my Dremel with a flat wheel to open it up.
Attachments
IMAC FANATIC
40% happier than most folks.
Subd'
Always late to the party !
Always late to the party !
ROLLERMAN
70cc twin V2
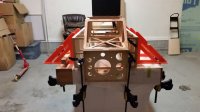
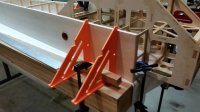
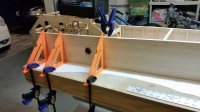
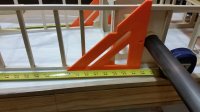
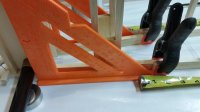
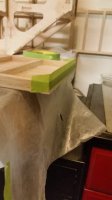
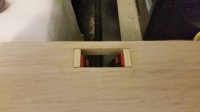
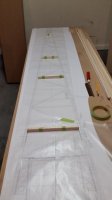
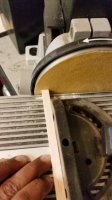
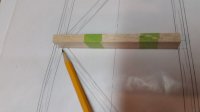
So now that I have both fuse sides done, it’s time to locate the engine box over the plans and locate the sides just as I did to locate the wing tube and the stab tube sockets, but prior to that, I picked three points on the plans and I cut three cross braces and shaped the angle using the belt sander. I used the tool I made earlier to find the angle on the fuse LE. I matched that angle on the disc sander, it is a perfect fit.
I used tape to hold the two pieces together while sanding the angle; this made both braces exactly the same length.
I used tape to hold the two pieces together while sanding the angle; this made both braces exactly the same length.
Attachments


ROLLERMAN
70cc twin V2
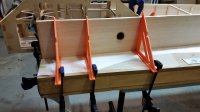
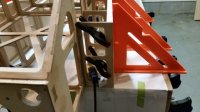
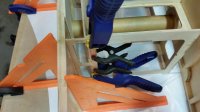
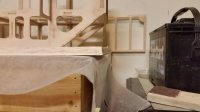
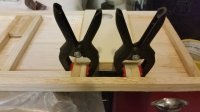
Once I has happy with the location of the fuse and after rechecking the wing tube location, I glued in formers F2,F3,F4 and F5 on the right side looking from the front. You will see I have two squares clamped down together on the left; this is to keep the engine box from moving while applying pressure to the side being glued.