• If you are new to GiantScaleNews.com, please register, introduce yourself, and make yourself at home.

    We're 1st in Giant Scale RC because we've got the best membership on the internet! Take a look around and don't forget to register to get all of the benefits of GSN membership!

    Welcome!

IMAC Delro 2.5M Raven Build

Wacobipe

100cc
A bit of time this evening after work to finish off the engine spacer...2 pieces of 1/4 in ply were epoxied together last night, so tonight I was able to get final sanding and clearancing for the throttle arm and fuel lines done. Once I am certain that 1/2 inch i the correct spacing, I will then coat this entire piece in epoxy resin to make it fuel proof...who knows...I might even reference that epoxy tinting thread and see if I can make it black in the process!

Tomorrow I'll string the Raven up by it's neck again:devil-dance:...err...I mean gently support the fuselage vertically :angel::angel::angel: and see if I can get the engine mount holes drilled in the firewall...then I can Hysol the Firewall in!
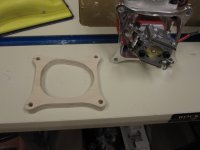
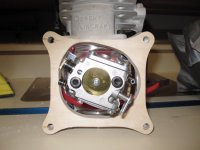
Engine Spacer (1).JPG Engine Spacer (2).JPG
 
Last edited:

Wacobipe

100cc
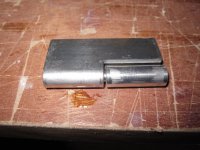
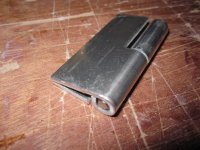
I was cleverly working on plans to hinge my canopy rather than using screws to hold it on (I HATE canopy screws)...when I saw the install @Pistolera did on his build. It was so nice I figured I would just shamelessly steal the idea instead of trying to engineer a different design ;););).

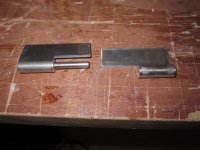
The nice thing about this setup is the hinges will slide easily apart when the hatch is open...so closed, the hatch will be held in position by the surrounding surfaces. When open, it will stay in place if you want, or you can slide it forward an inch and the canopy comes right off!

Canopy Hinges (1).JPGCanopy Hinges (2).JPG Canopy Hinges (3).JPG Canopy Hinges (4).JPG Canopy Hinges (5).JPG
 

Wacobipe

100cc
I skipped out of work a tad early today and got some work in on the Raven!

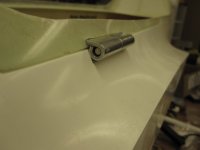
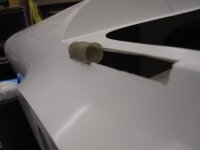
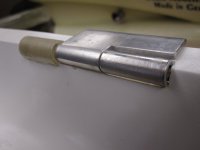
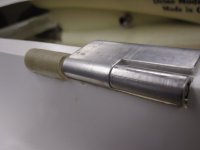
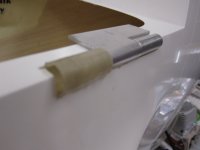
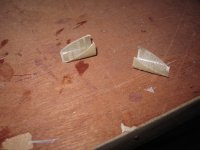
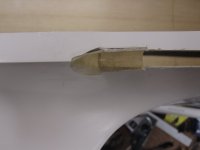
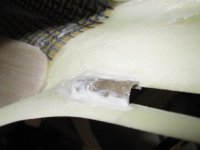
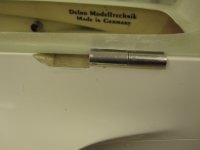
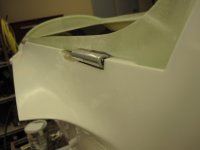
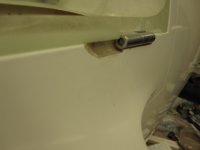
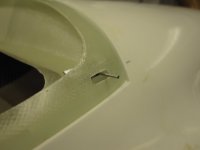
The hinges look slightly larger than looks clean or scale...so to make them a little less obvious I chose to bury them a little deeper into the fuse/hatch. This is fine except it would make it impossible to easily remove the canopy. I order to make removal easy I made some quick fiberglass sleeves (by using a drill bit shank as a mold) which I then buried into the fuse to make a clearance dent that allows the hinge half to slide when the canopy is open which will allow the canopy to come off with ease. Just top be fancy I extended this dent beyond where it was needed for clearance at an angle so it was a nicer overall look. I'll tidy everything up and make it nice and clean once the epoxy dries :)

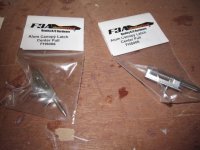
Almost forgot...my canopy latches arrived today while I was working on this little project...so those will be next :way_to_go:

HInge Clearance Sleeves (1).JPG HInge Clearance Sleeves (5).JPG HInge Clearance Sleeves (4).JPG HInge Clearance Sleeves (3).JPG HInge Clearance Sleeves (6).JPG HInge Clearance Sleeves (7).JPG HInge Clearance Sleeves (9).JPG HInge Clearance Sleeves (10).JPG HInge Clearance Sleeves (8).JPG
 

Pistolera

HEY!..GET OUTTA MY TREE!
Nice! They are slightly larger than scale, although on a 35% they still look OK. Here's the full scale Extra 330SC hinge.
Mike in cockpit, closeup.jpg
 

Wacobipe

100cc
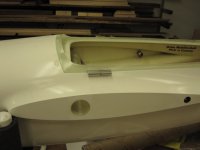
More work on my hinges tonight...got clearance in and some support blocks to mount the hinges to...so I tack glued
medium CA) everything together to make sure the system worked as I planned...I am very pleased with the outcome...some pictures and movies for your enjoyment!:)

Roughed Hinges (3).JPG Roughed Hinges (2).JPG Roughed Hinges (1).JPG


Wacobipe

100cc
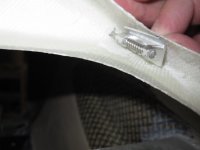
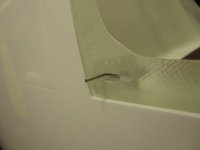
Latches installed (sort of)... they are in place but not permanent...I am trying to decide how best to mount them...the cleanest install would be to epoxy them in and there would be no screws visible outside the aircraft...but they'd be permanent and not easily removable and I'd have to wait until after paint to install them. Alternatively I could use screws which would be visible but allow for easy install/removal any time I needed...

Canopy Latches (1).JPG Canopy Latches (2).JPG Canopy Latches (3).JPGCanopy Latches (4).JPG
 
Top